
RD01 - E’s Road Bike
Our most recent customer (who has asked to go by “E”) approached us with a very clear request on what she wanted in her new bike: disc brakes, a comfortable ride, and a bike she wouldn’t need to replace for a long time. She was coming off of an older rim brake bike and didn’t feel comfortable with the brakes after riding Mountain Bikes and decided it was time build up a new road bike for the next 10 years. These goals were very straight forward but as with all “simple” tasks, it would take a lot of careful work to make her dreams a reality

Frame Design
To ensure that her bike would be comfortable for the next decade, we started with what we consider a foundation of any well-performing bike; the bike fit. Working with our preferred bike fitter in the Santa Cruz area, we were able to position E for the longer solo rides that she loves with a slightly taller bar position than she was running previously as well as a shorter reach to suit her torso length. Using this fit geometry, we then built up a “virtual” version of her bike geometry in our handling calculator alongside some other bikes she was familiar with for her to reference and start to evaluate the areas where we could make improvements.


Looking at the first set of outputs from our handling calculator we can already see that we were able to pull roughly 2% of her weight off her hands with the new seat angle and upright position. E also wished to not have to deal with the toe-overlap that is commonly found with off-the-shelf road frames. This fit in well with her desire for a stable bike as we were able to shorten the stem length, increase the top tube length, and slacken the head tube angle to get the handling and toe overlap where we wanted it. While this does mean that she will run an “atypical” 60mm stem length, our goal is not to make a bike that can fit a wide range of riders but rather fit our customer well.

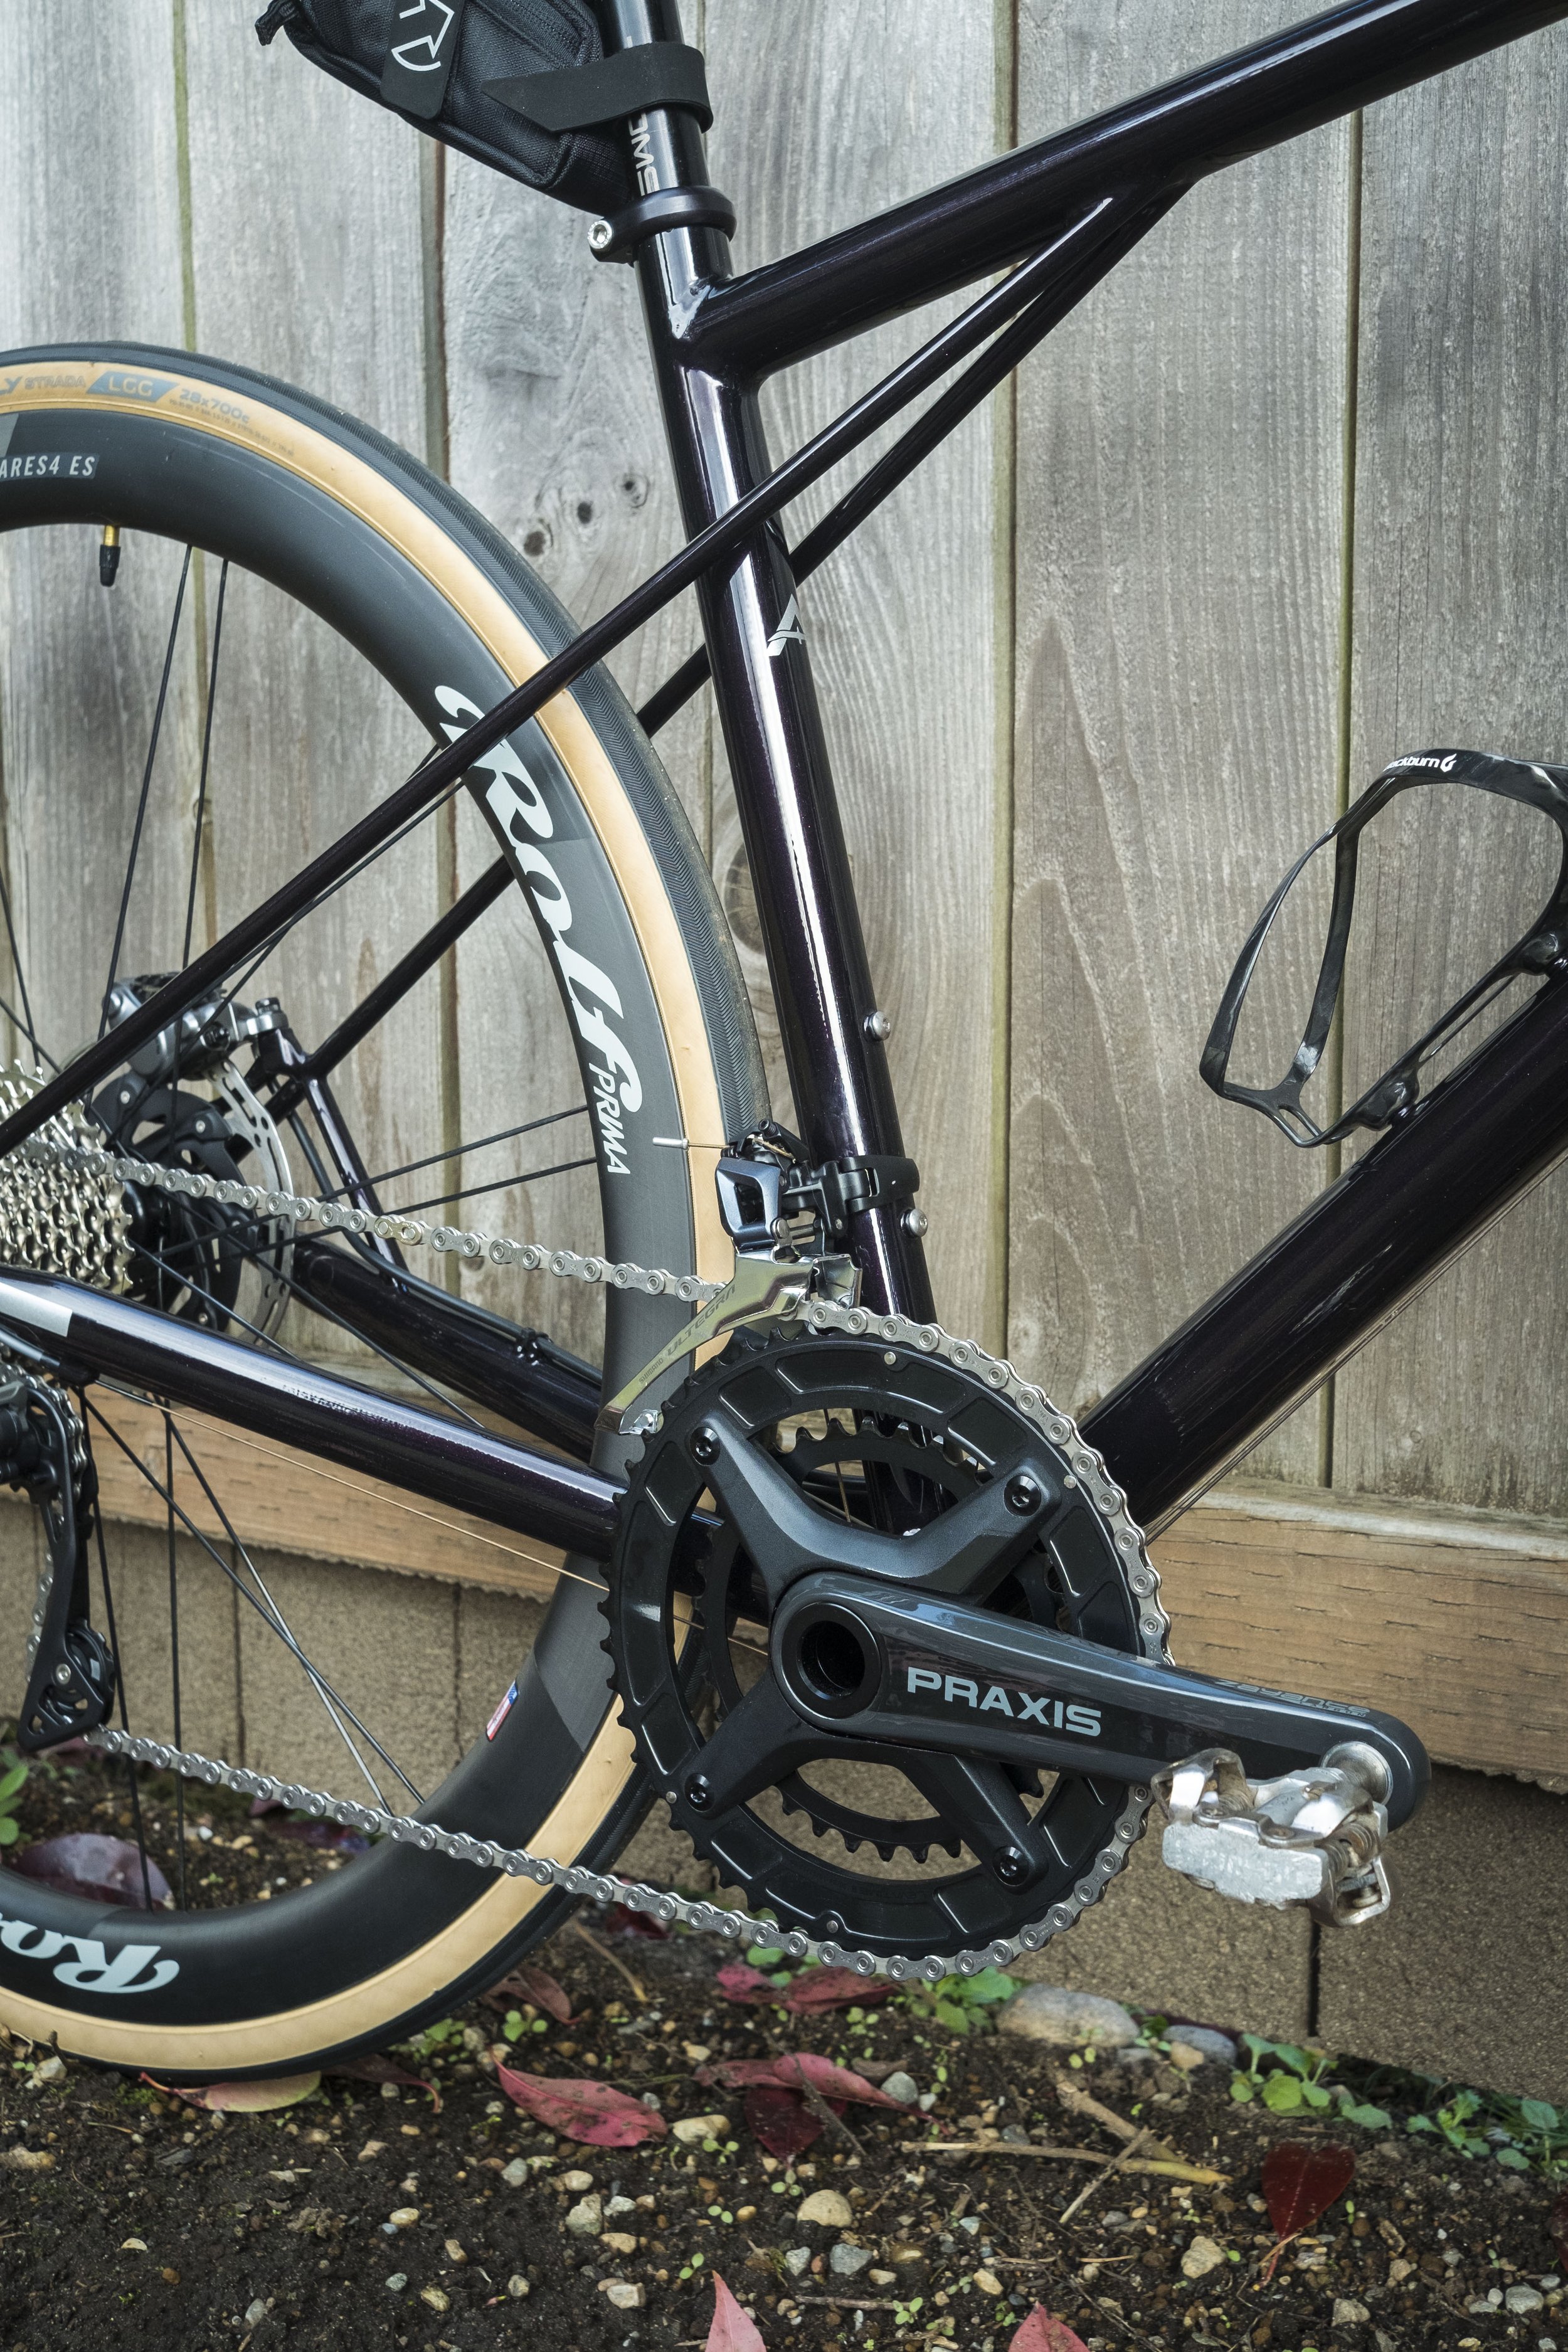
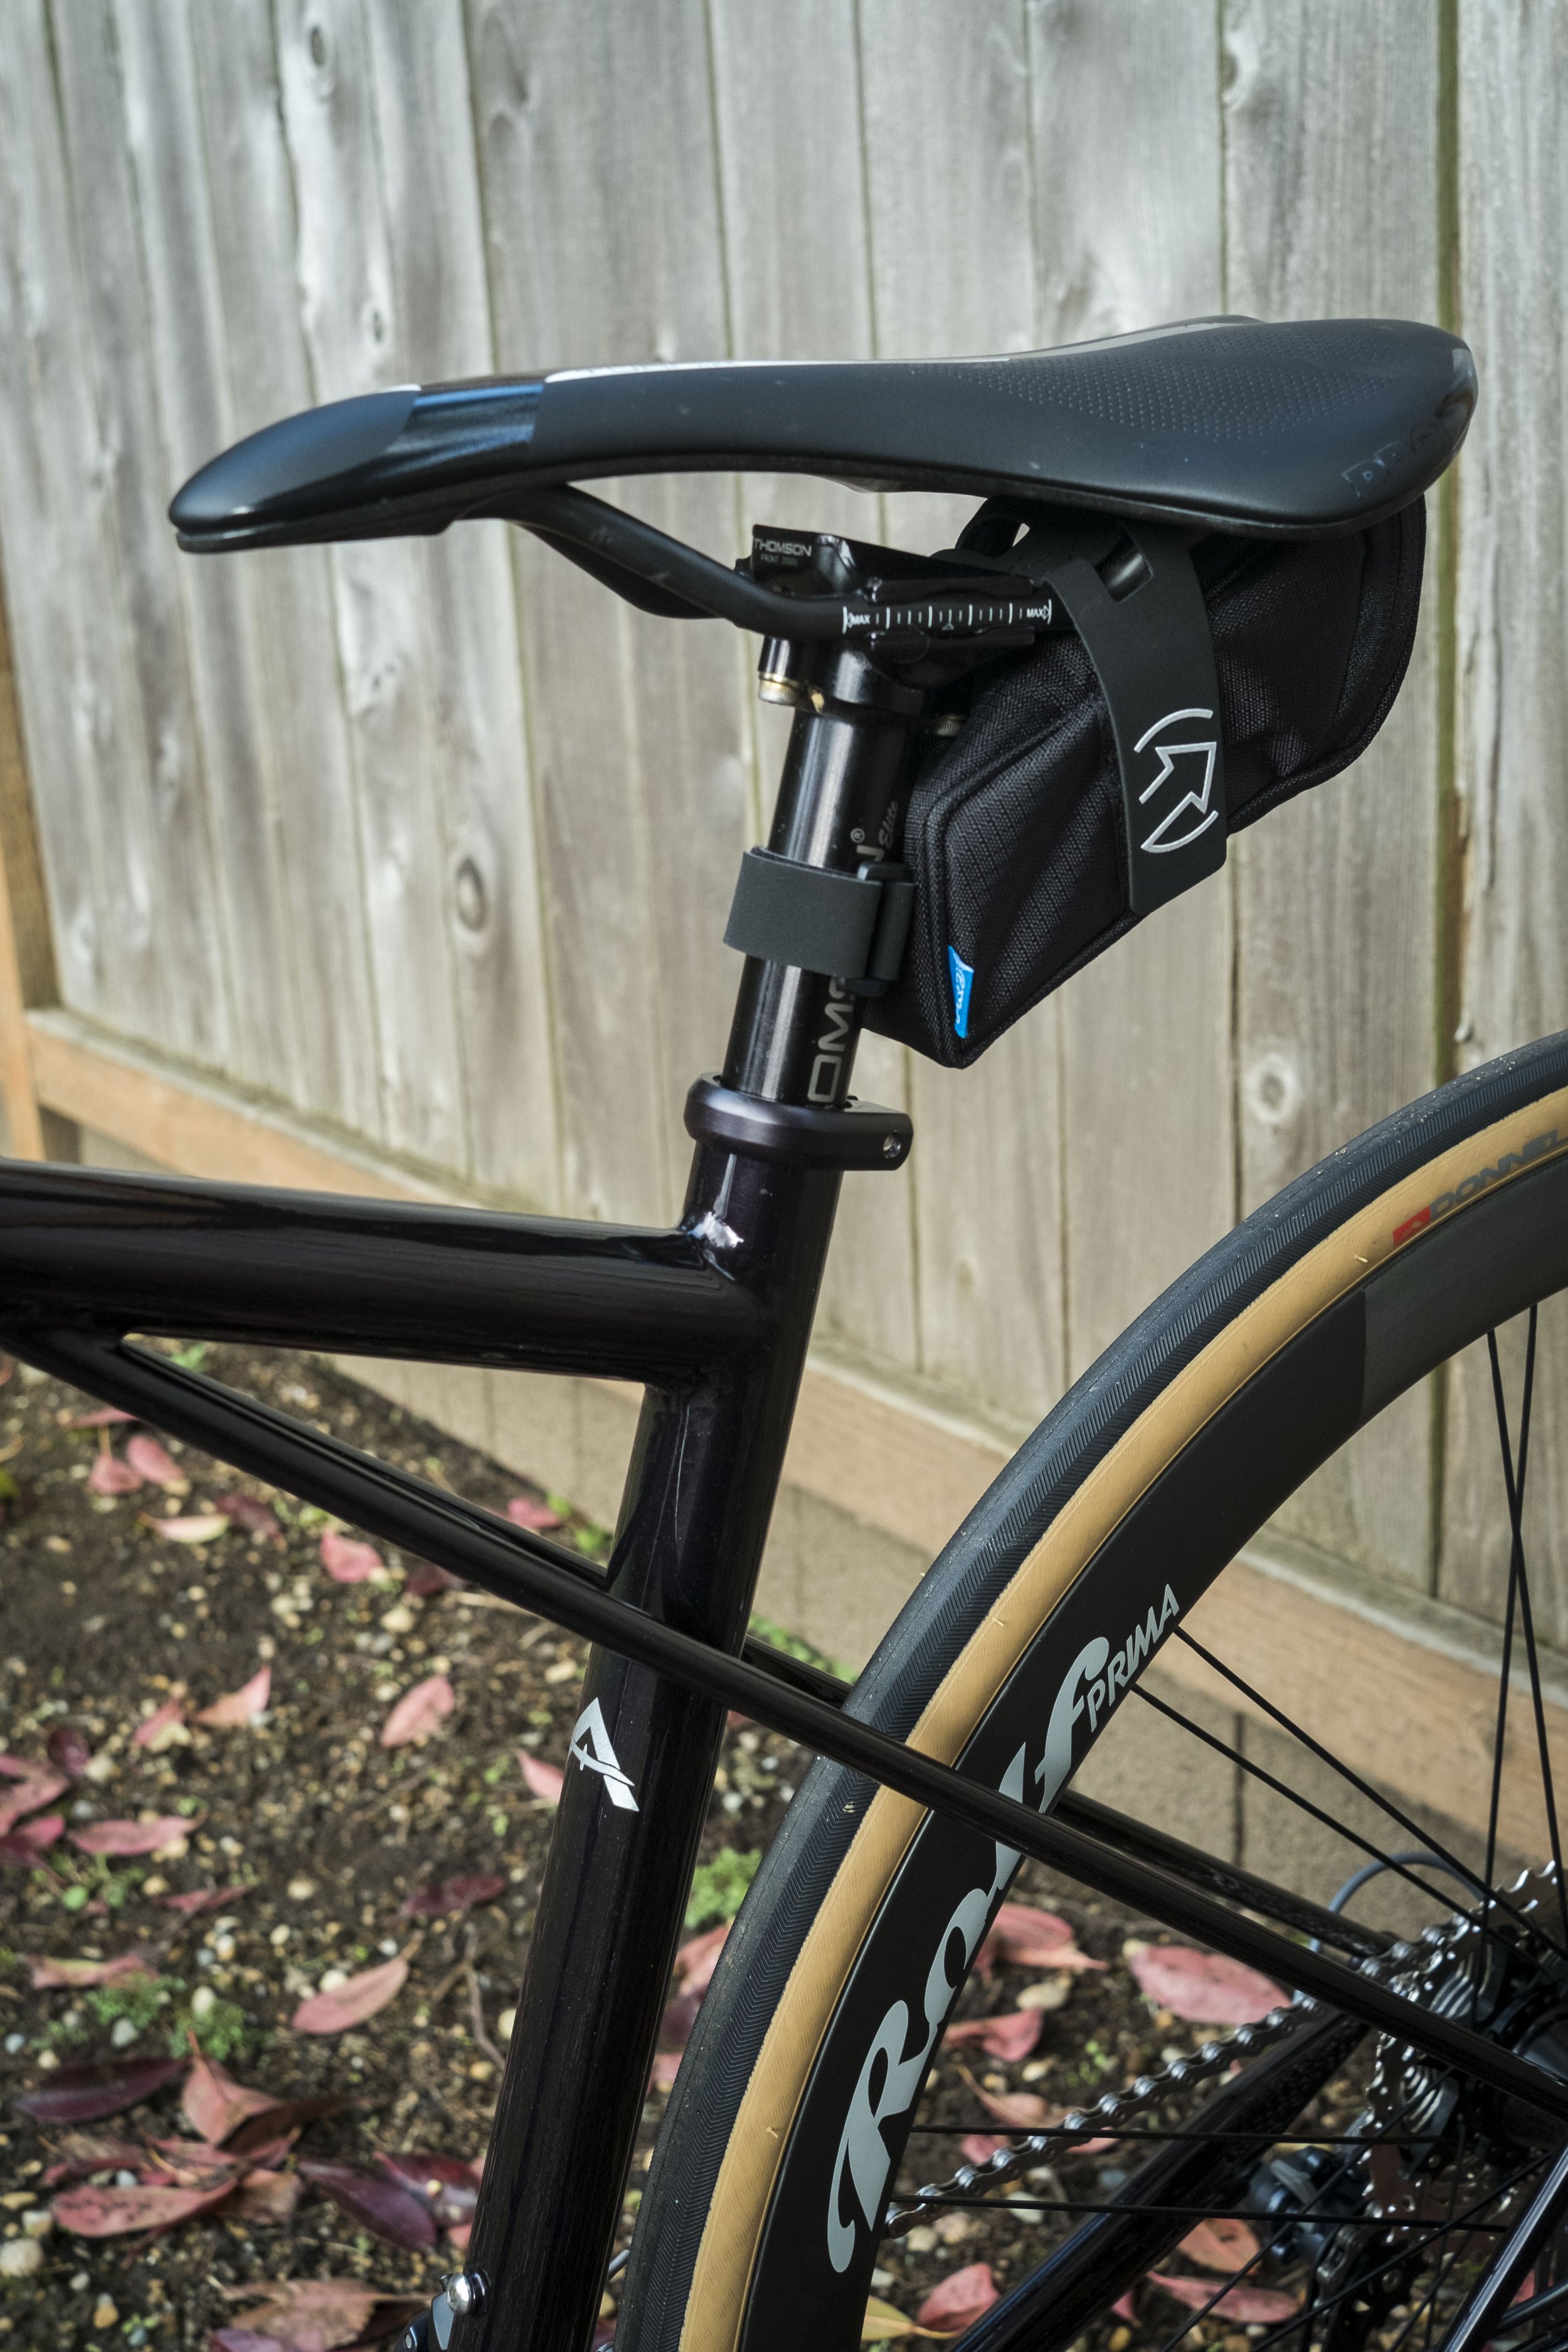
We also explored a few options for the seatstays to complement the confident-handling geometry. Initially we looked for solutions that would incorporate our distinctive dropped seatstay design to boost overall ride comfort but the small size of the frame along with a 2X drivetrain ruled out that option. Our best solution was for us to run the seatstays directly to the top tube and skip the seat tube altogether. Unlike GT frames of the past, this would mean no additional bracing of the seat tube cluster, allowing the seat tube to flex and provide an added measure of comfort.

Finishing Touches
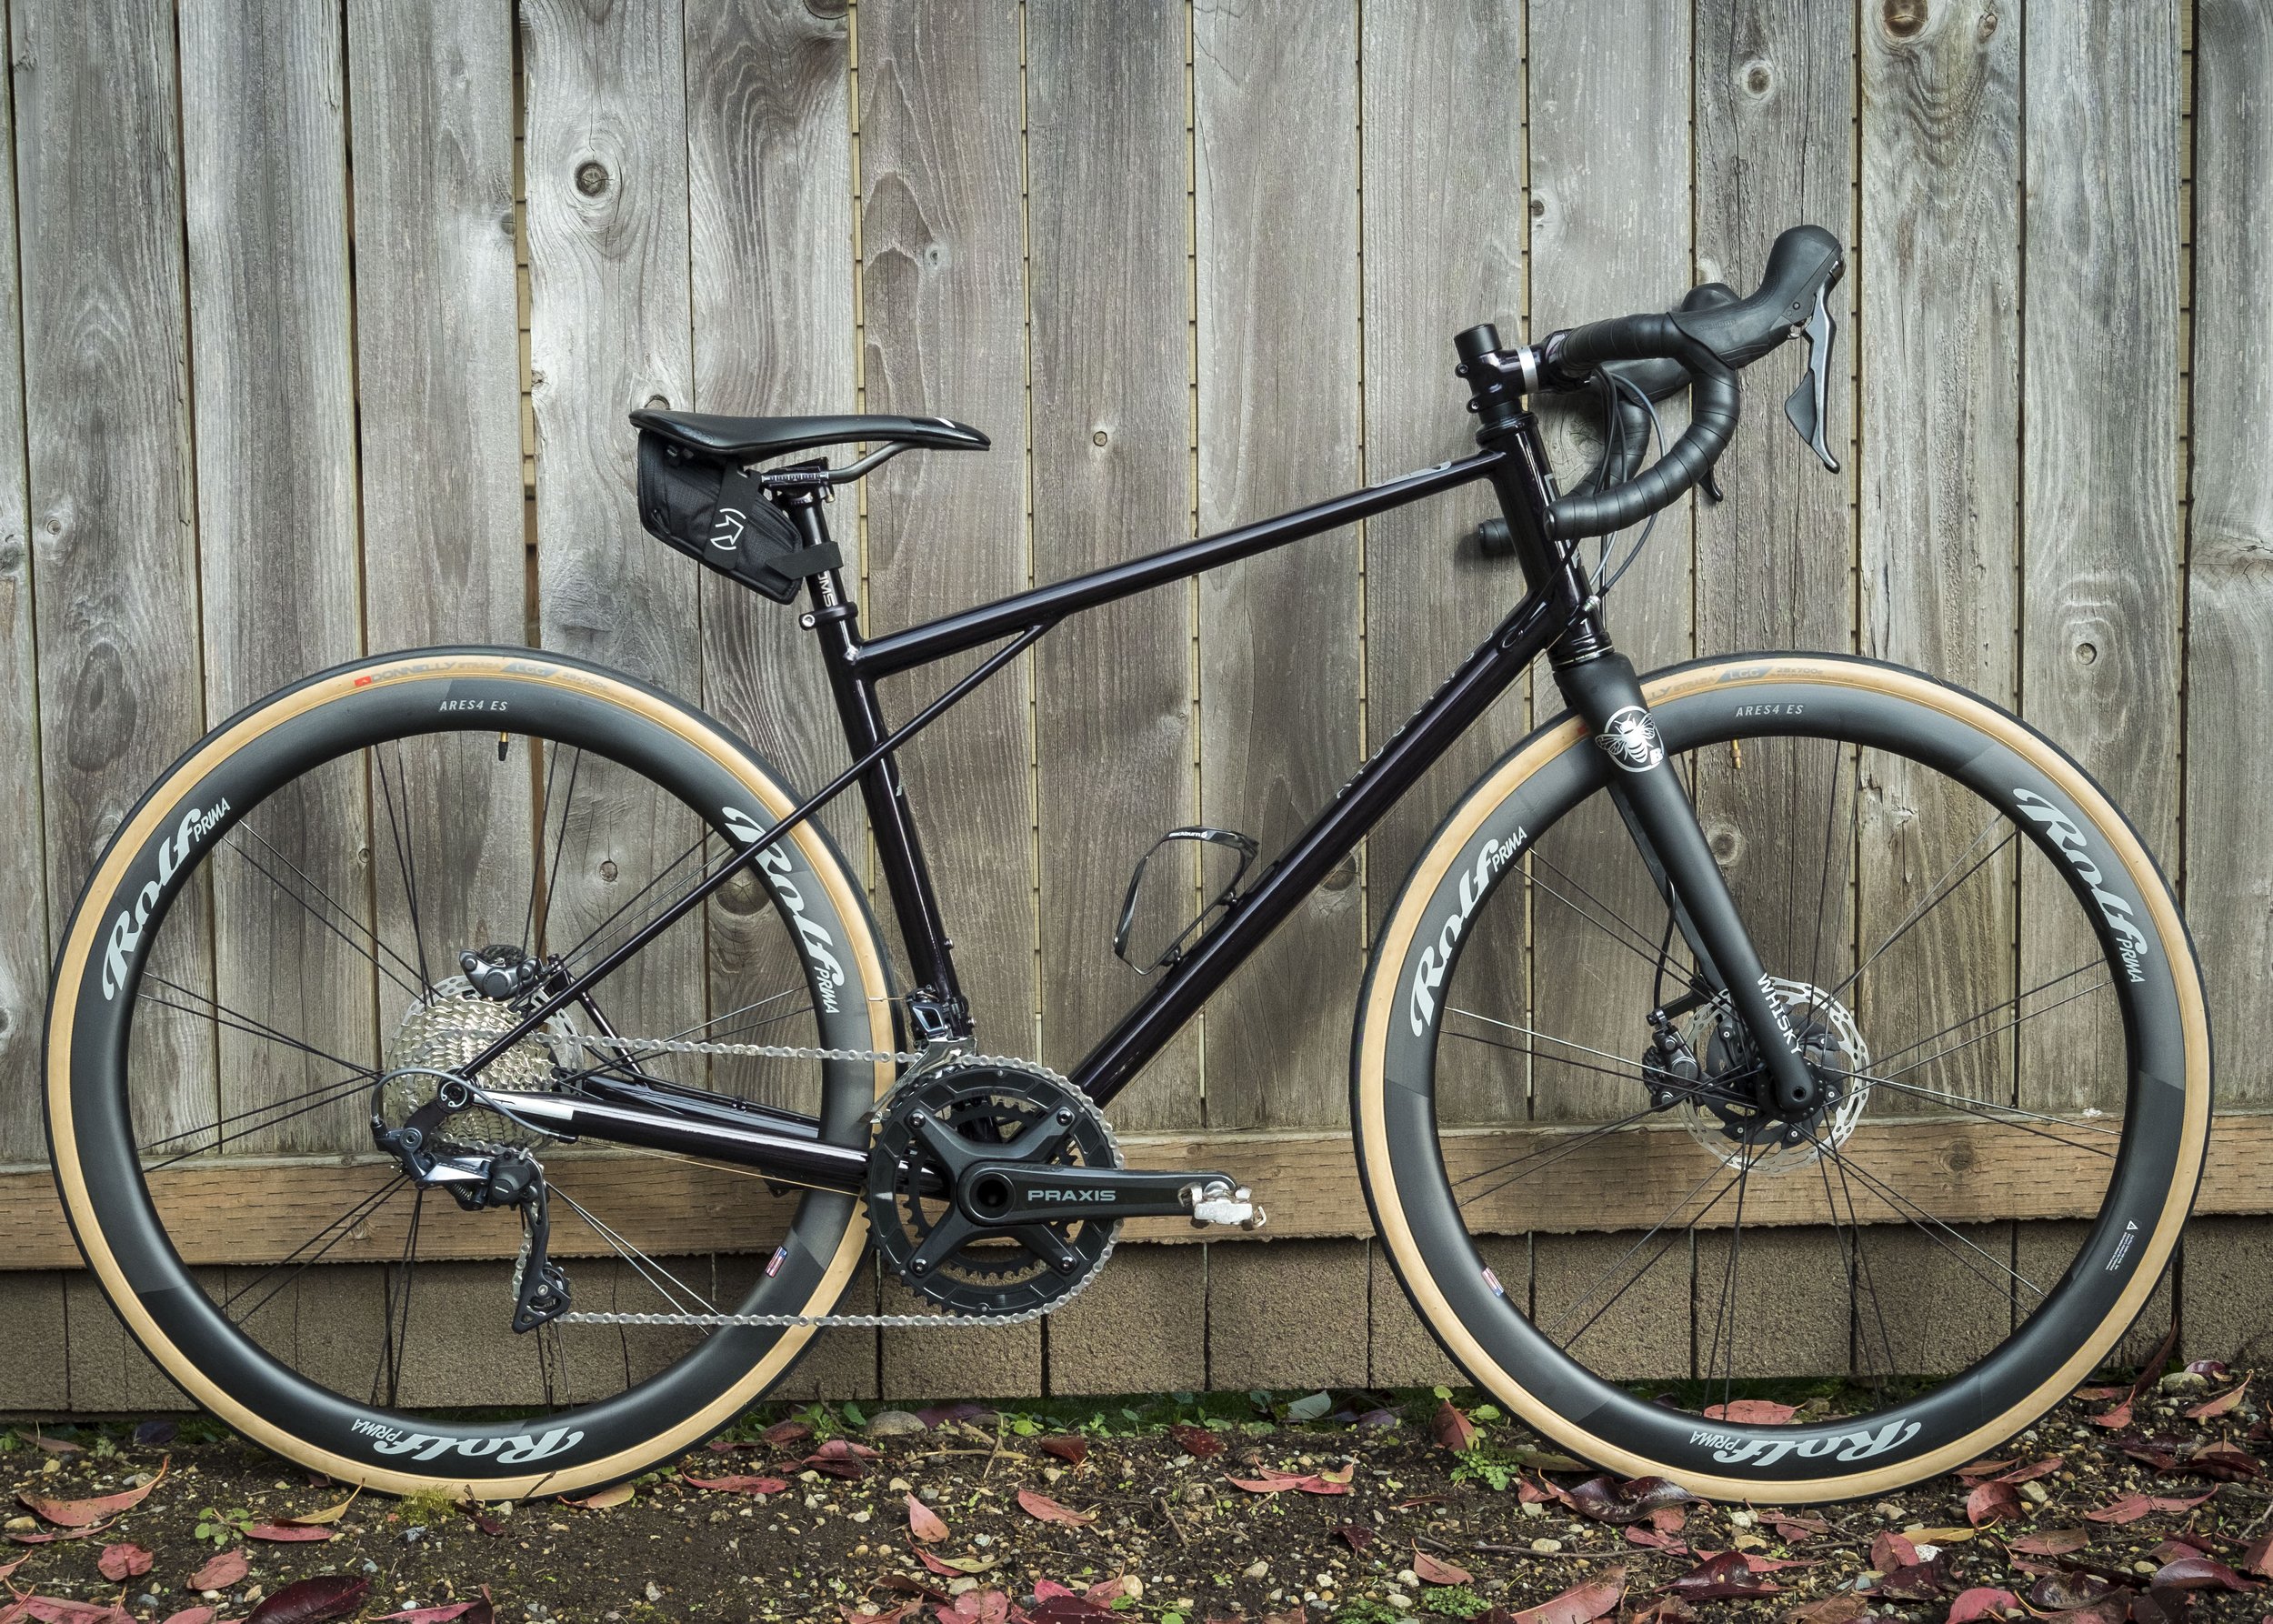
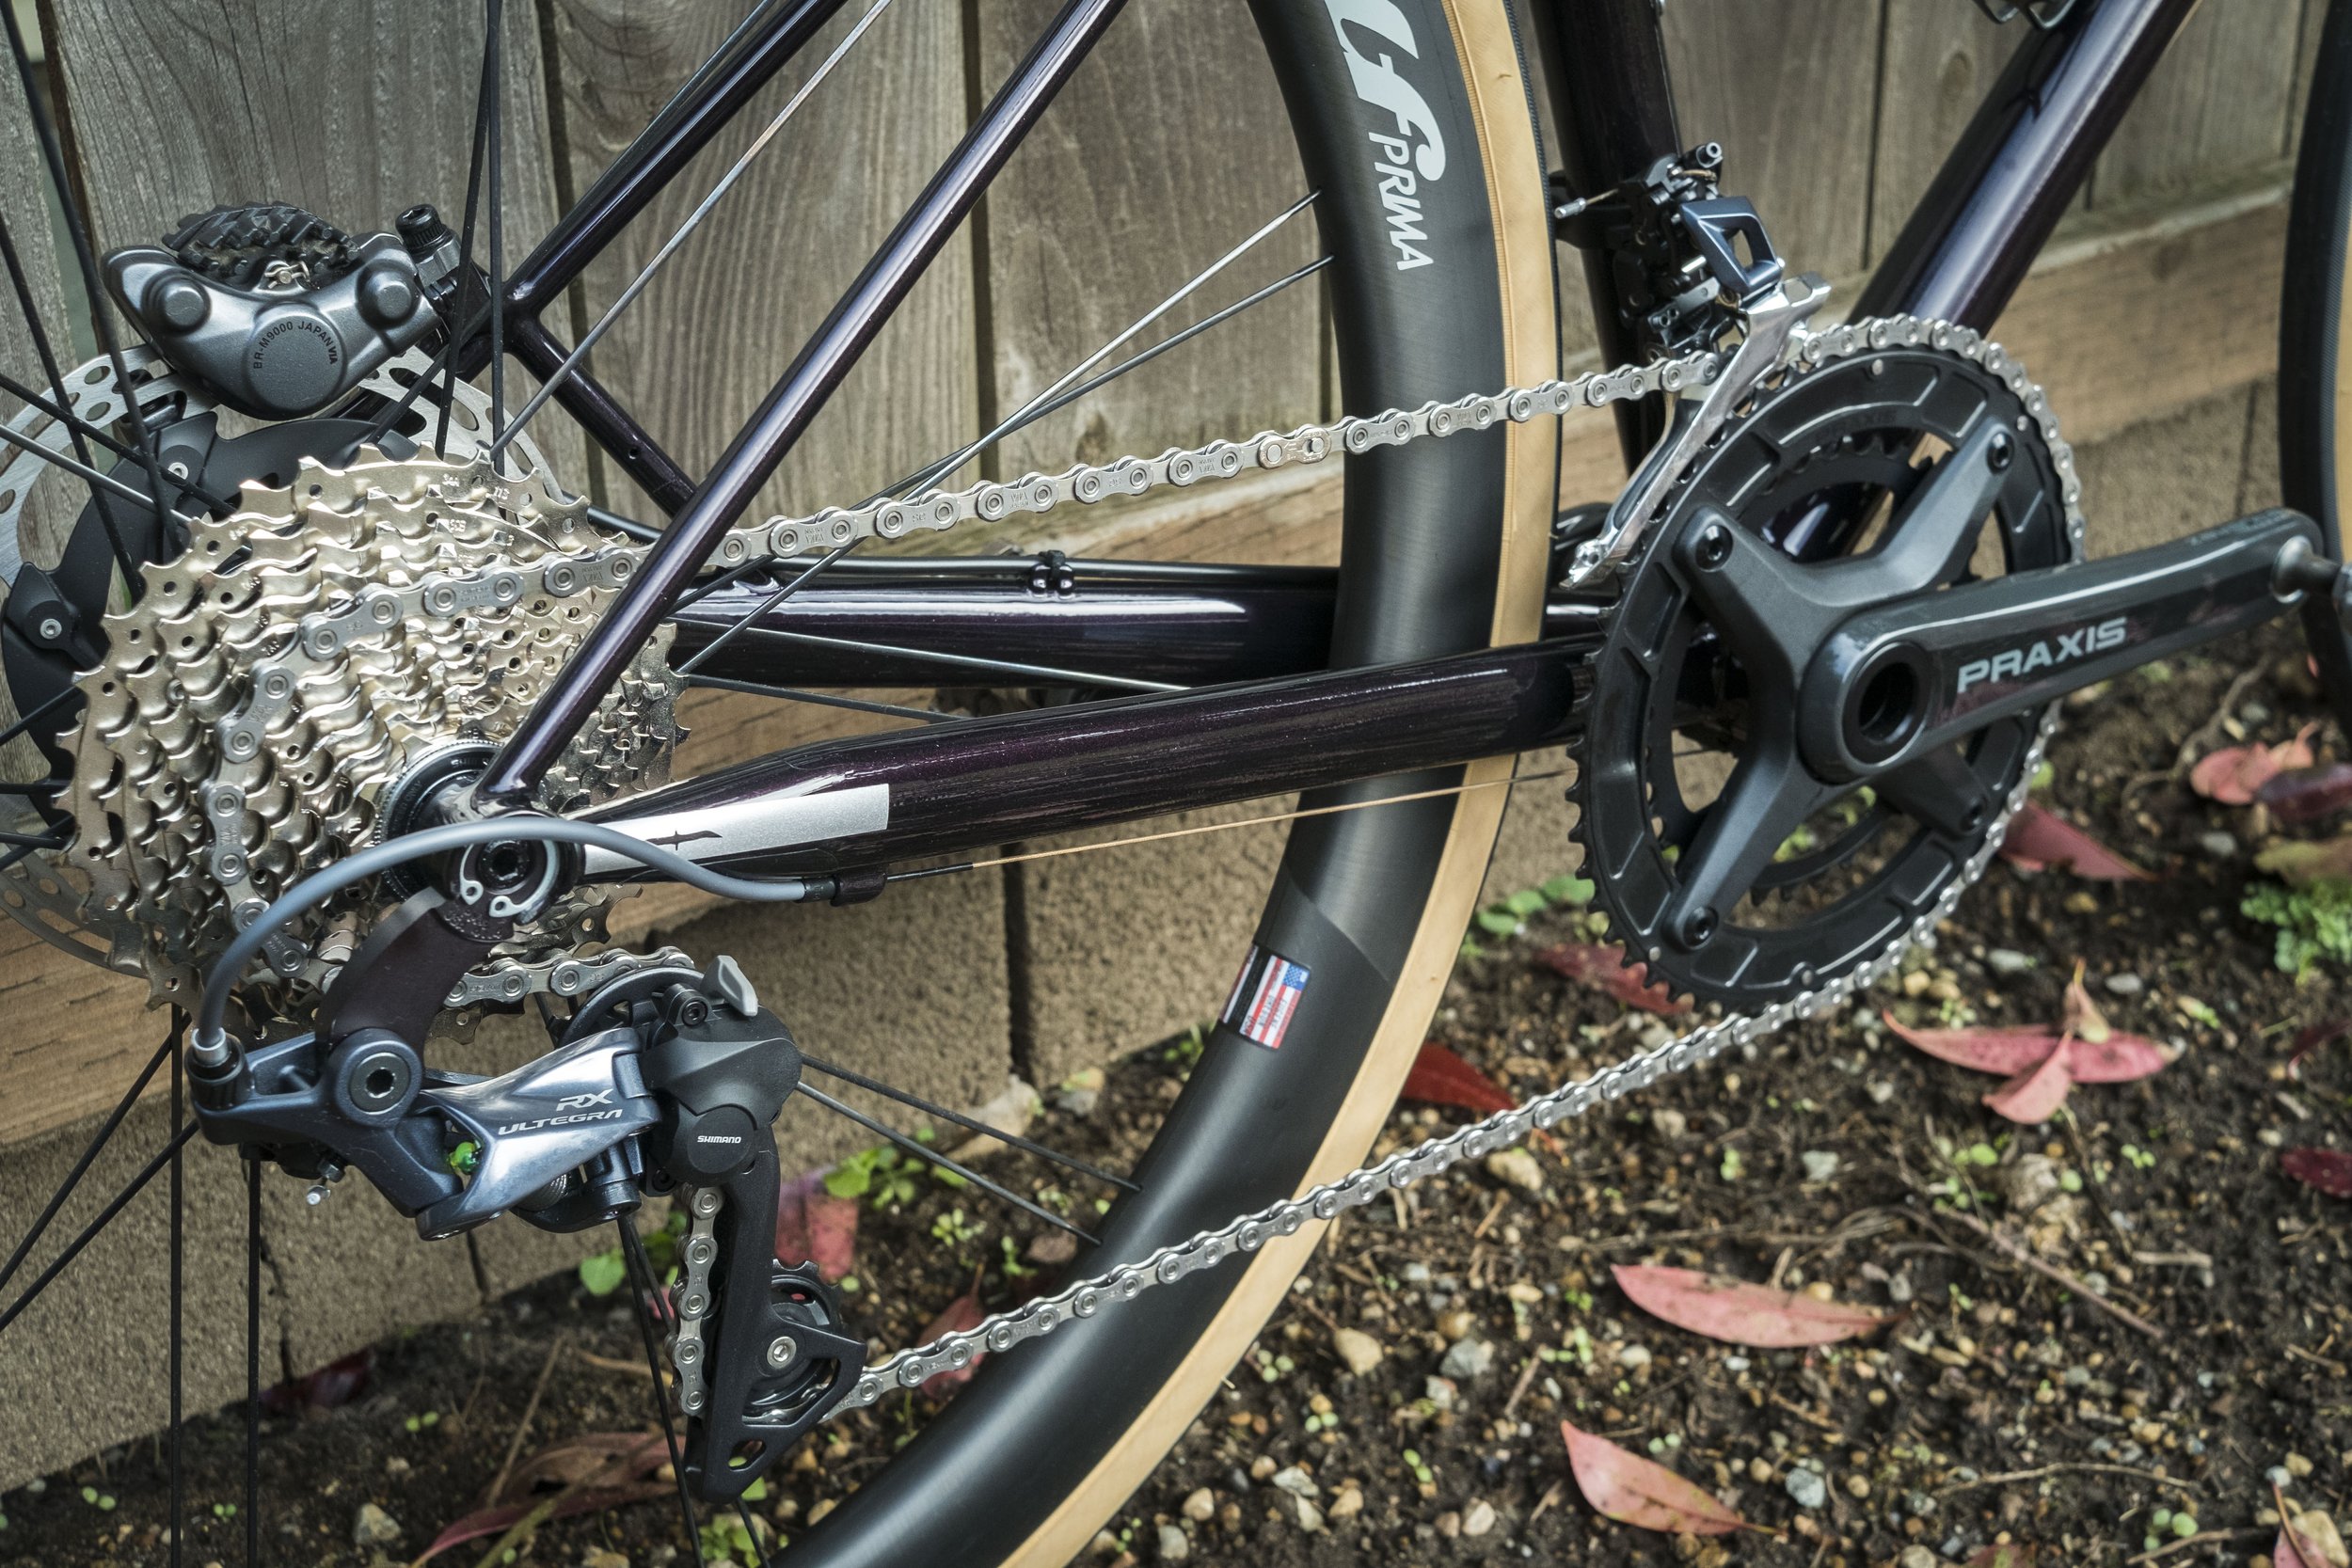
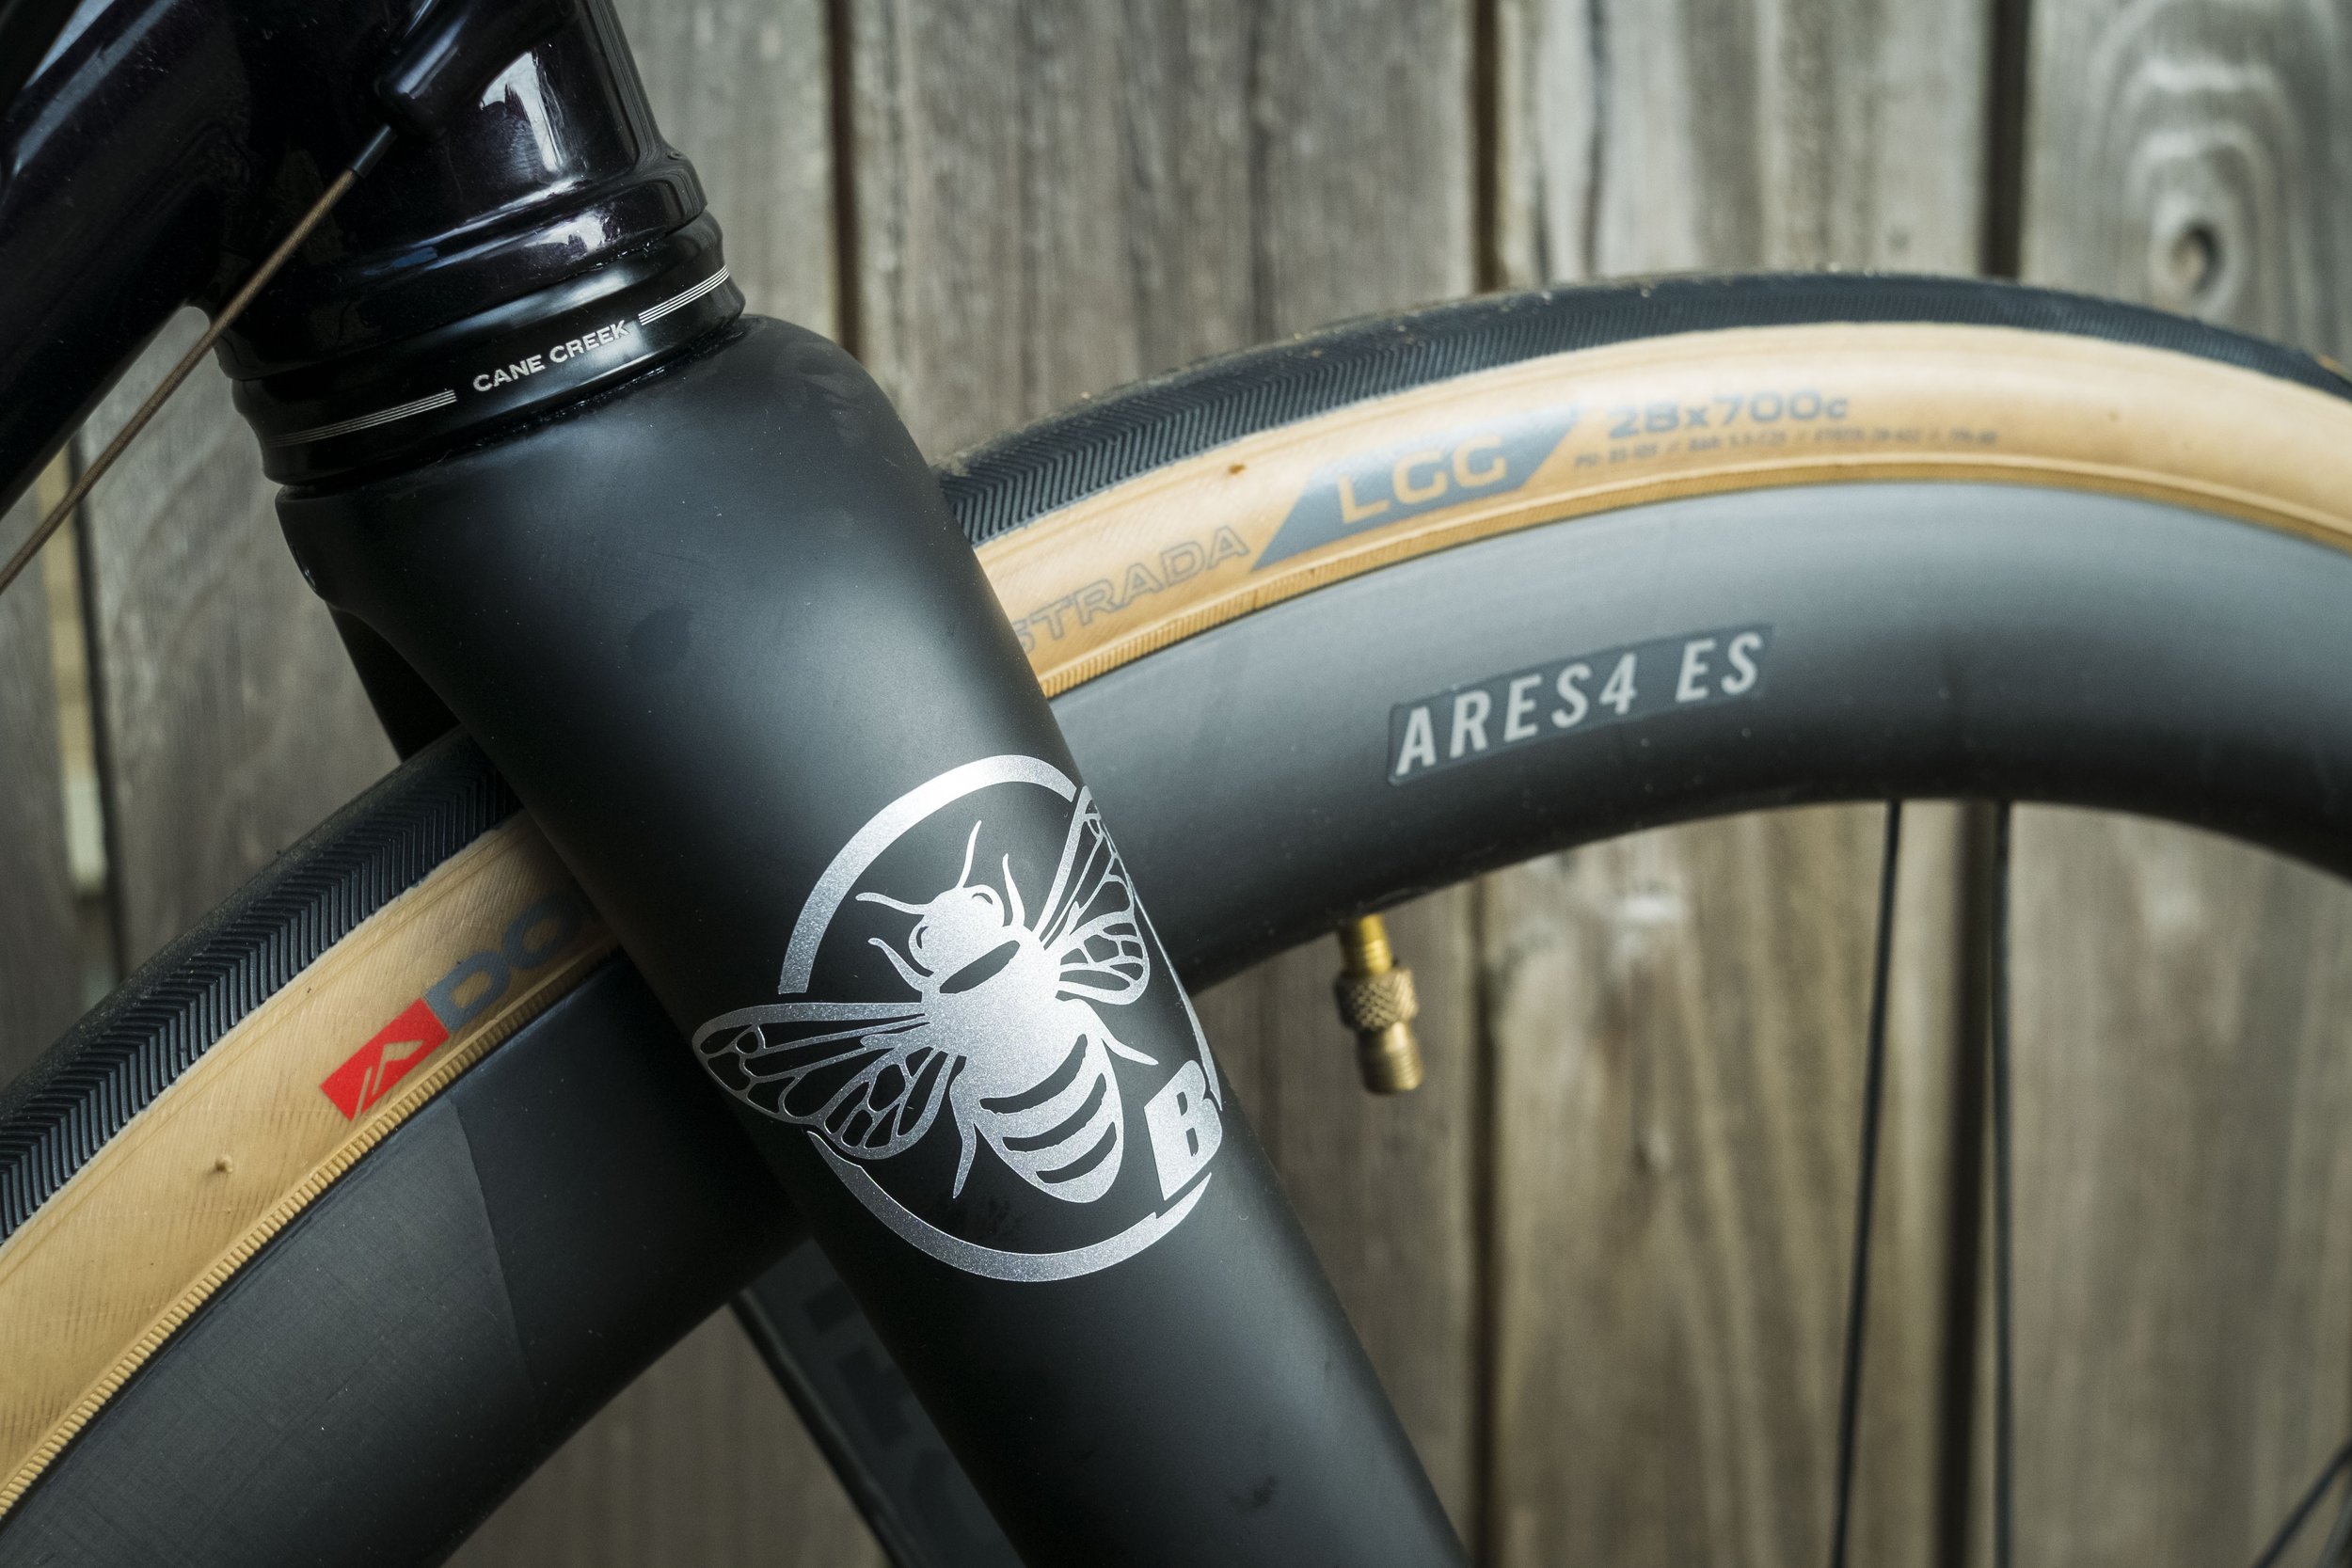
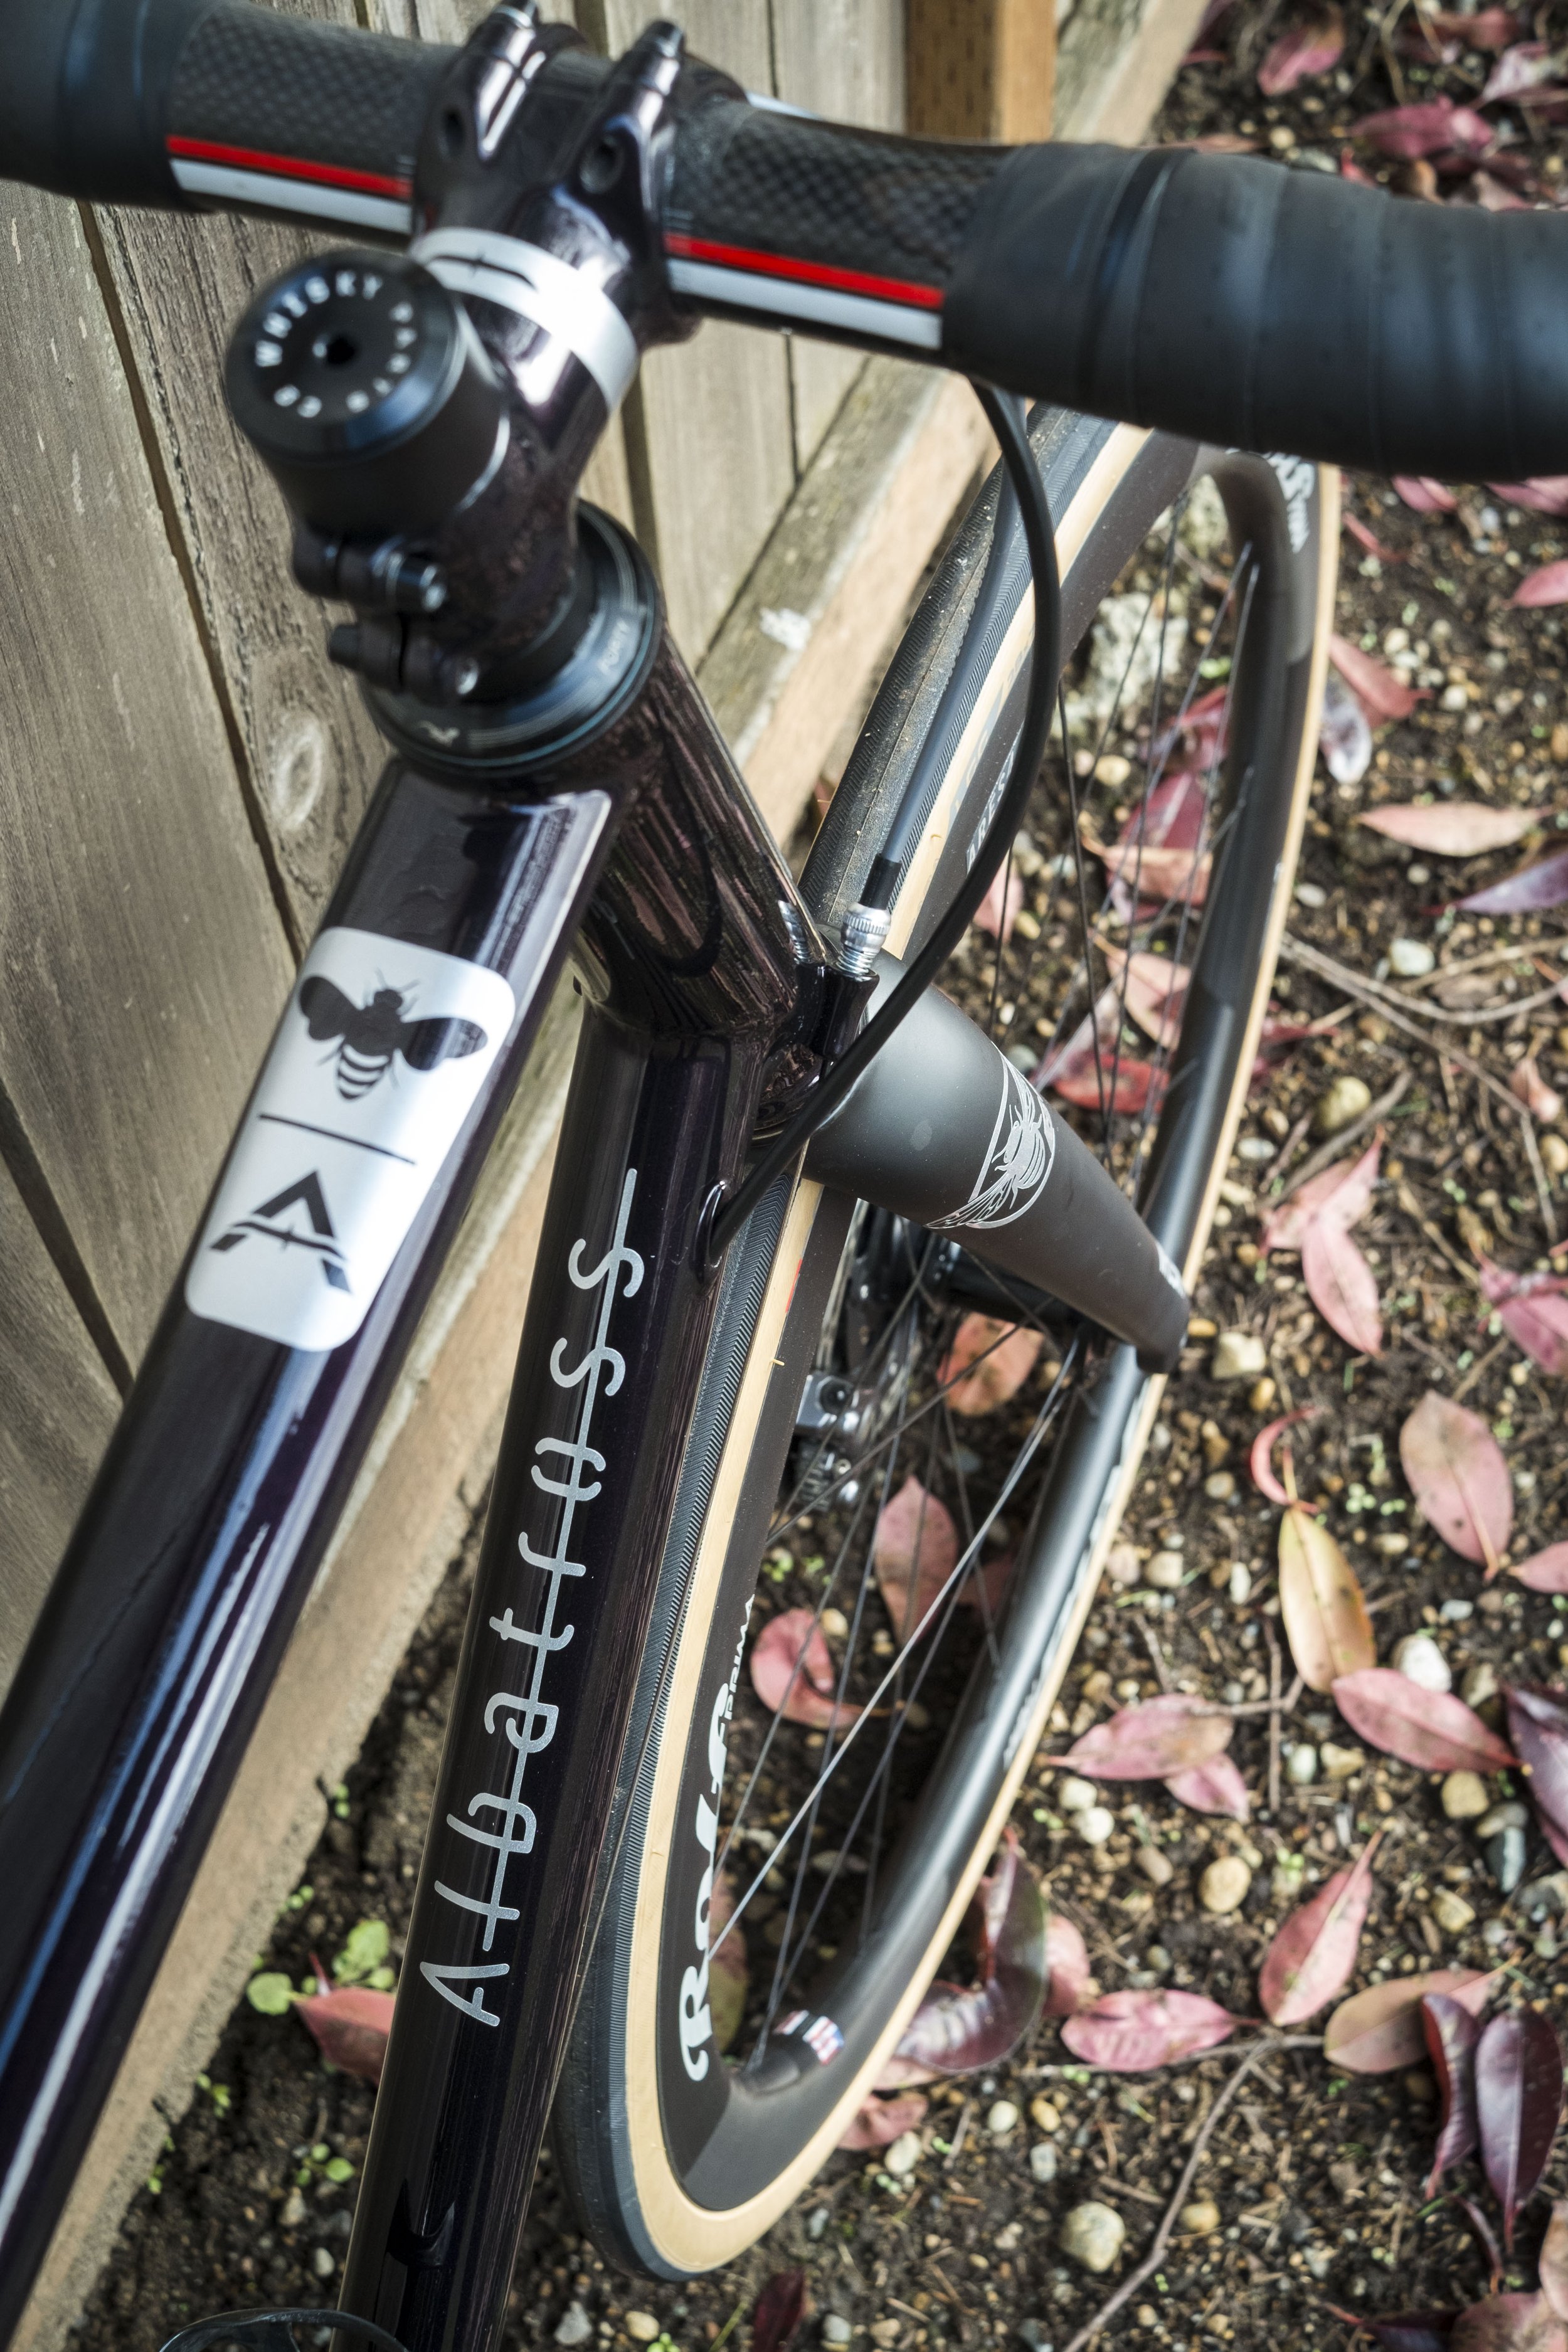
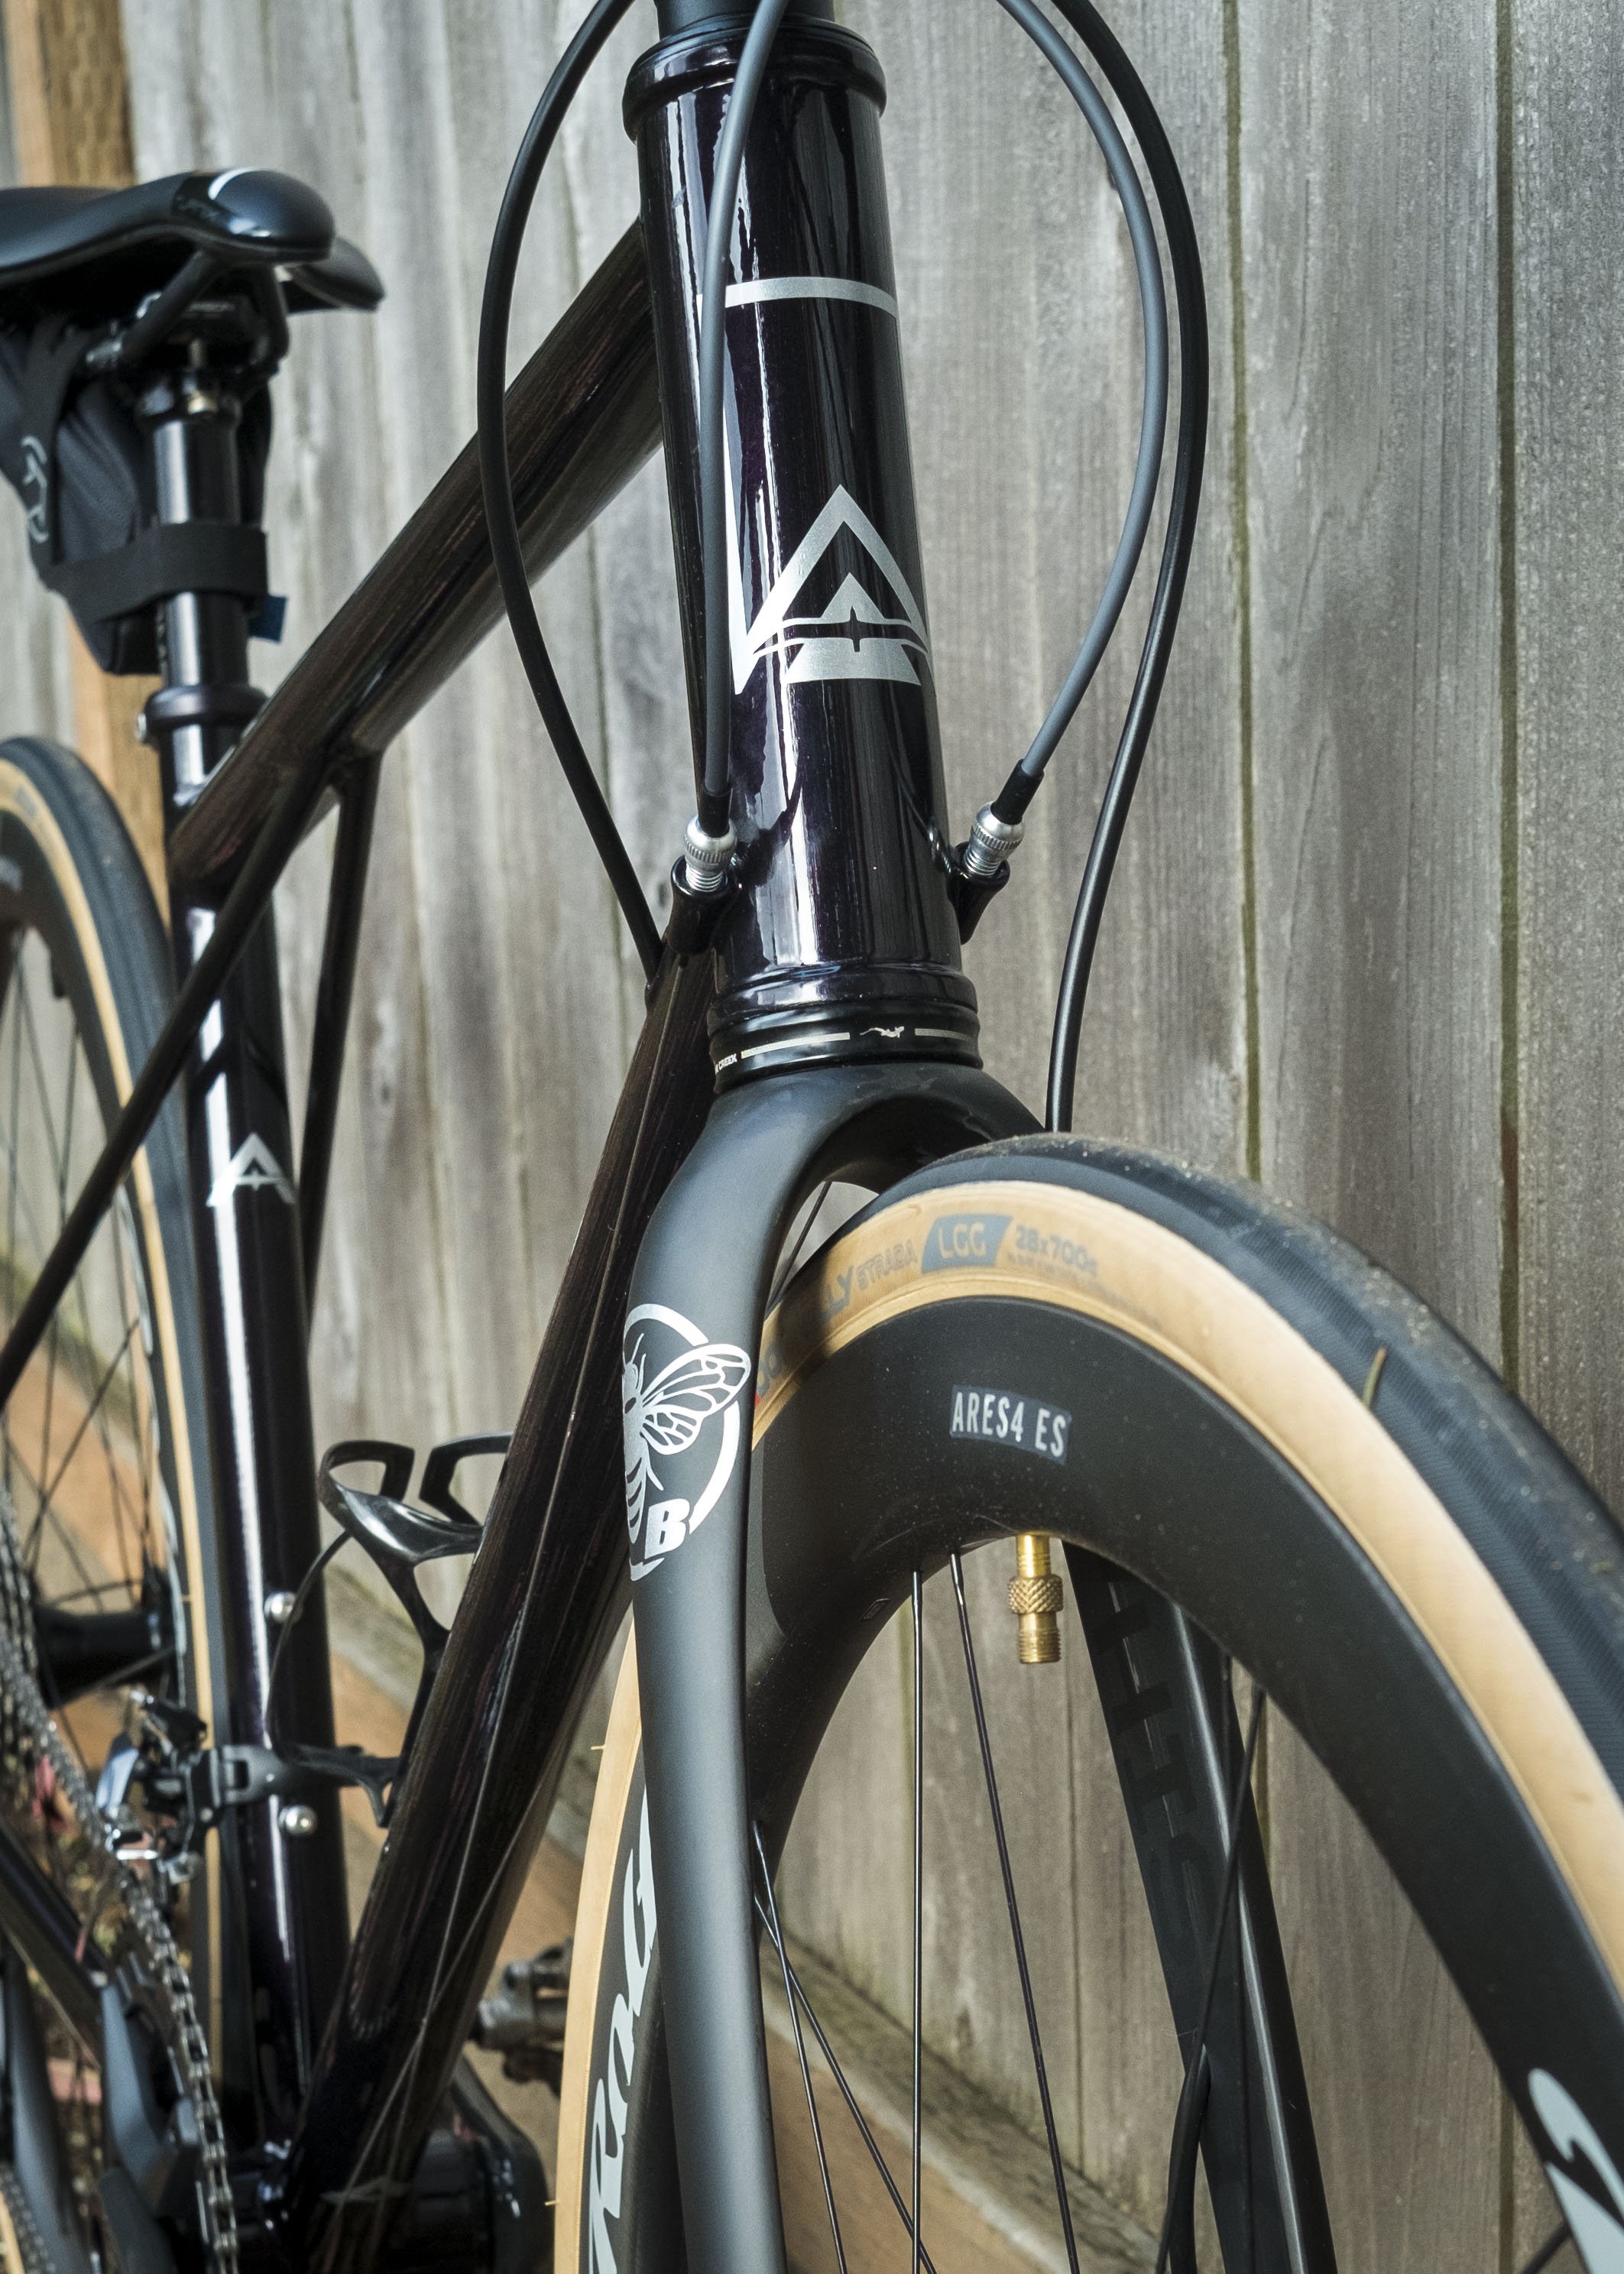
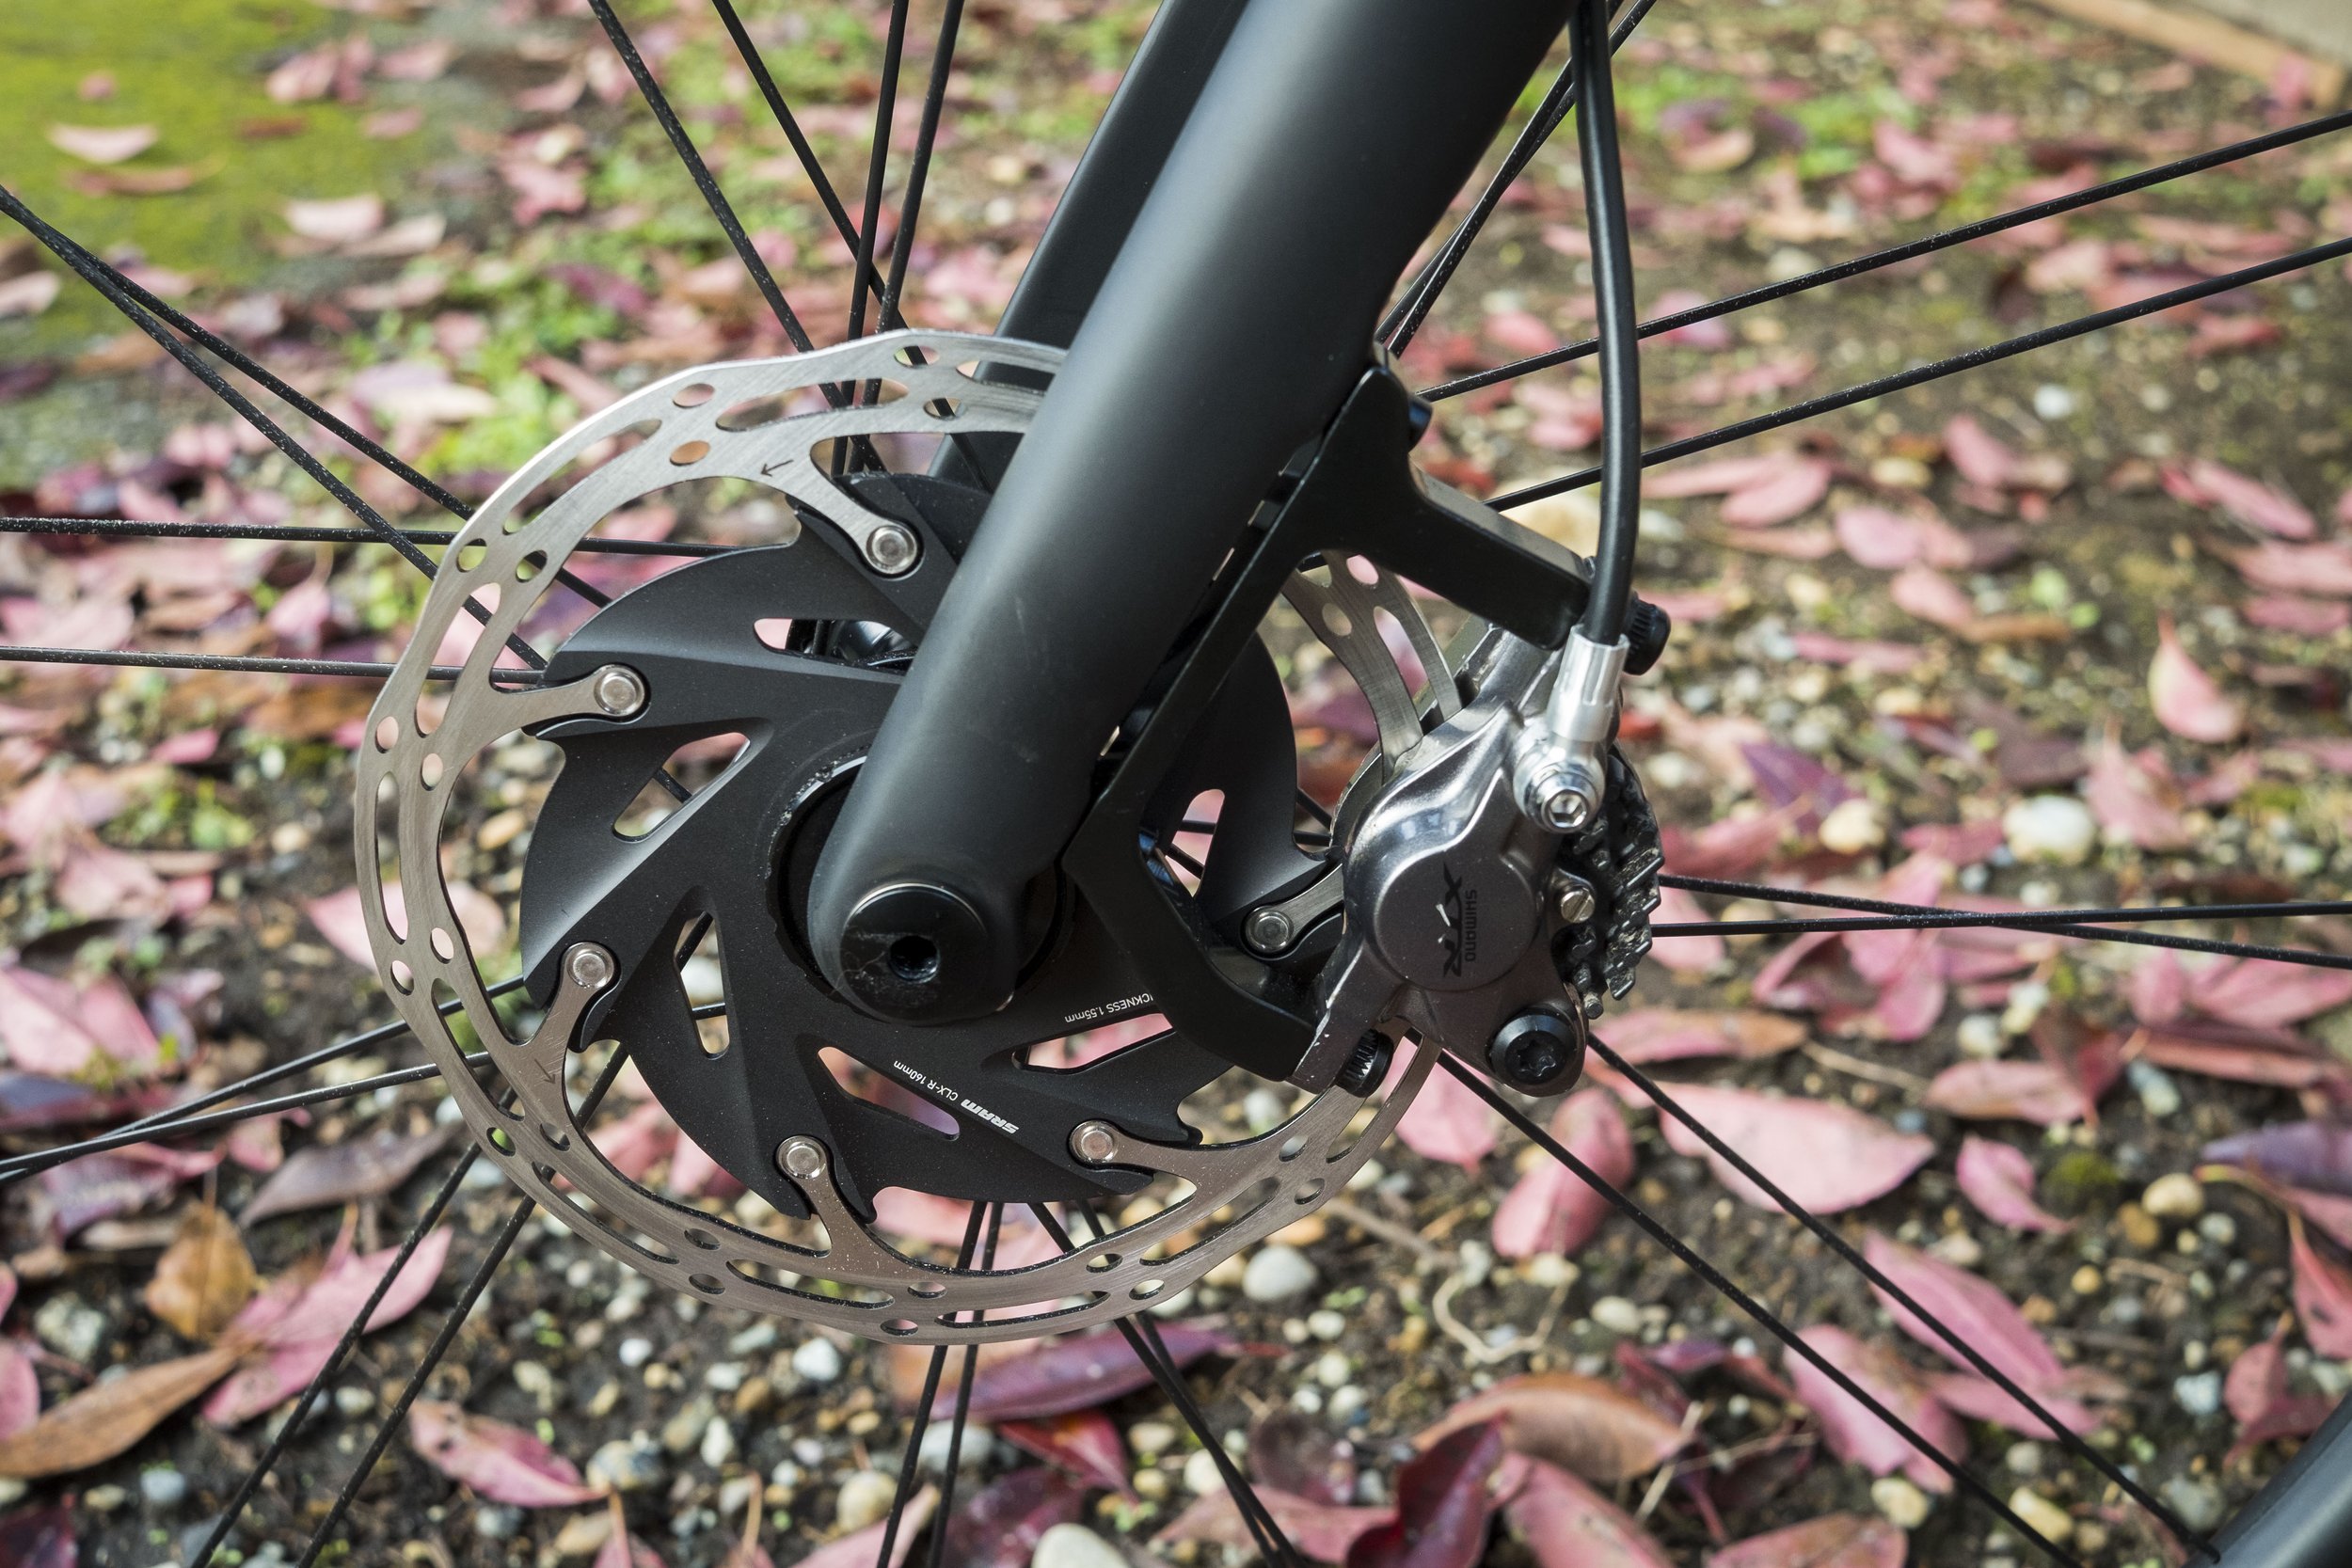
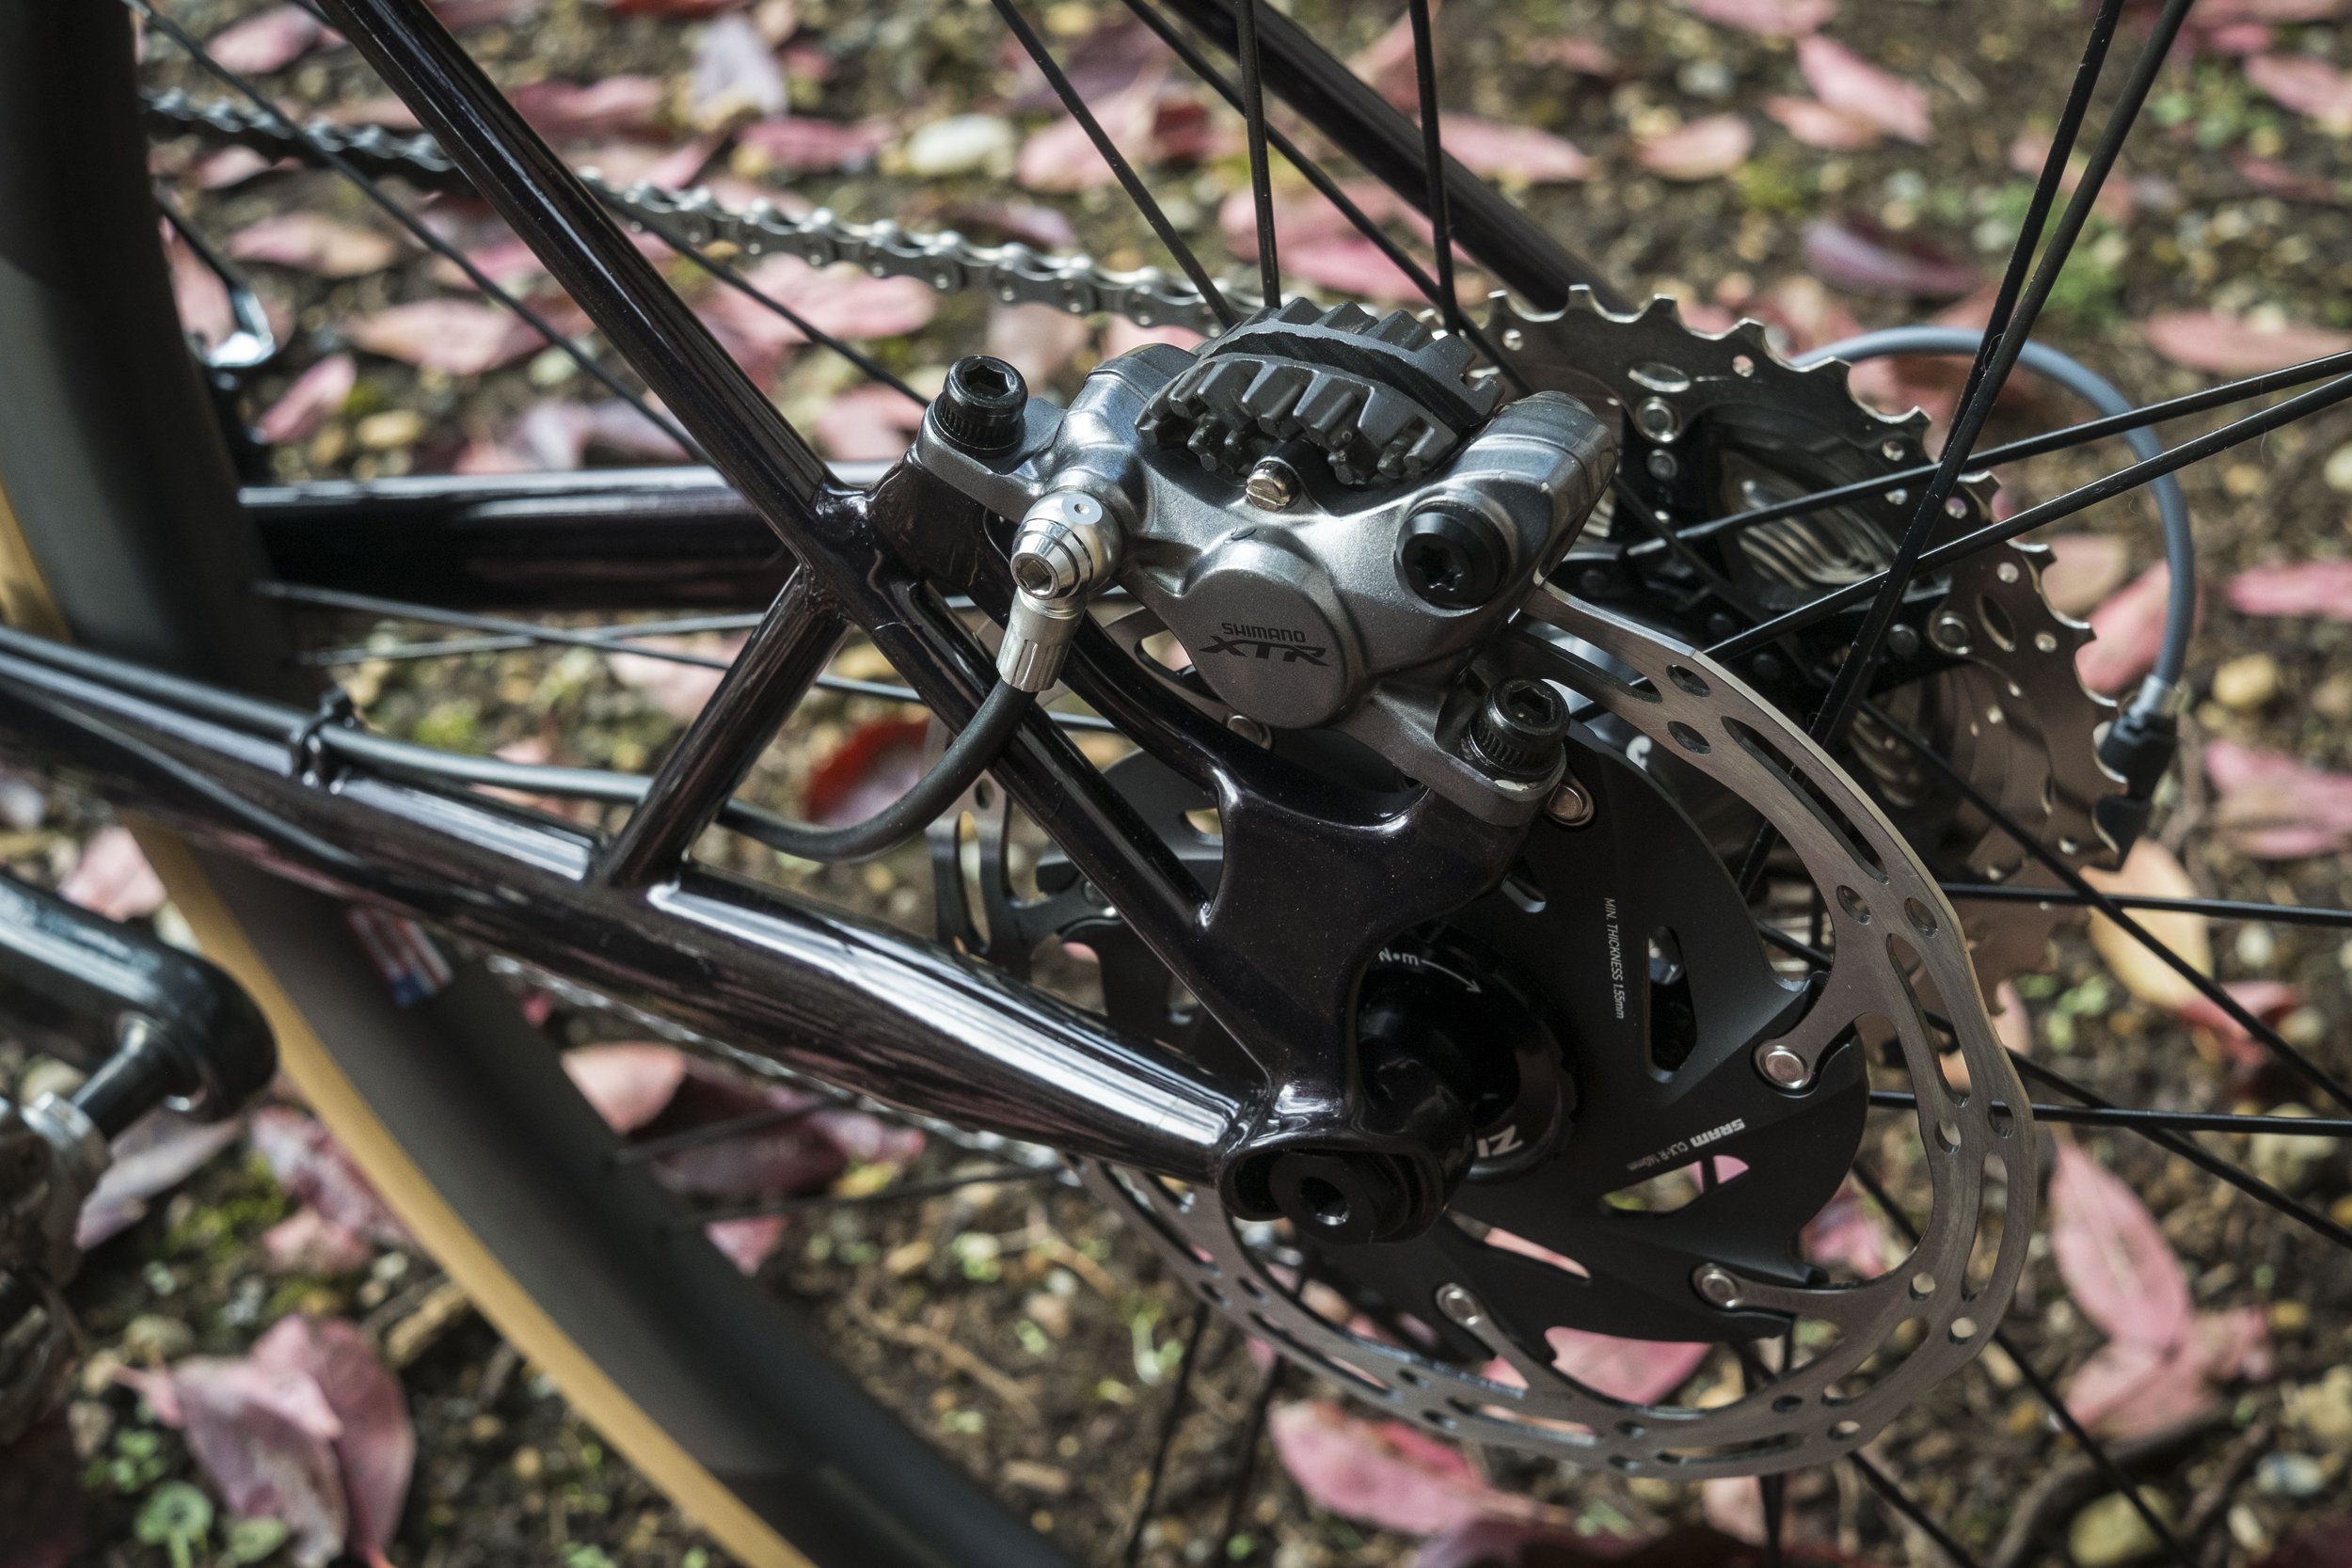
With the geometry and design features all sorted out, the RD01 went to the shop to be pieced together. Unfortunately, as this was the last frame we built in our California shop, we don’t have many photos of the build mid-process. What we can share is that we specifically chose the tubeset to provide the stiffness that E required with her low-cadence, high-torque style of riding. We also chose to run a mix of internal and external routing with the rear brake hose routed inside of the downtube while the derailleur cables run fully external for ease of maintenance. All these frame details were then coated in a Raspberry Illusion powdercoat to give it a subtle yet colorful finish.

Final Build
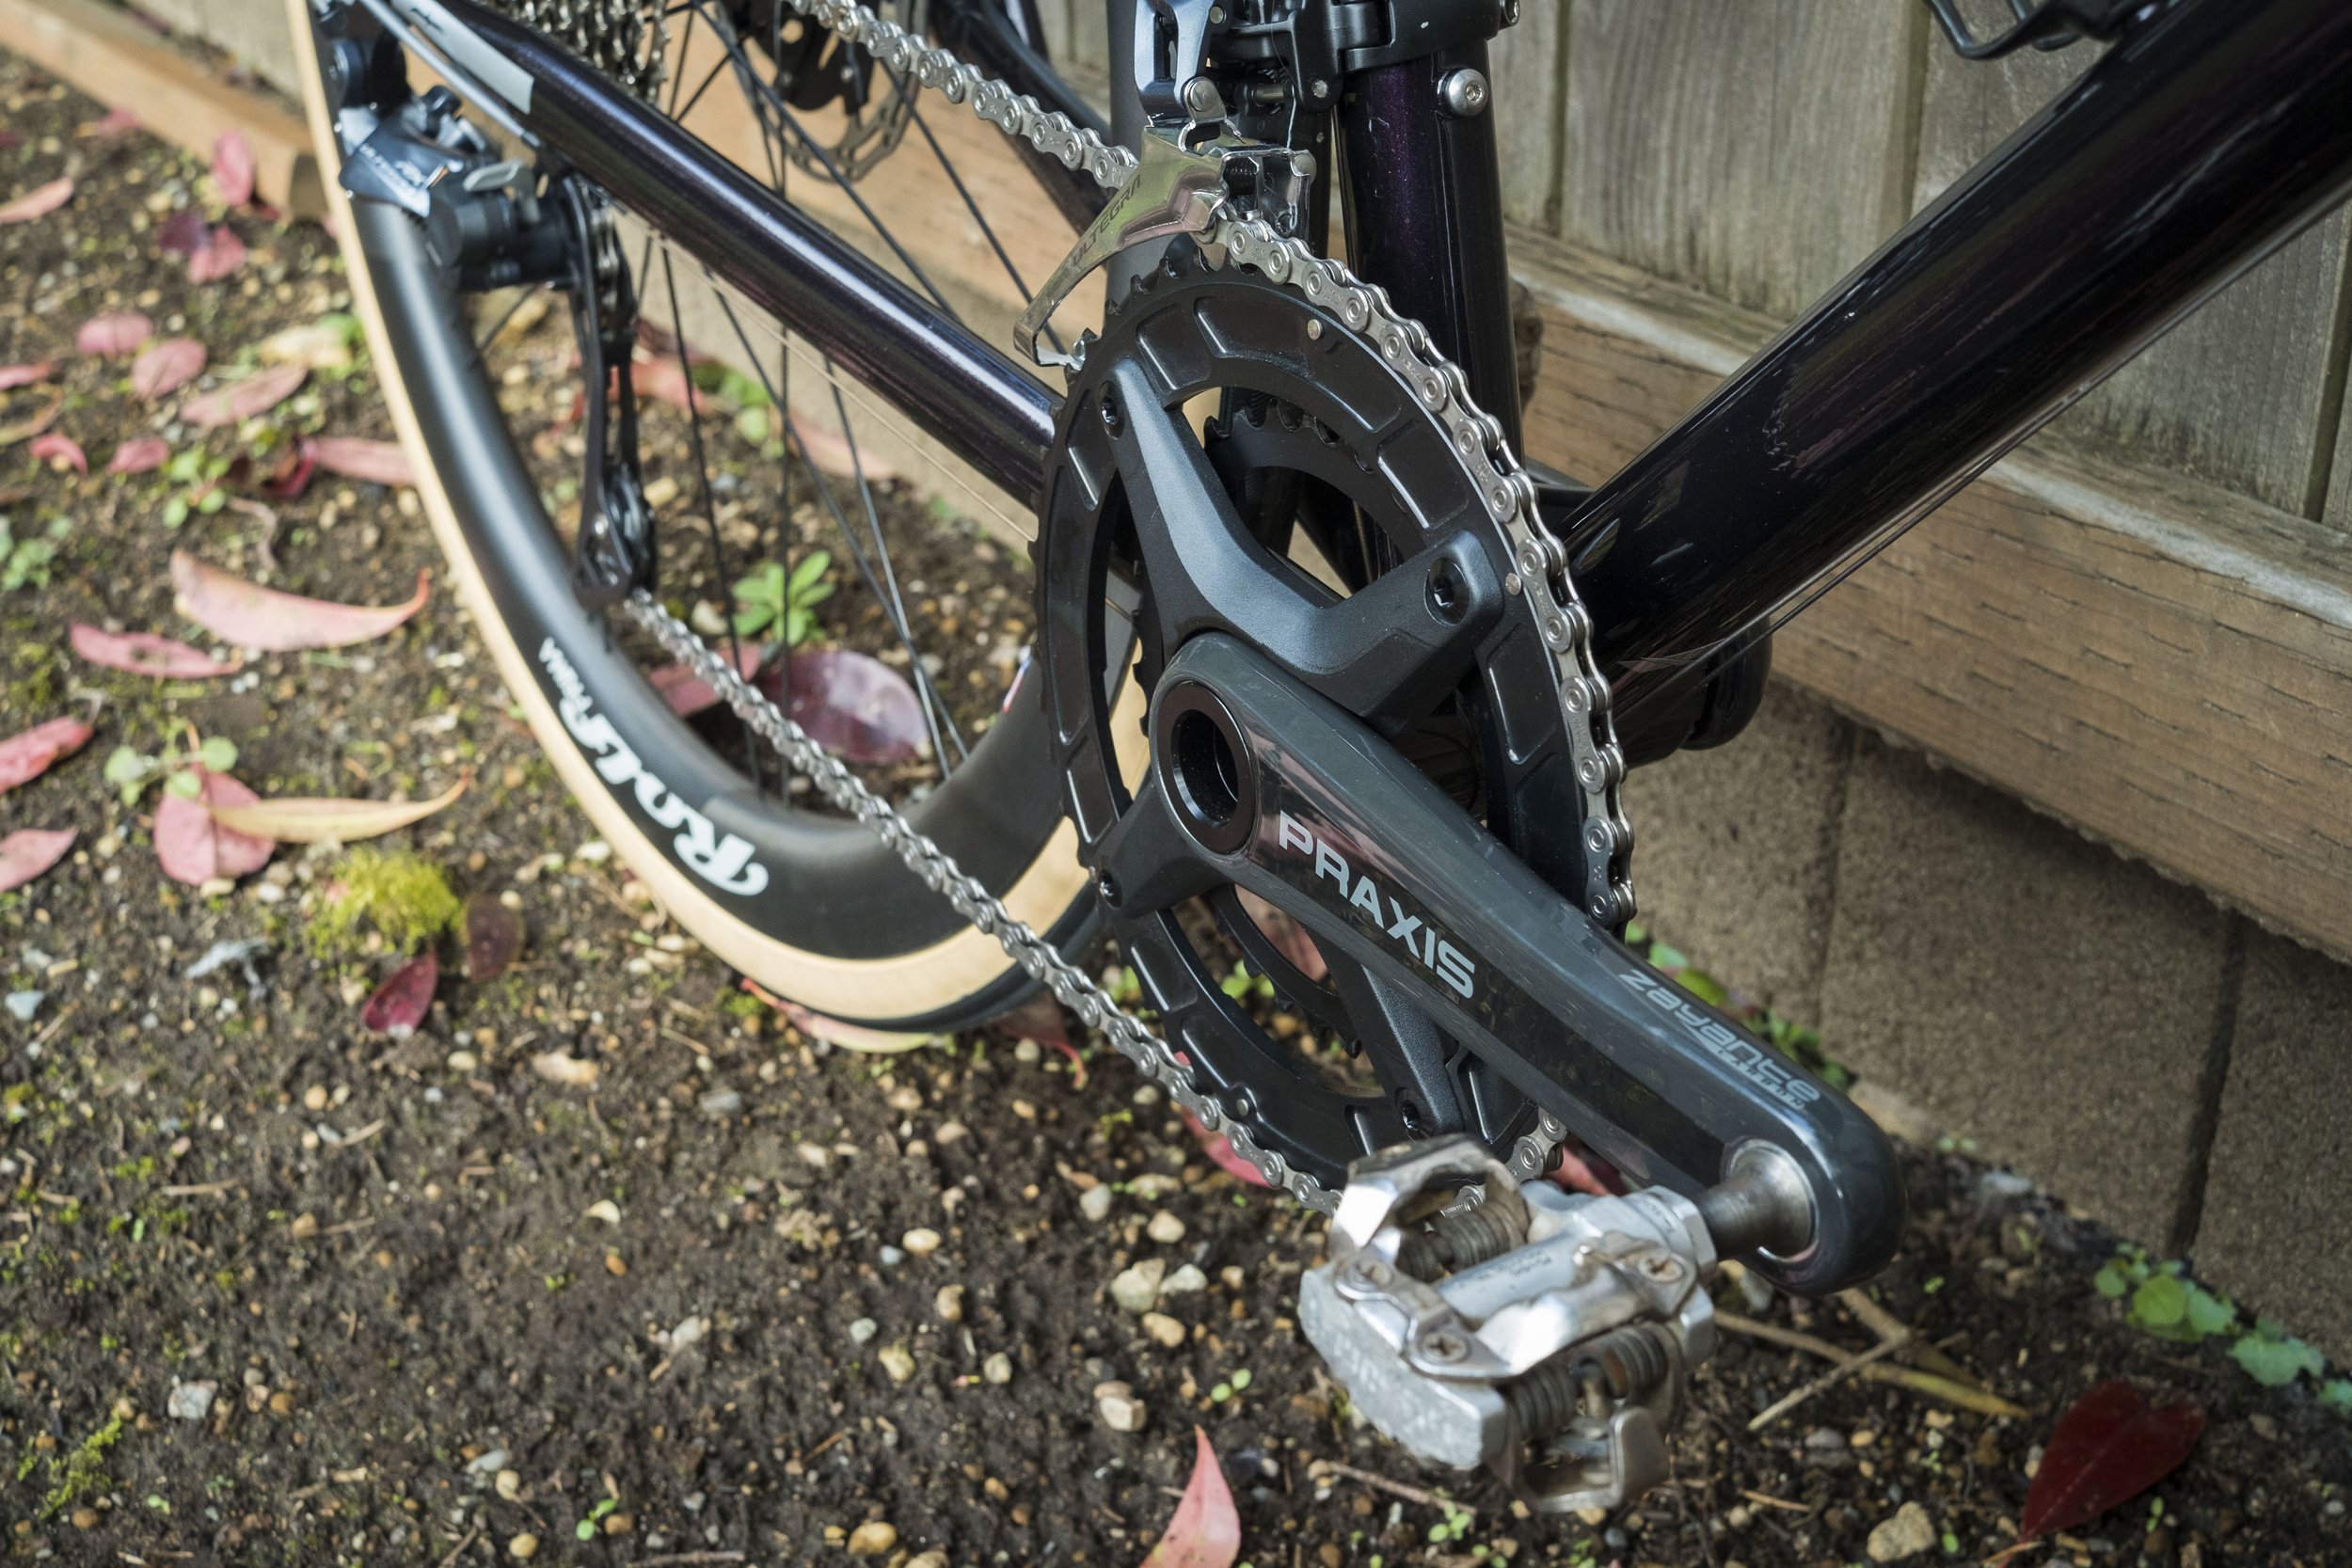
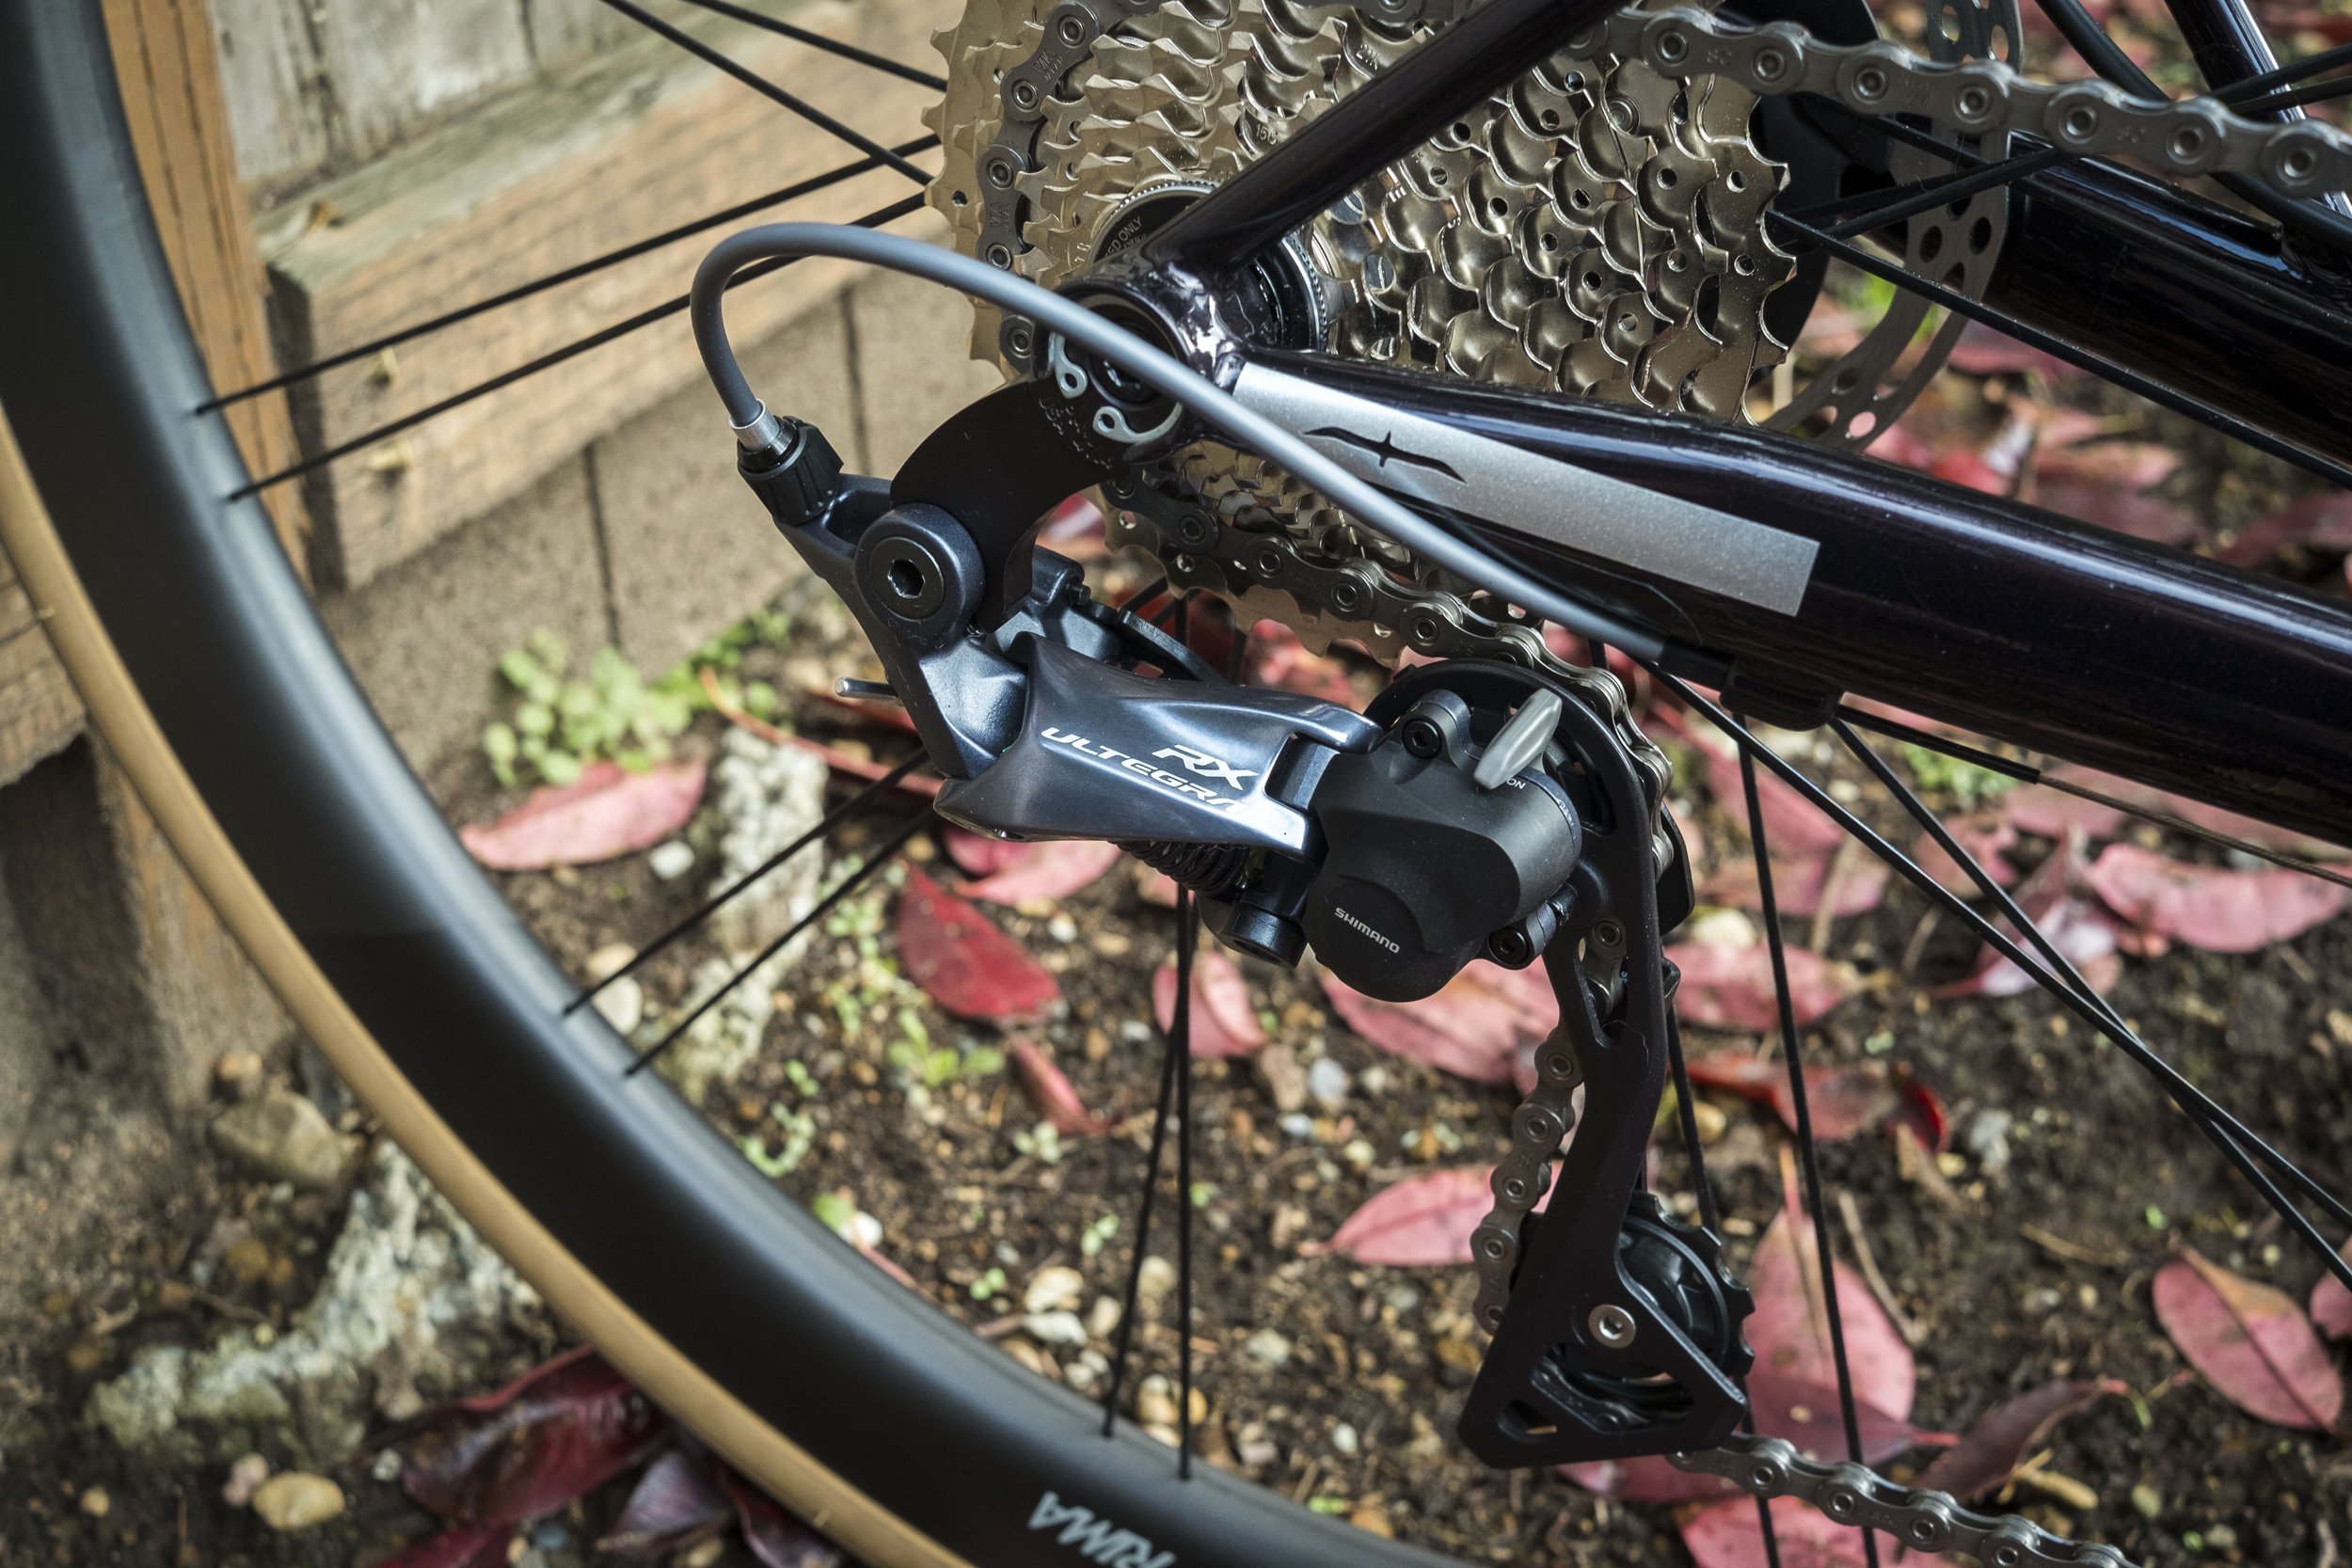
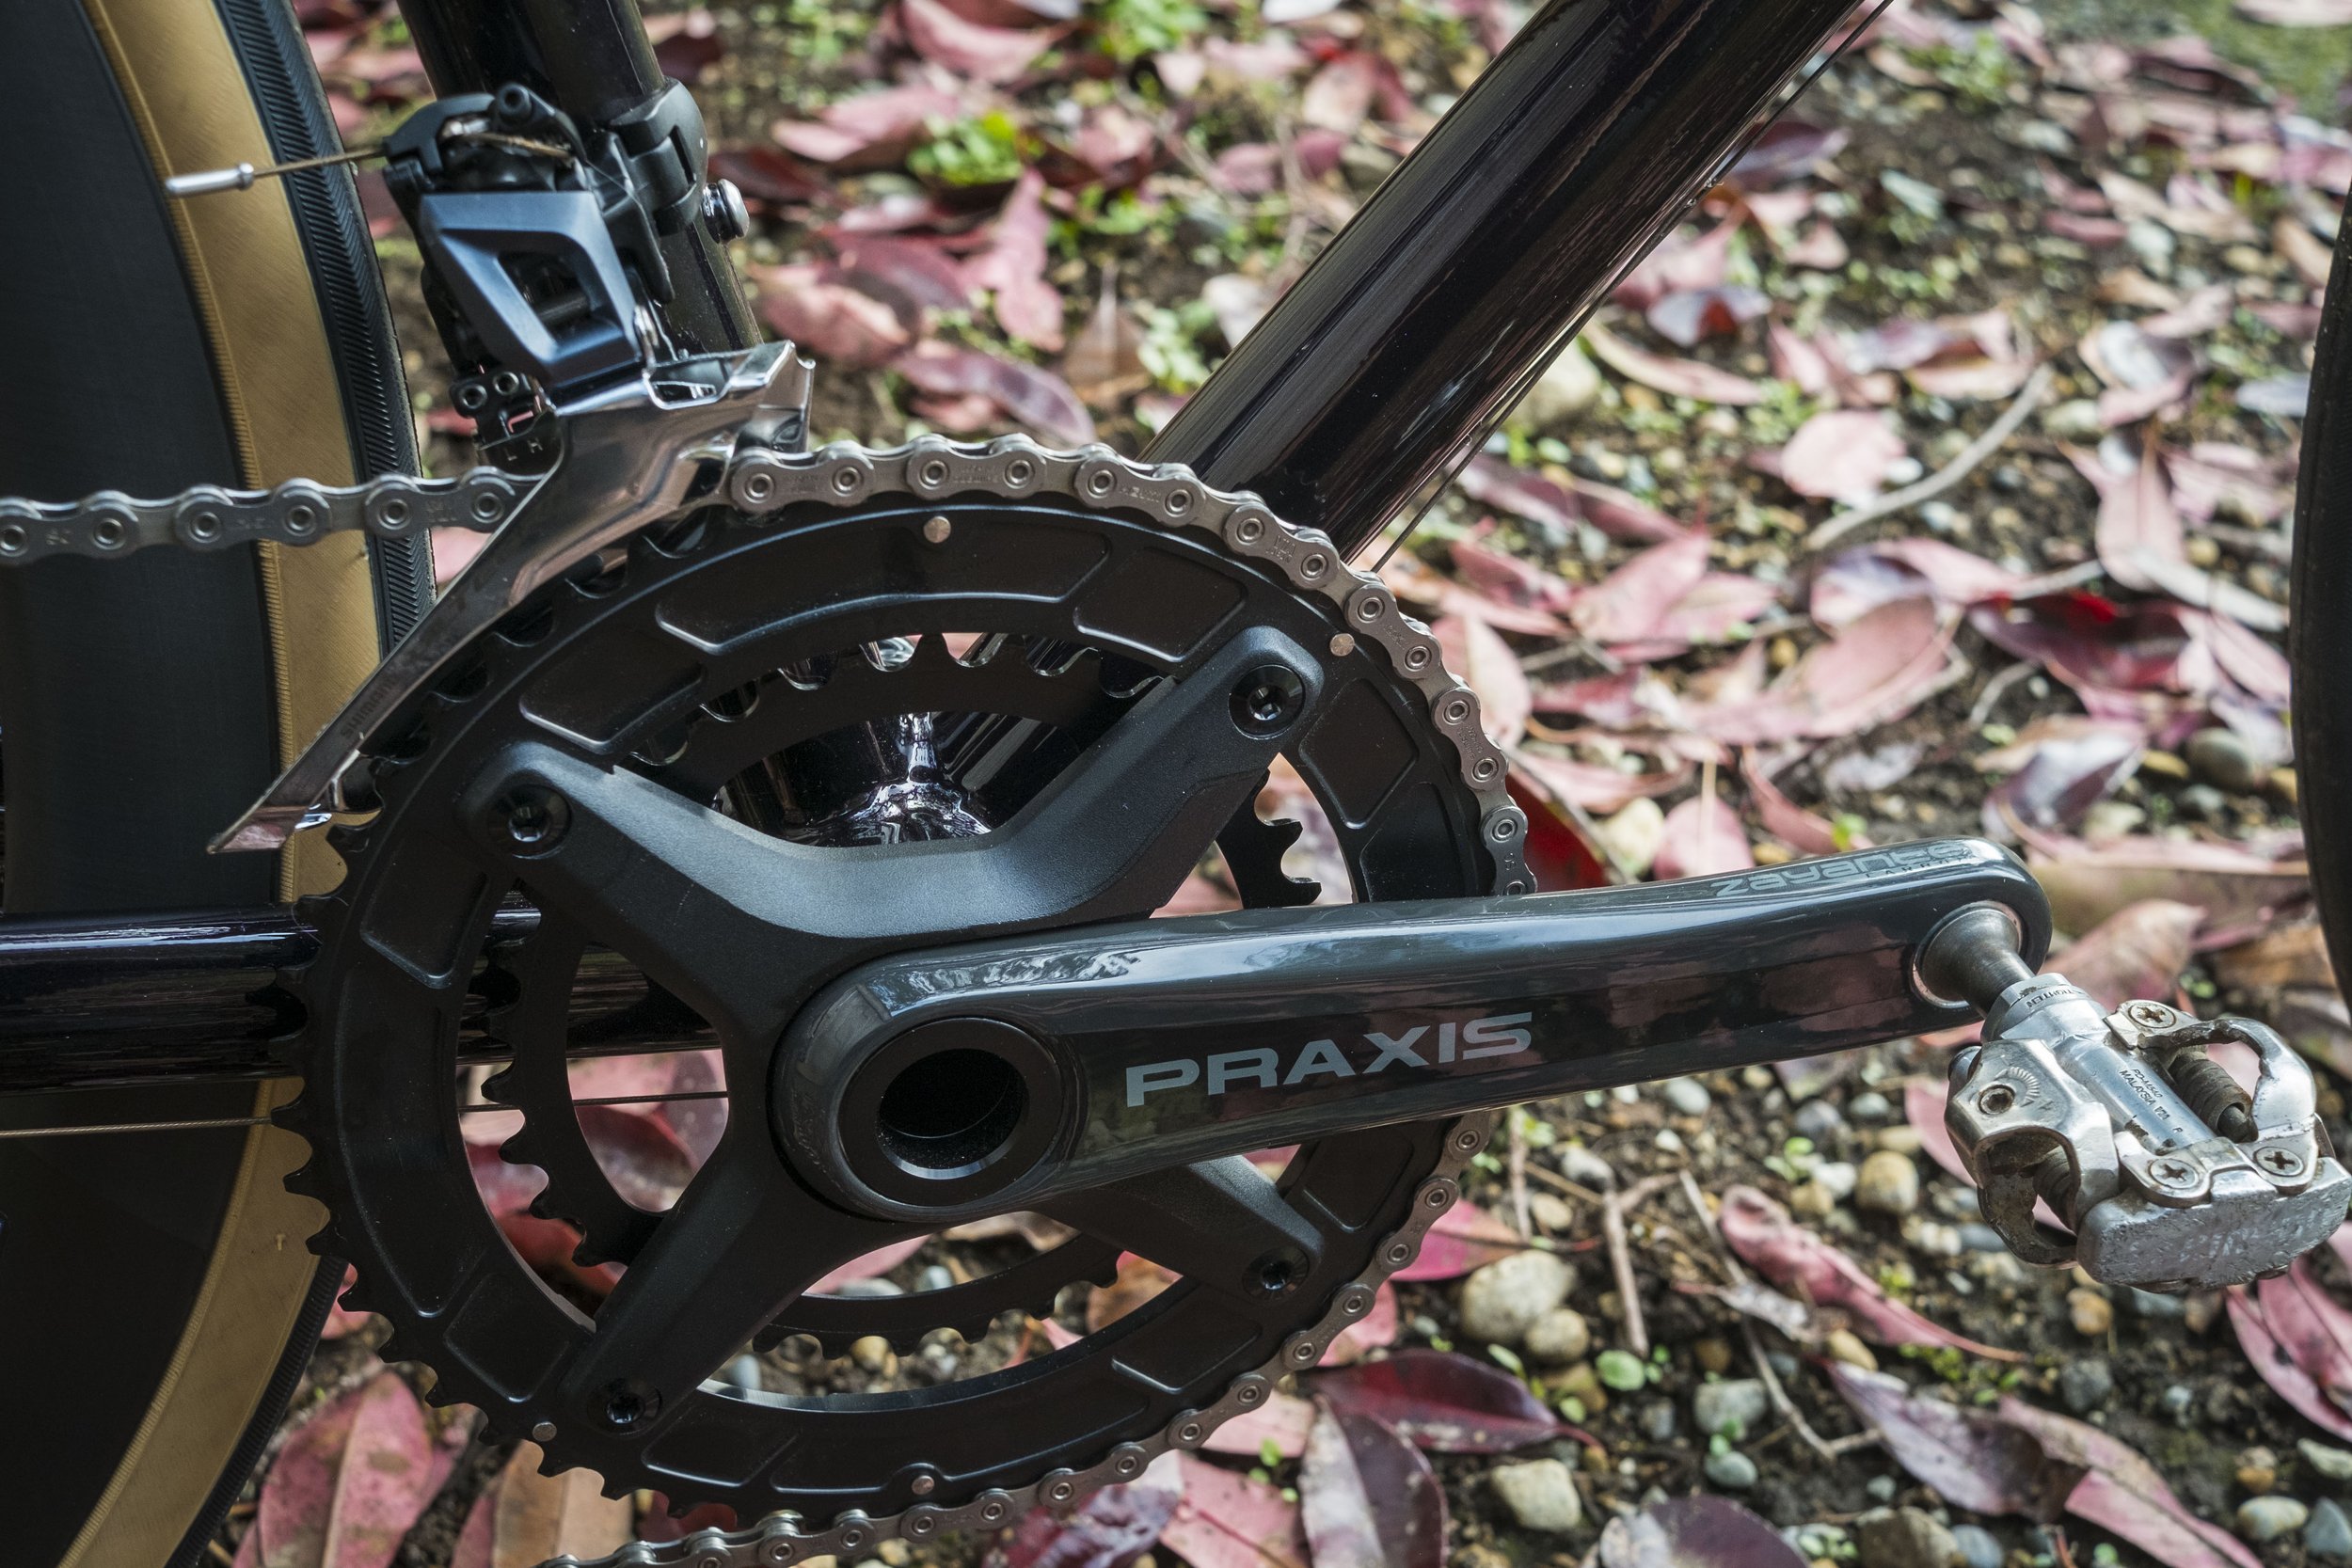
E also chose to have us build up the final bike and to make the choice of components to suit her preferences. With that in mind, we built her bike up with Shimano Ultegra components (including a less-common Ultegra RX rear derailleur, XTR brakes, and Rolf Prima wheelset. A notable departure from a full Ultegra groupset was the inclusion of a Praxis Zayante Carbon crankset. We’ve always been fans of the Praxis bottom brackets and their carbon cranks and X-Rings provide that same level of reliability in a crankset.
E’s bike is now up in the Pacific Northwest getting ridden regularly as intended.
Further Reading


The Universal Derailleur Hanger (UDH) standard exists as a Trojan Horse of a standard. While this new frame standard has caused some headaches among framebuilders, it does bring with it a few benefits that we think outweigh the negatives.