
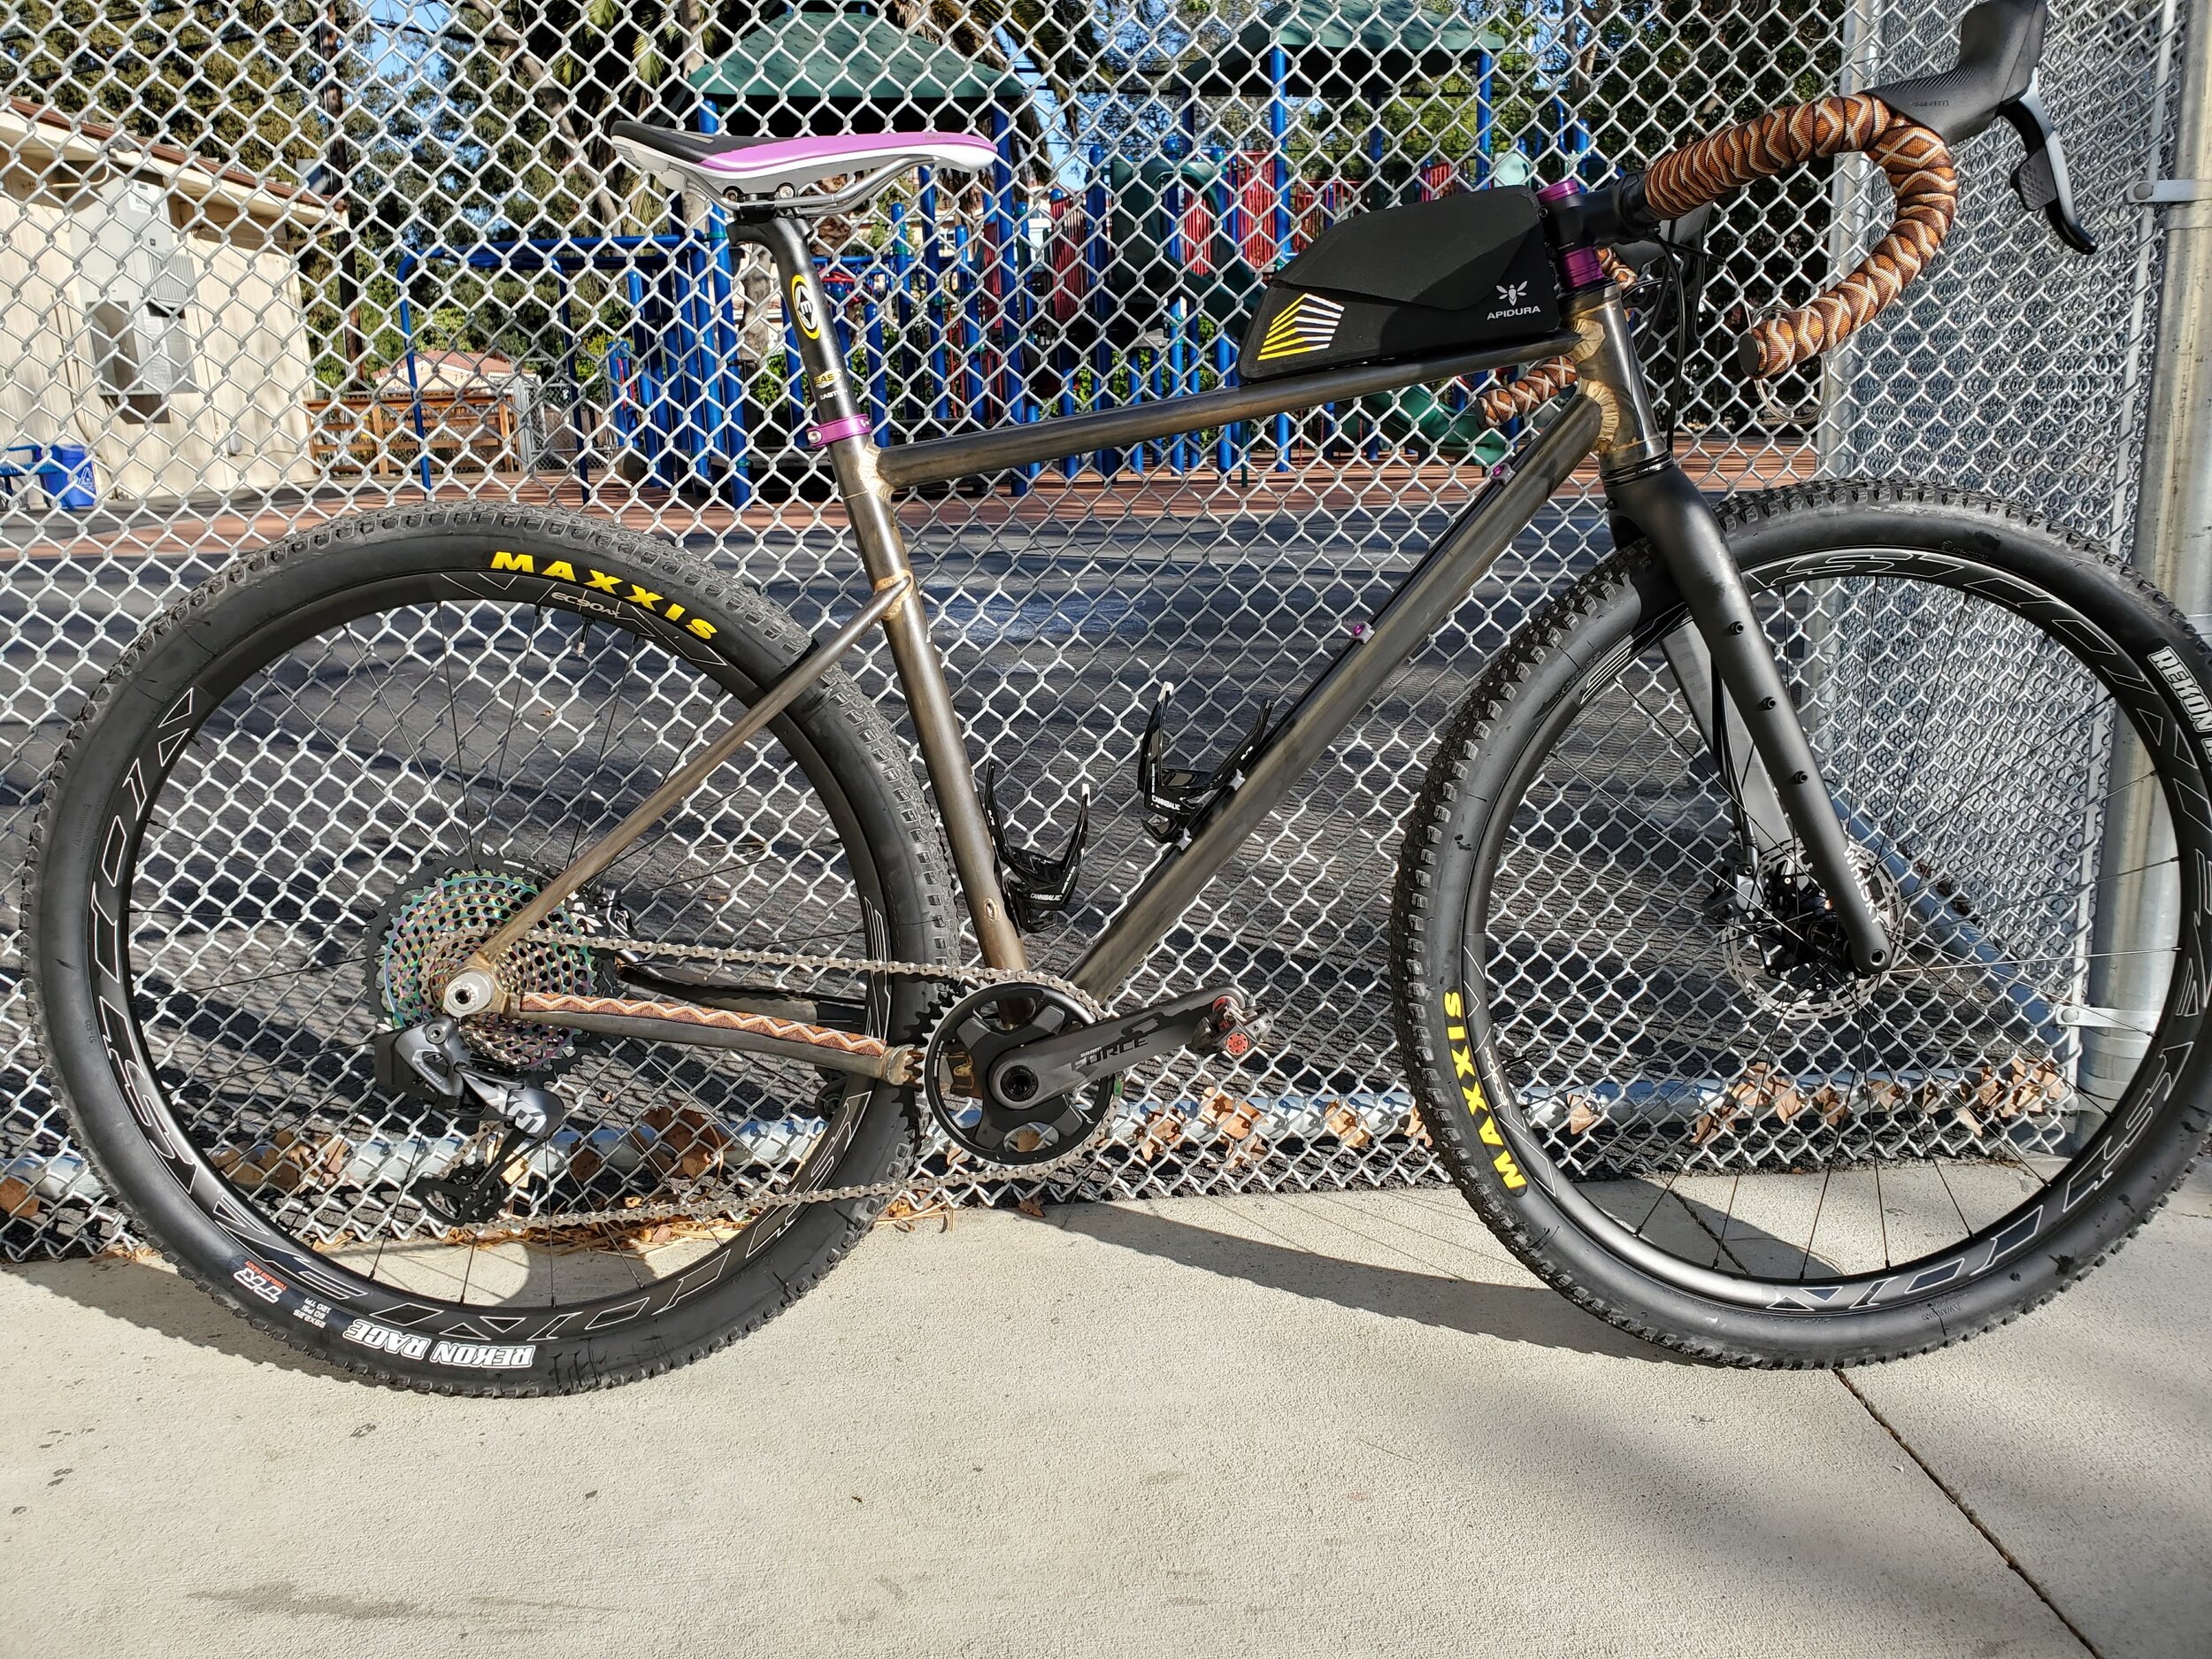
GR01 - ENelson Gravel Frameset
We have been wanting to build an example of our take on a gravel bike for quite some time and when our test rider Erik Nelson reached out to us looking for a replacement for his gravel bike, we couldn’t help but give it a go.

We come from a background of off-road racing so we knew that our take on a gravel bike wouldn’t be a simple tweaking of a road bike for more tire clearance. We wanted to build a mountain-bikers gravel bike.
Frame Design
Erik came to us looking for a bike that would enable him to ride some of the rougher terrain than you would normally ride on a gravel bike but still be able to feel at home on the street on your way to those trails. Over the years of working with him, we’ve seen him hit enough doubles on cyclocross bikes to know that this meant that the bike had to be robust and able to take some serious abuse. He also wanted a very specific fit to work with some of his old injuries and make sure that he would be comfortable with long hours on the bike.

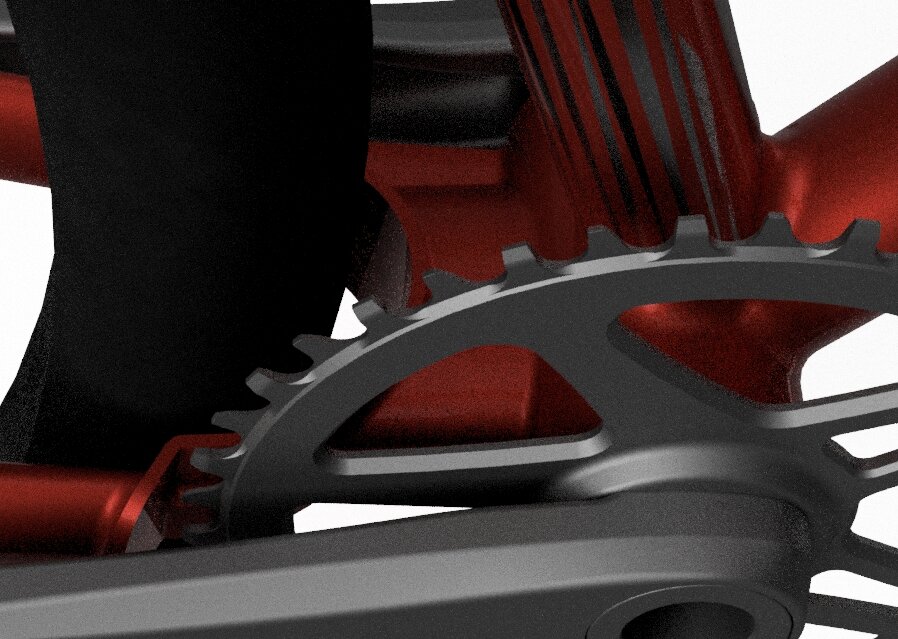
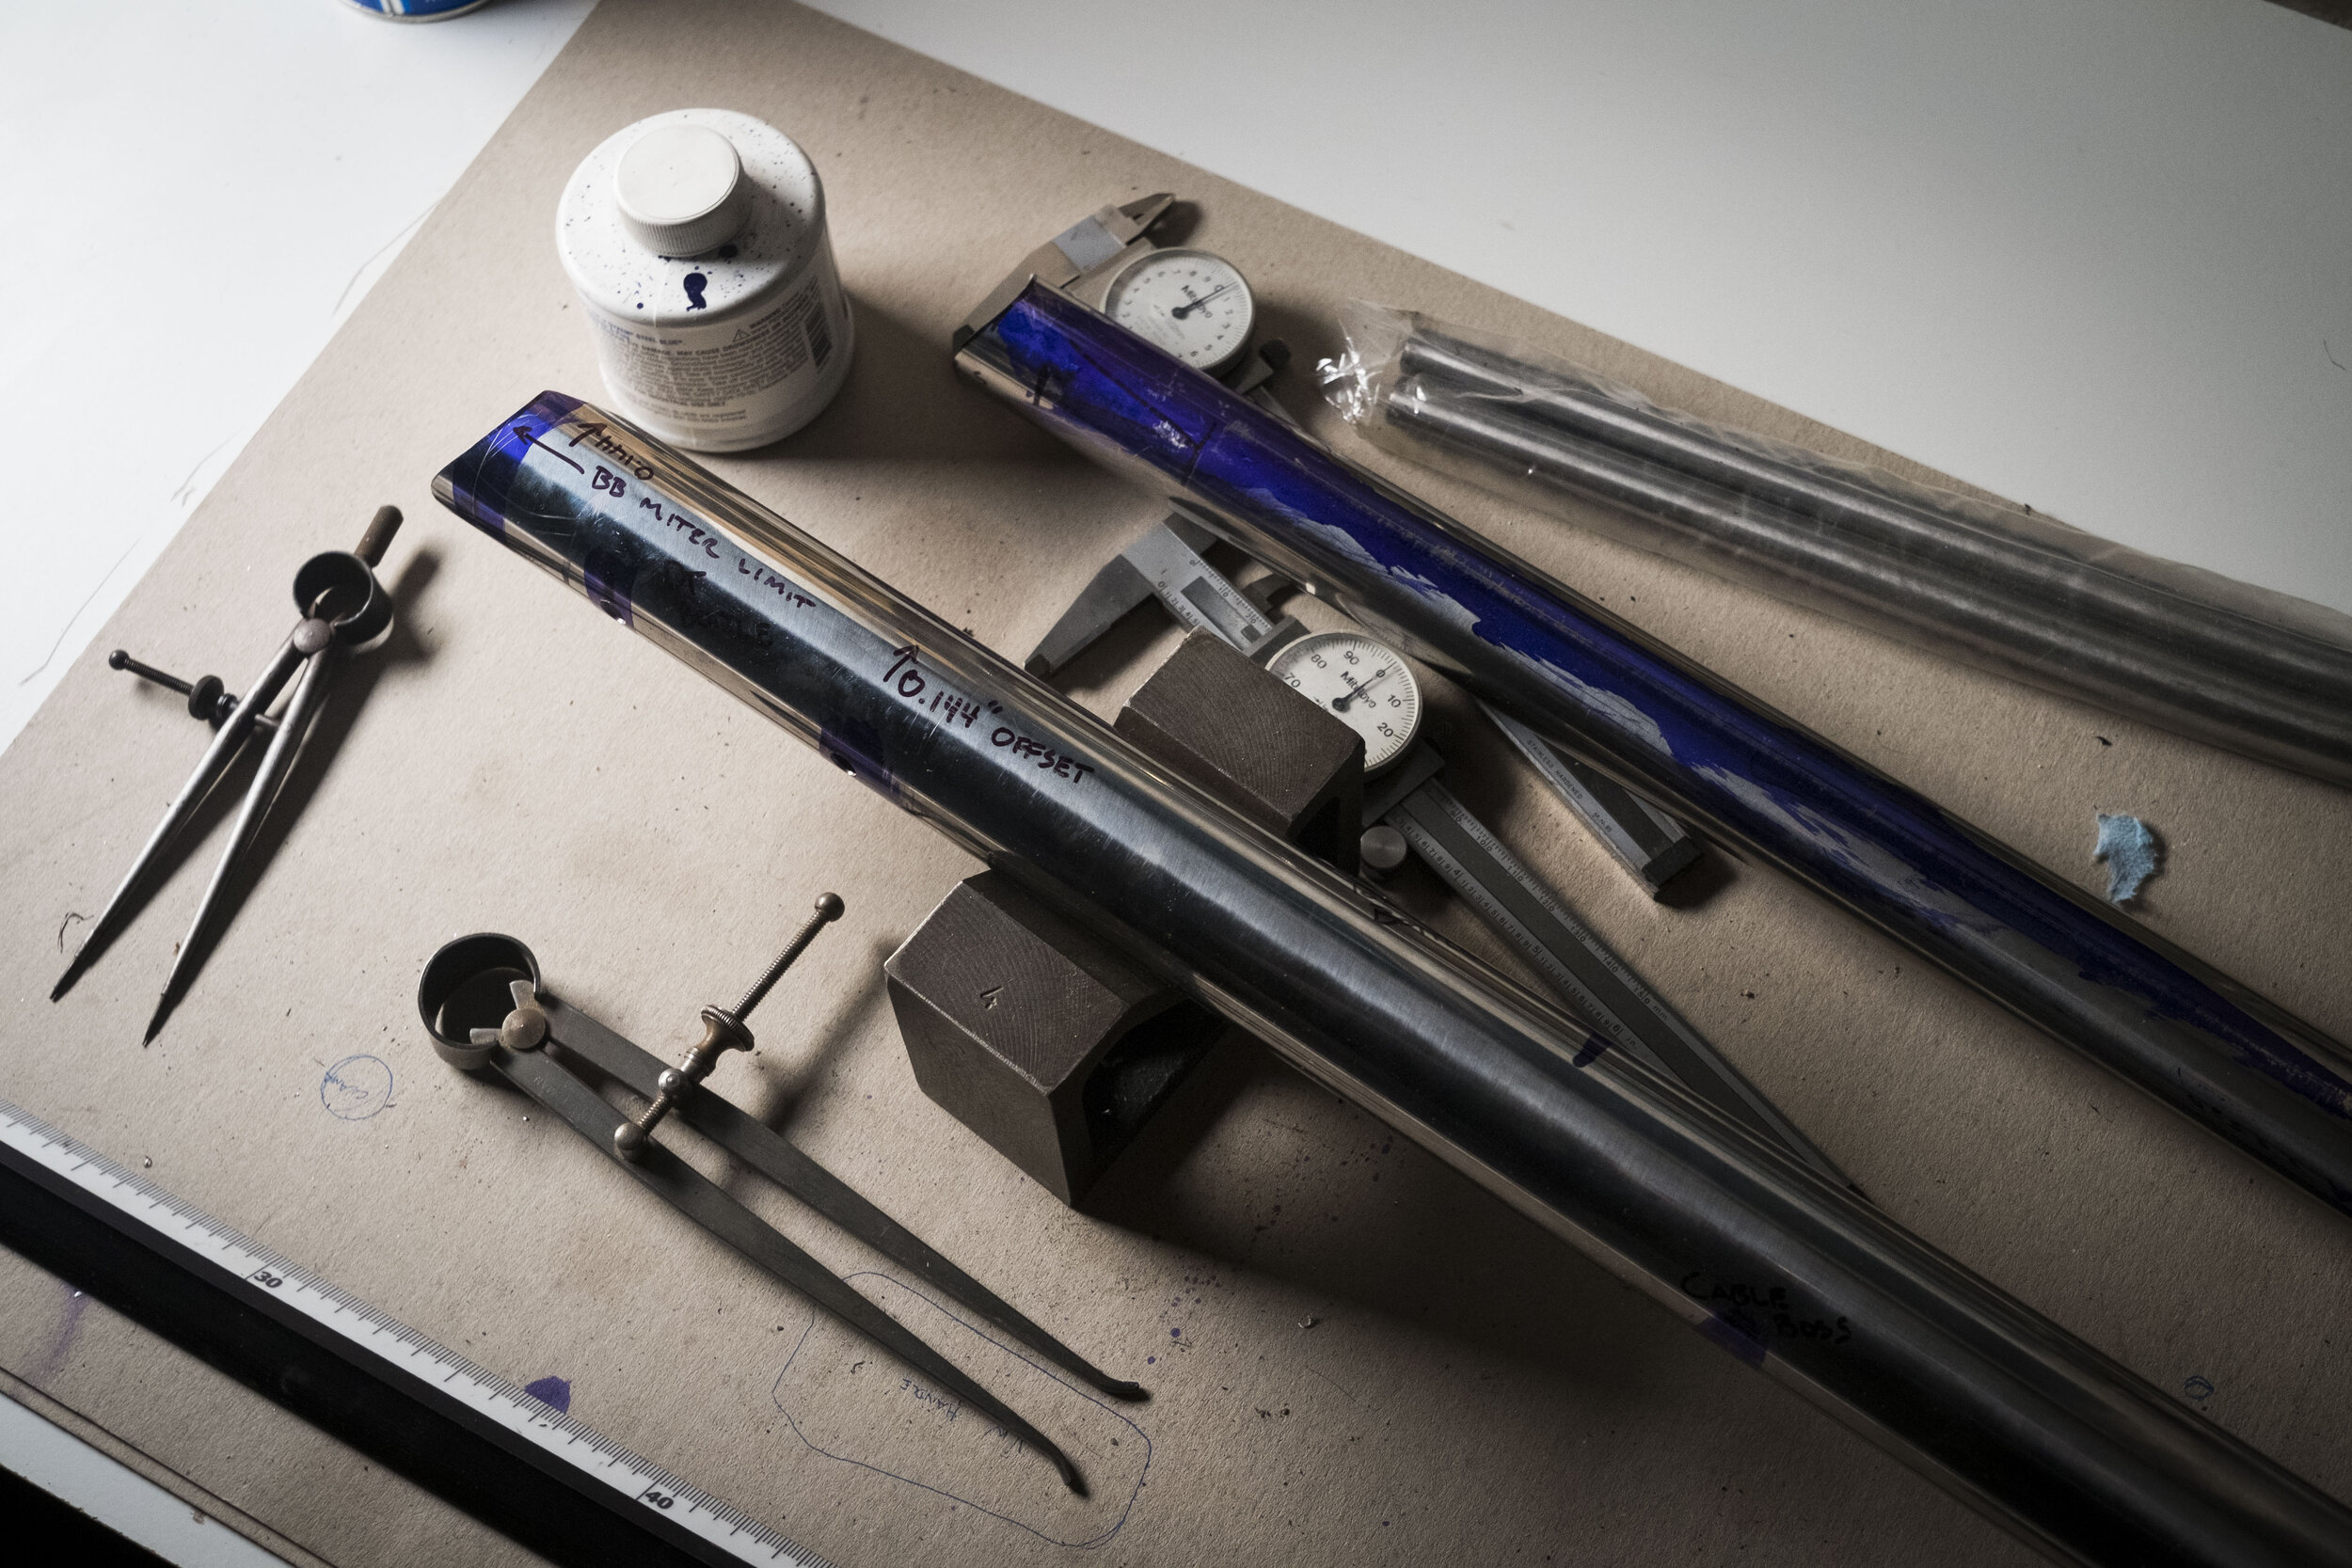
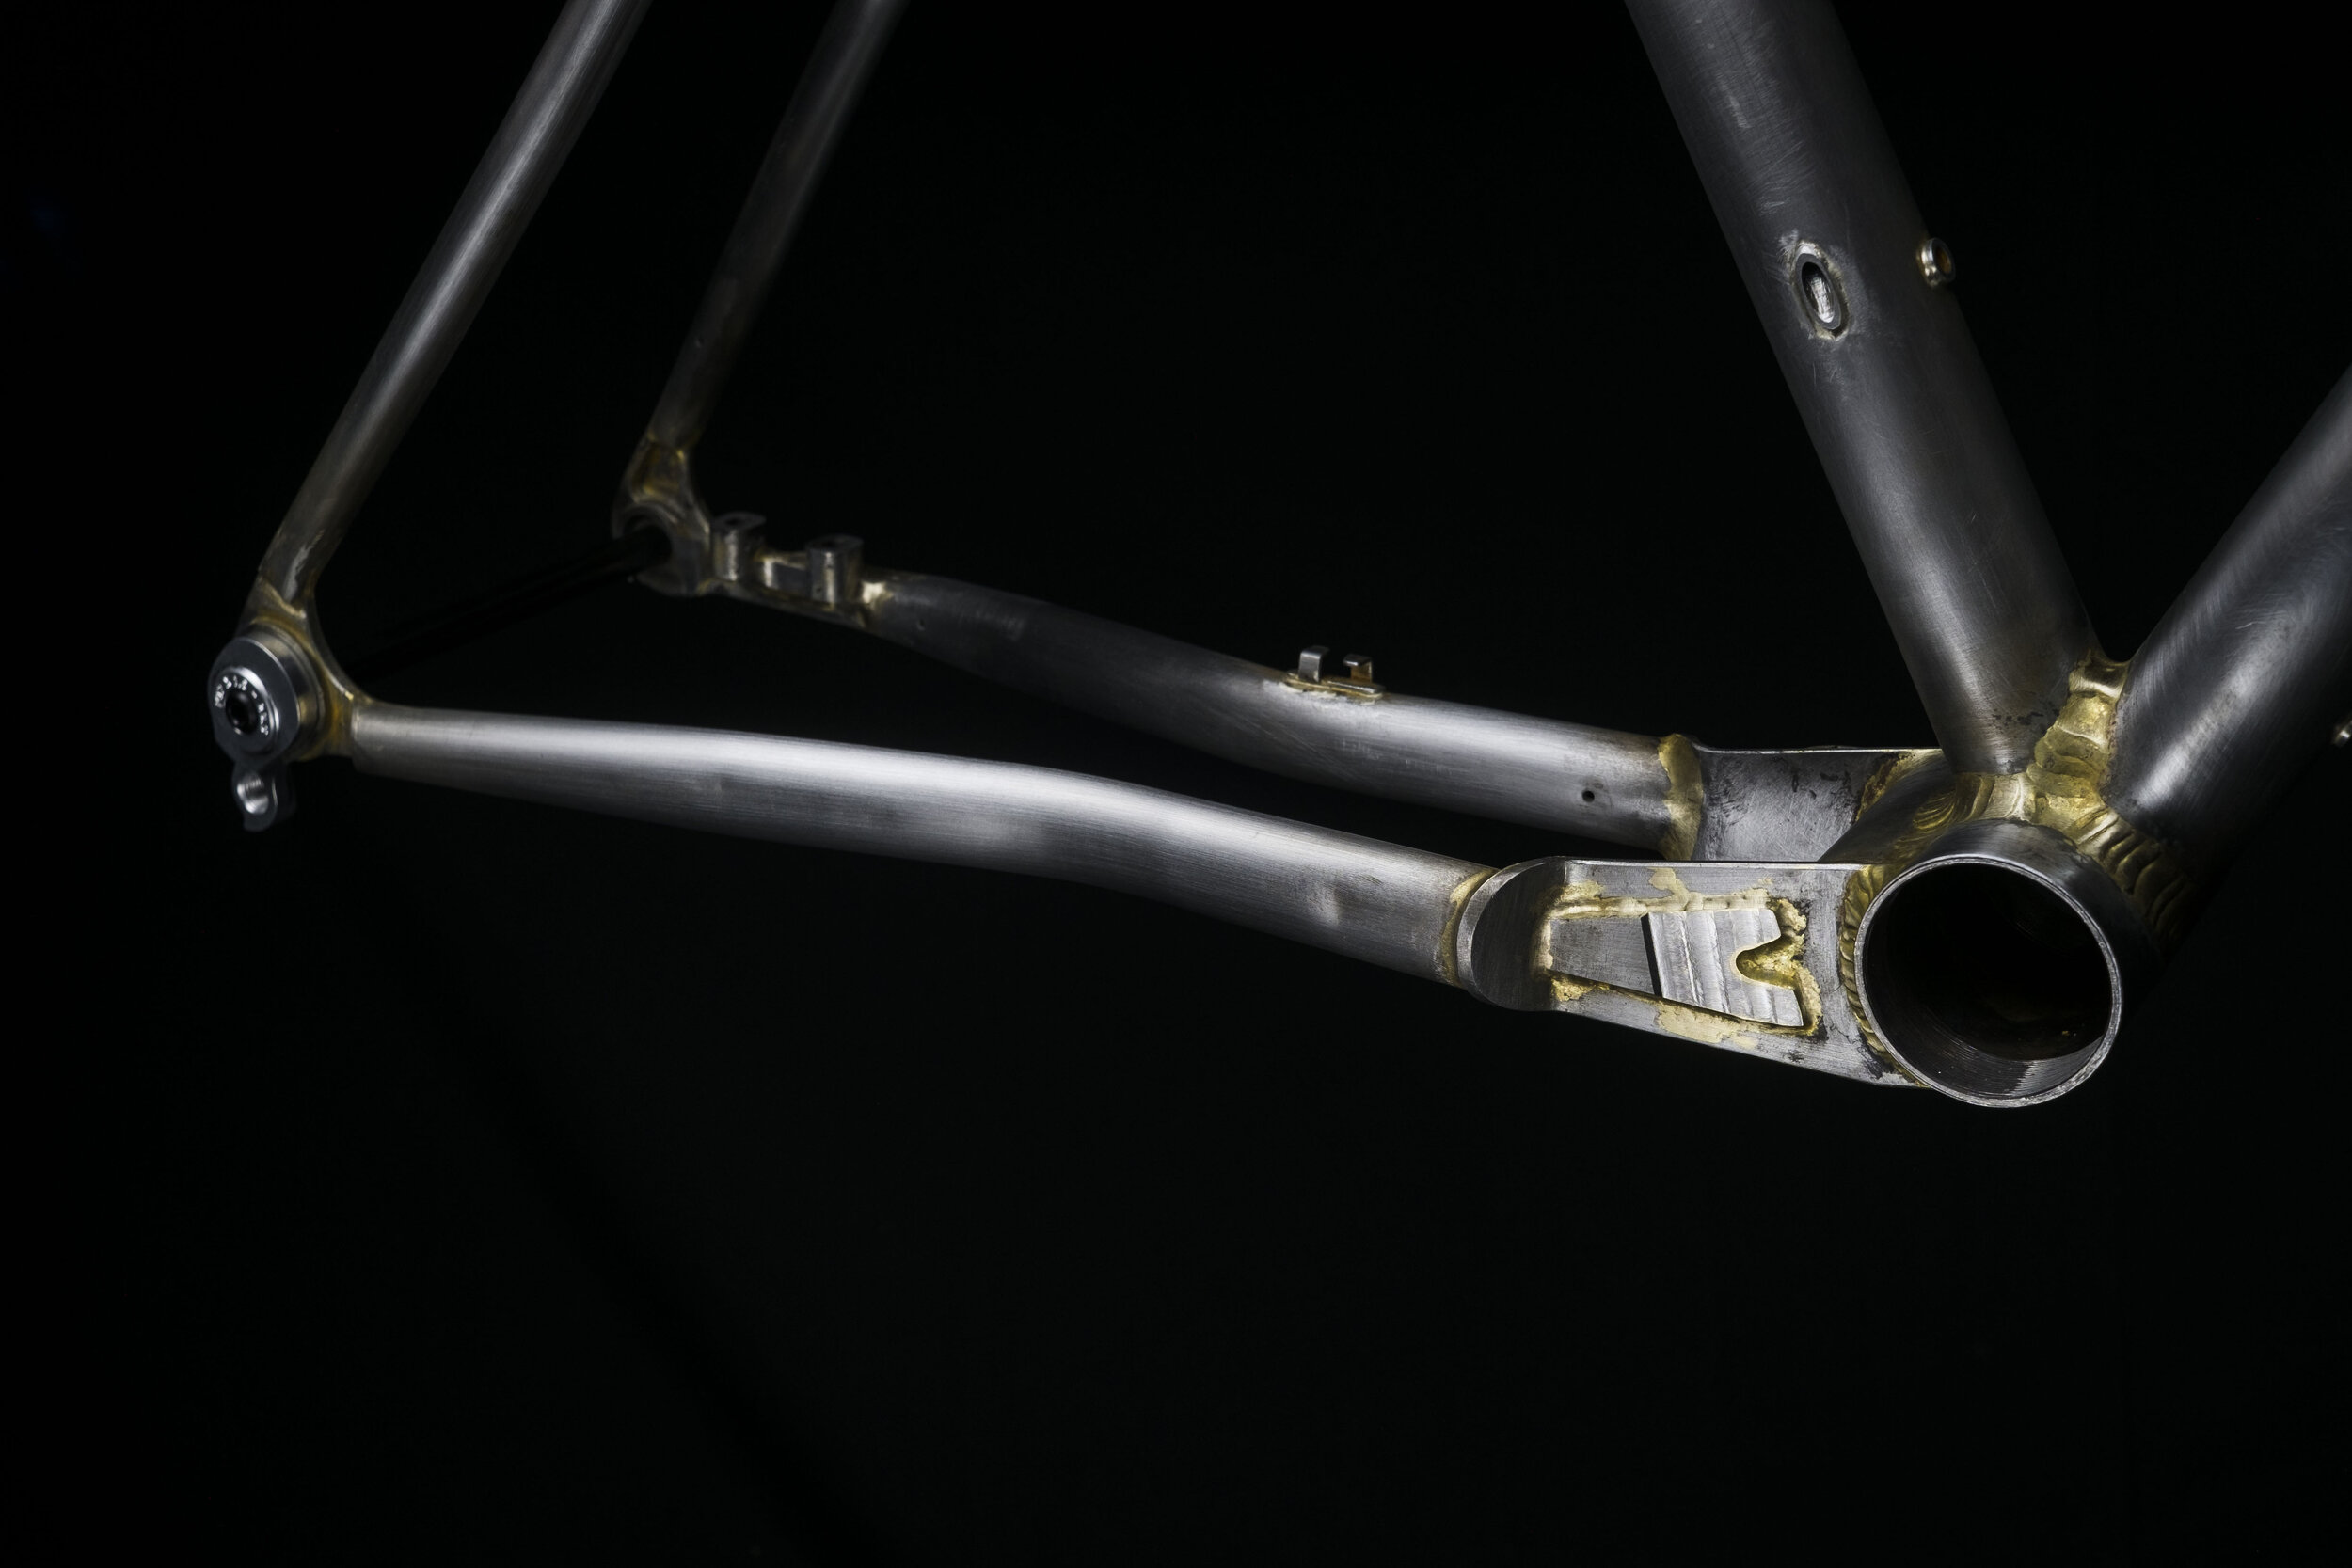
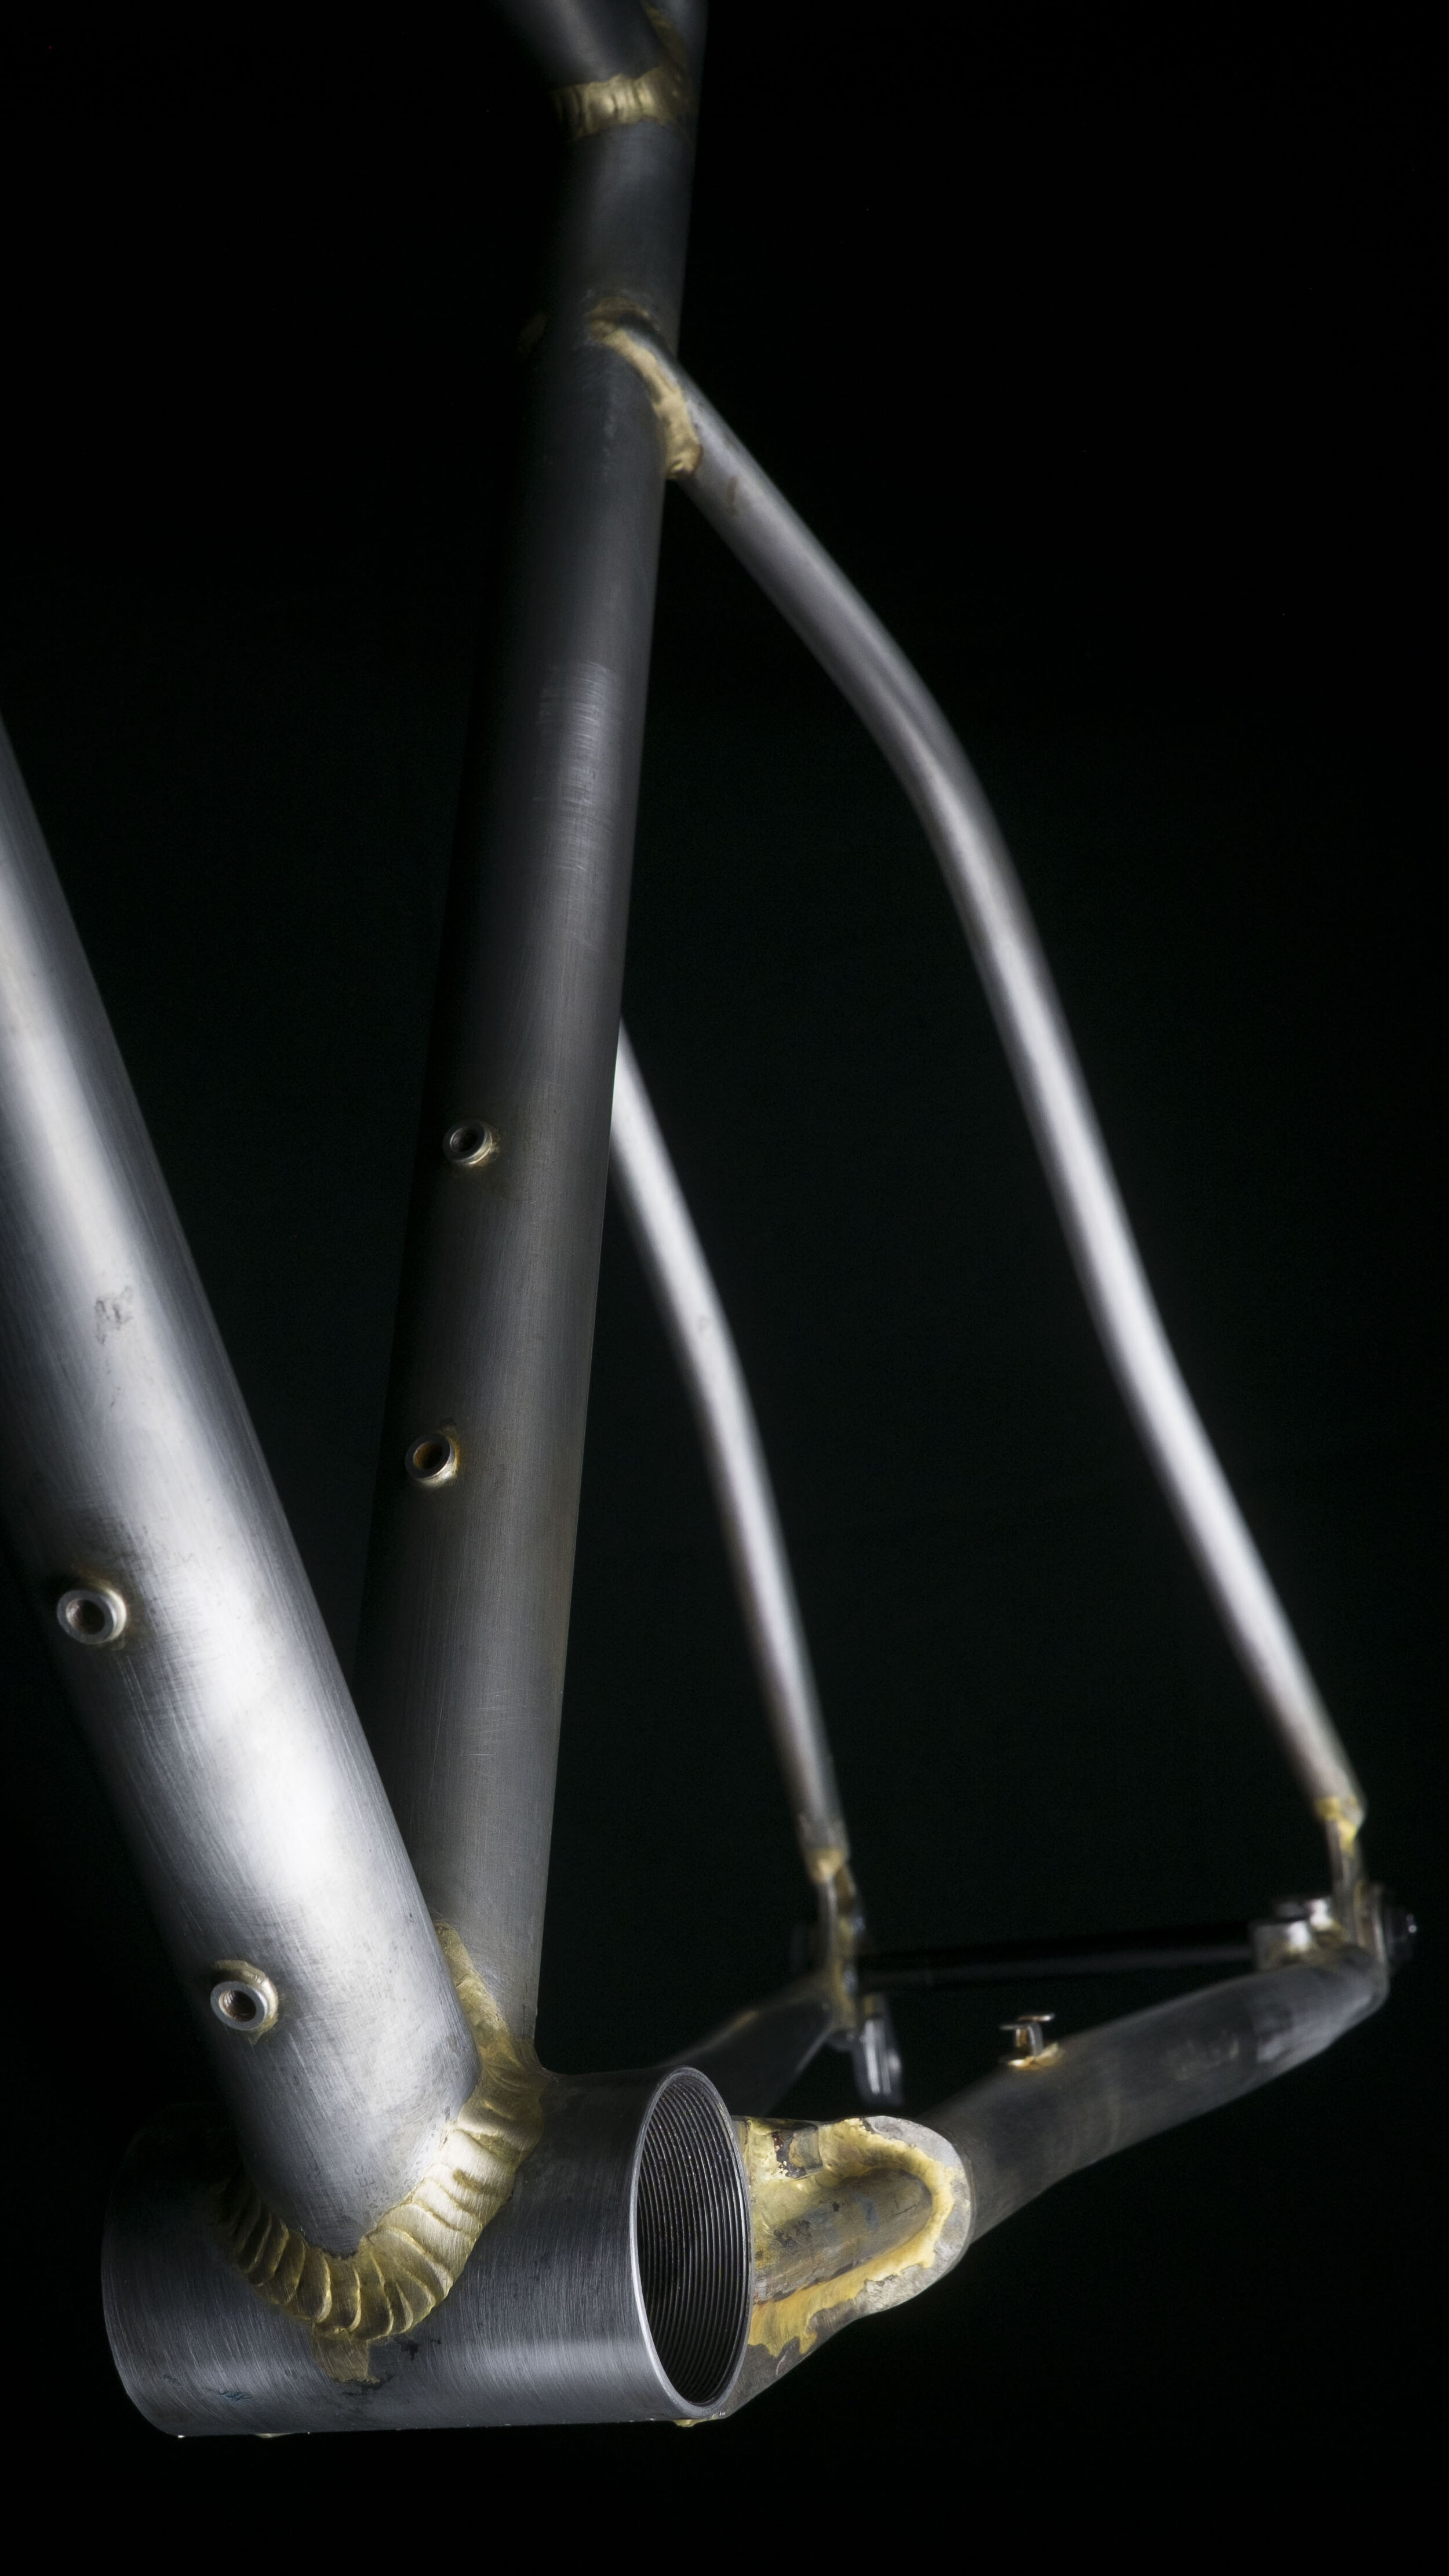
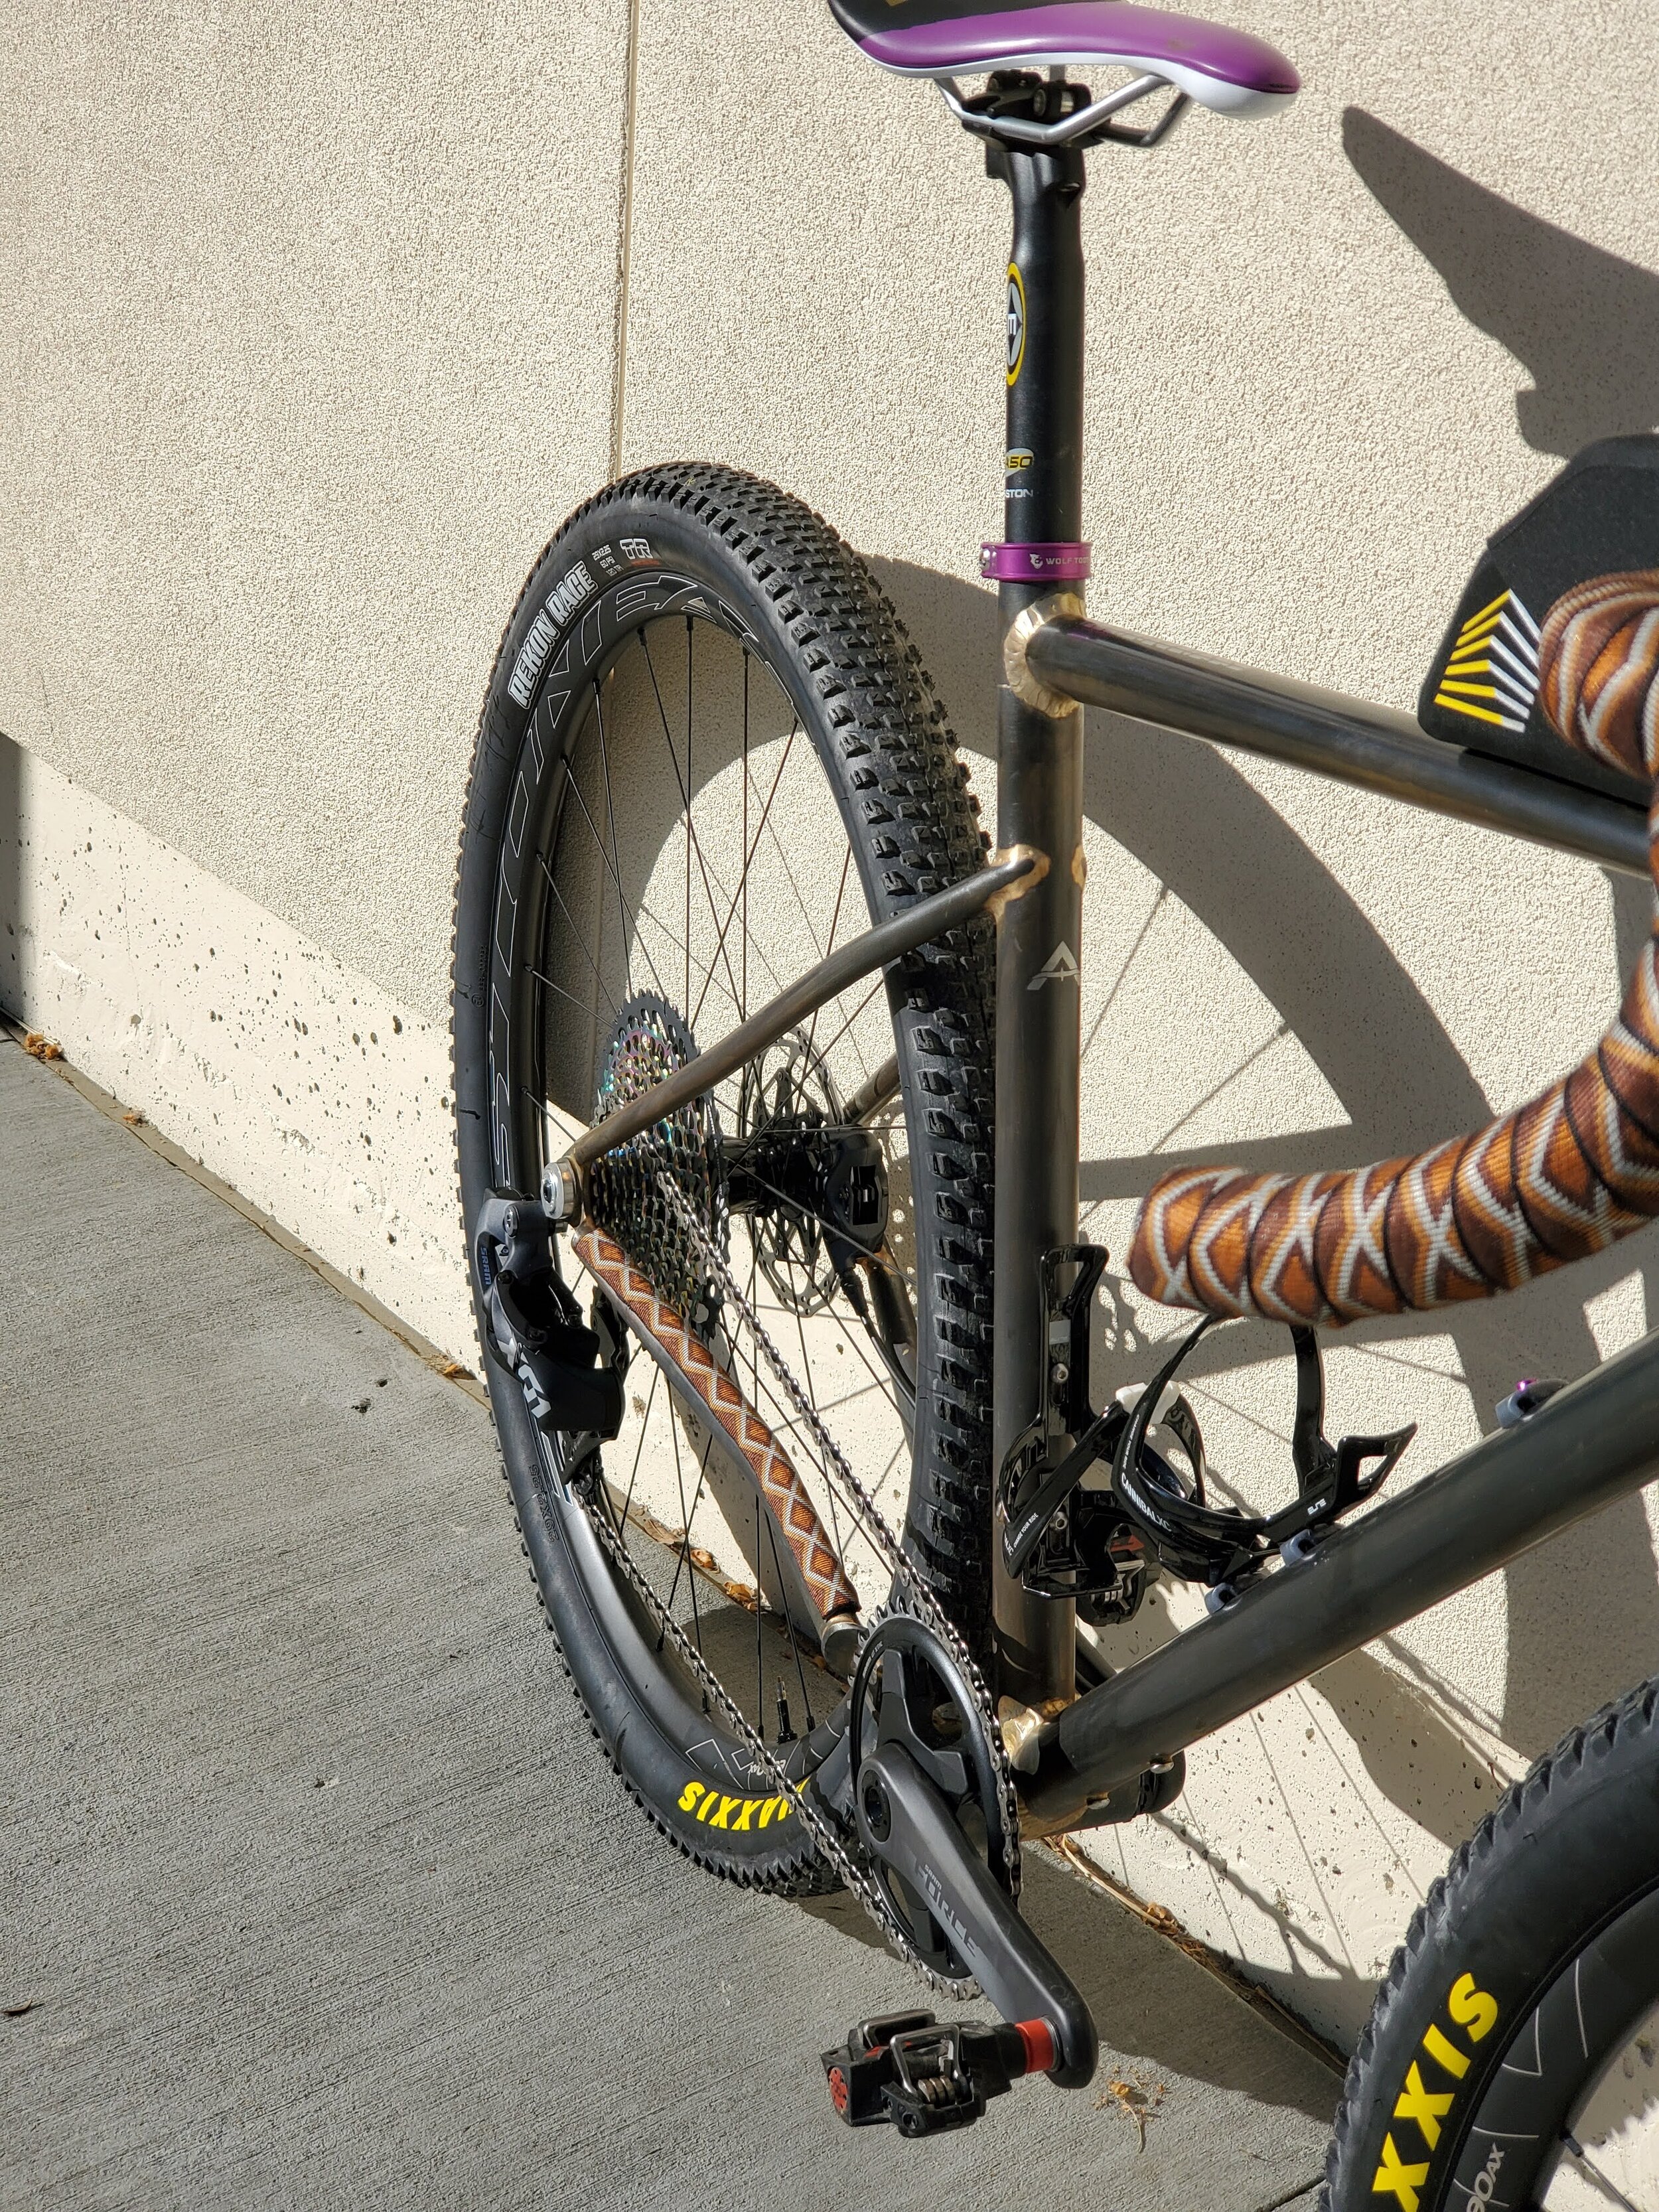
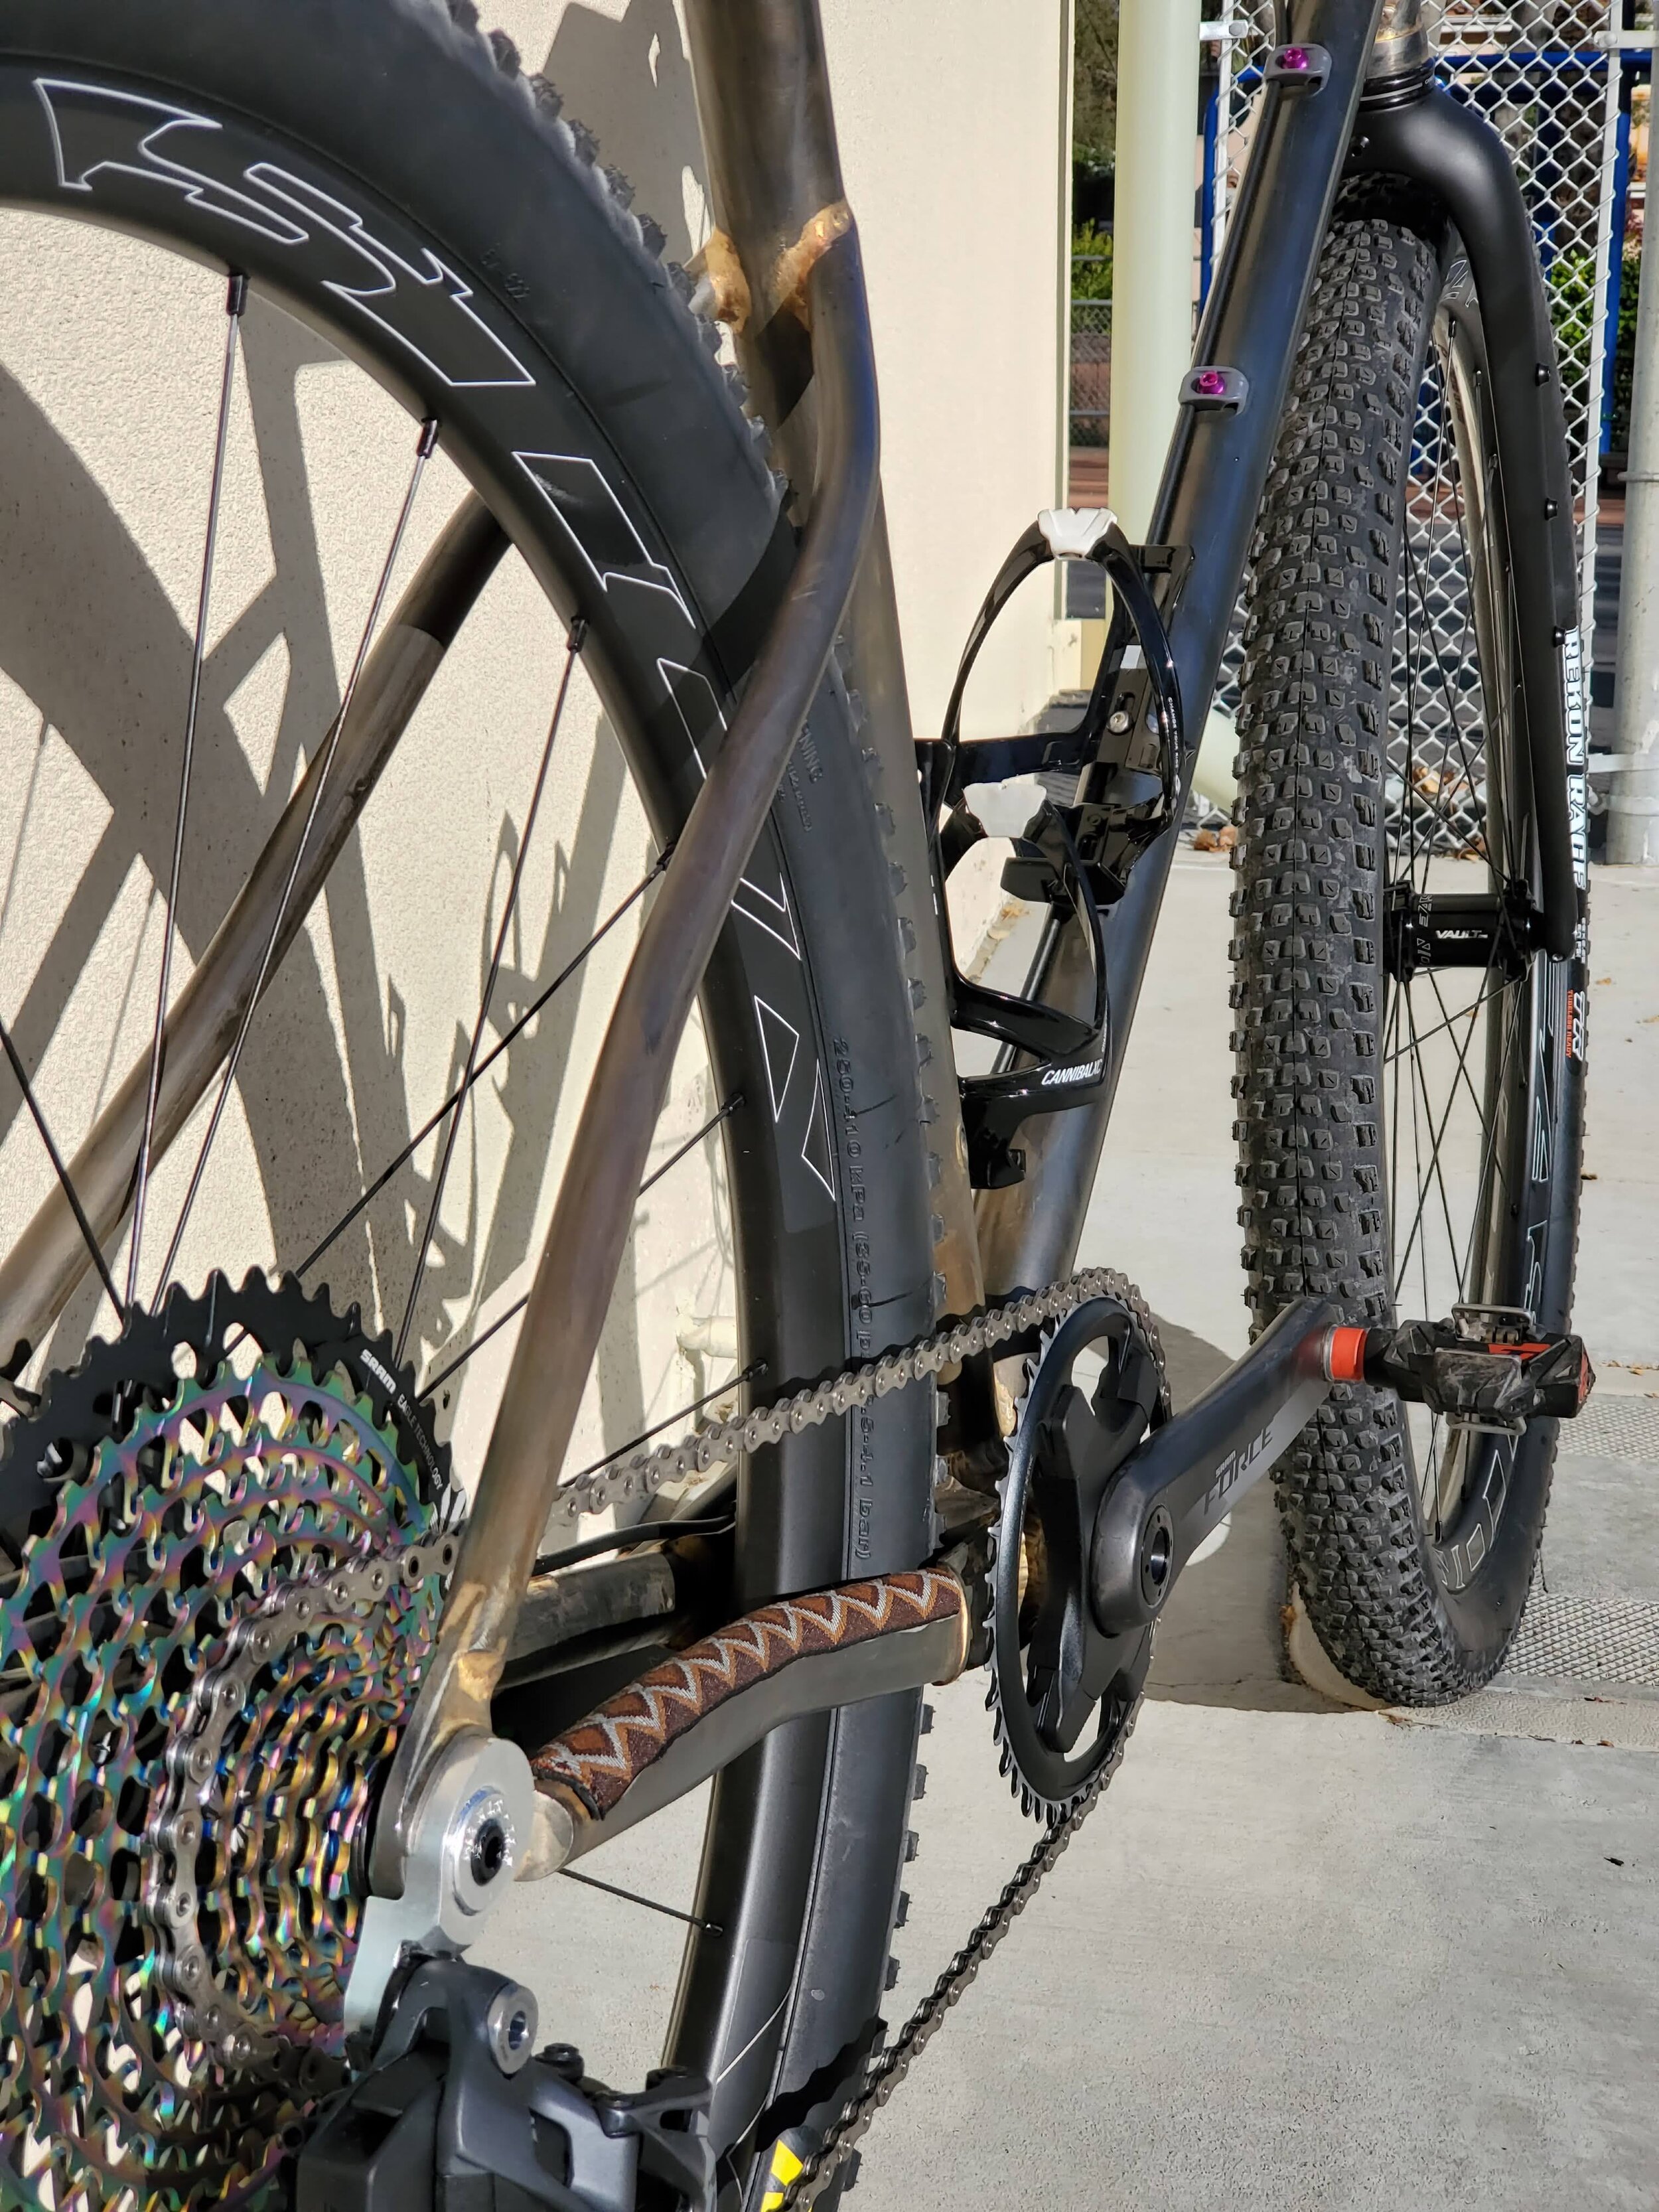
The trickiest requirement that we were set was the requirement to fit a maximum tire clearance of 29x2.25” tires with 420mm chainstays and a normal road chainline of 45mm. Simple, right? This meant we needed to get a little tricky with the chainstay yoke but it was barely possible. However, we would not recommend running this combination in anything other than the driest conditions due to the lack of room for mud clearance.
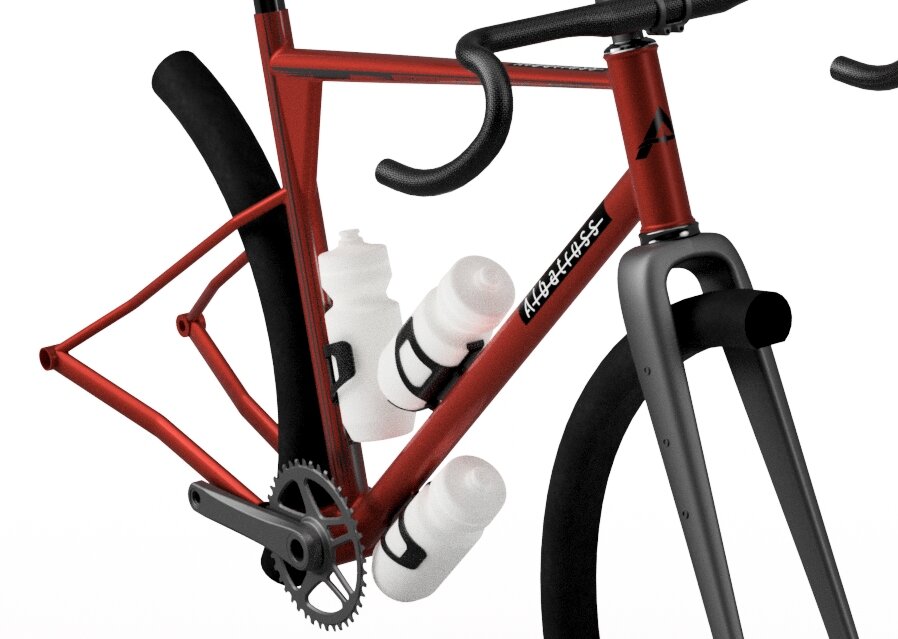
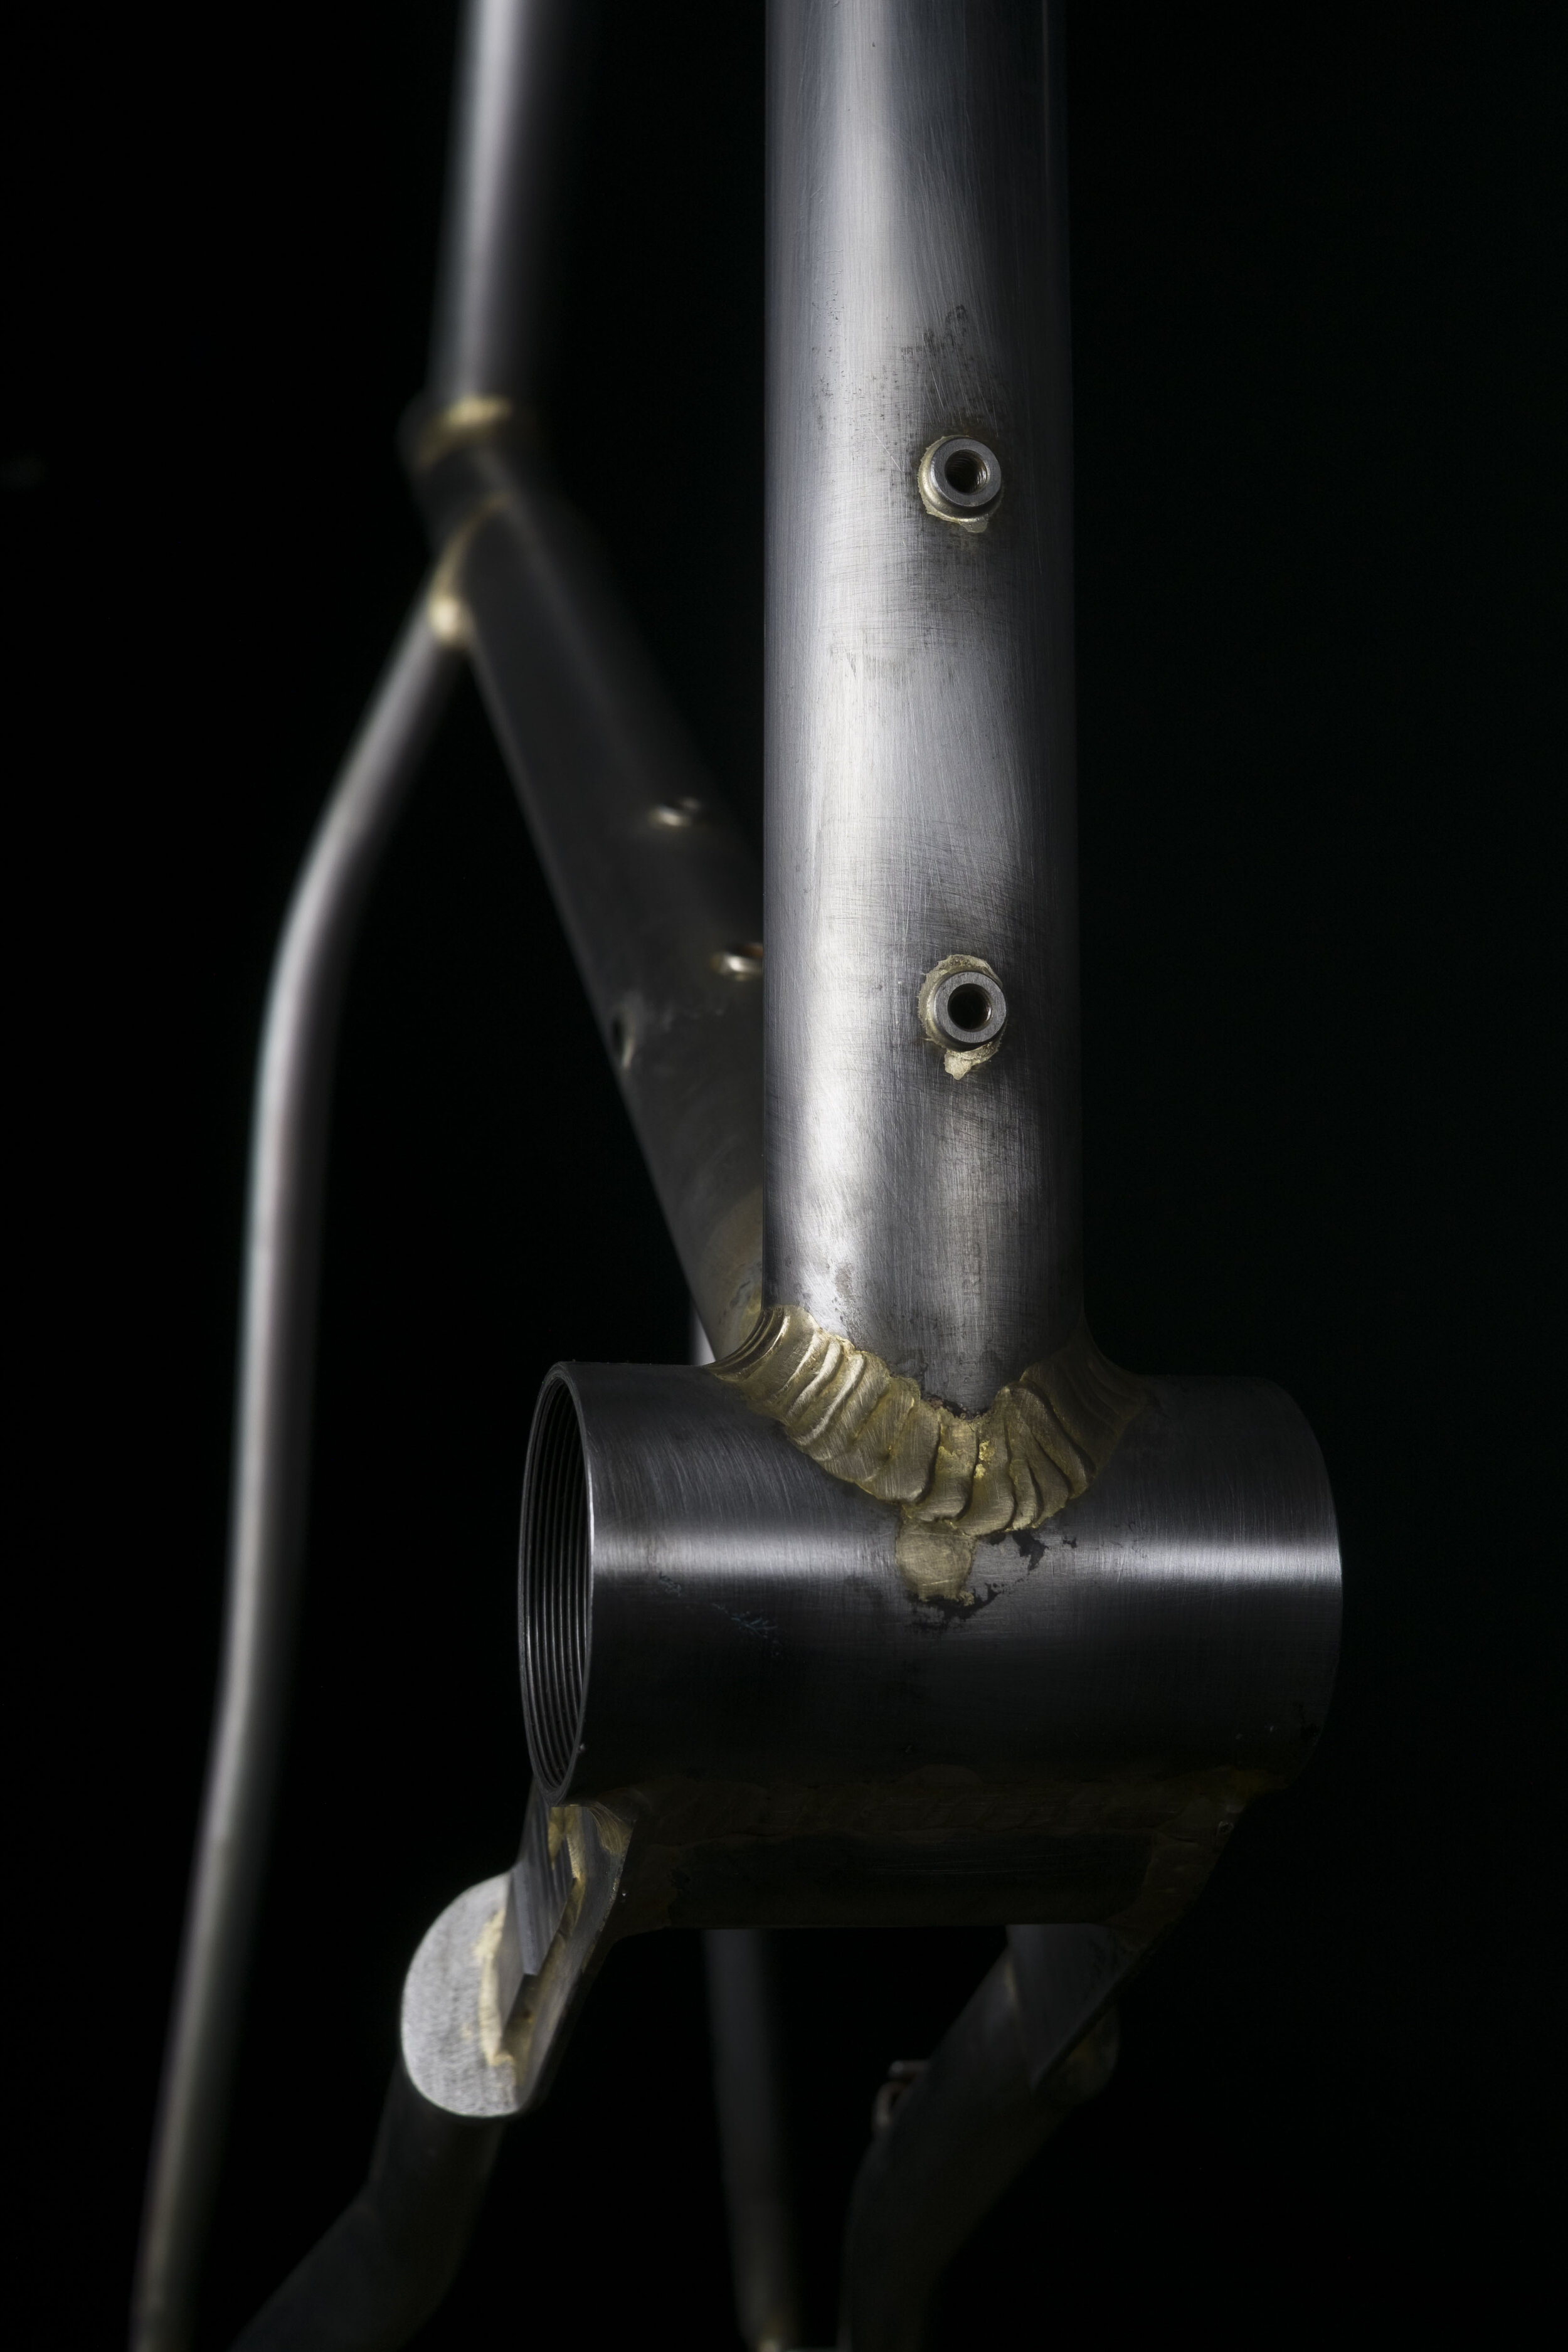
Other requirements for the build were bottle bosses for three bottle and a top tube bag mount, 30.9mm seat post for a 125mm dropper post, ability to run a framebag for bikepacking trips, and to design around a 1X drivetrain with a 40T max chainring clearance to work with his typically high cadence.
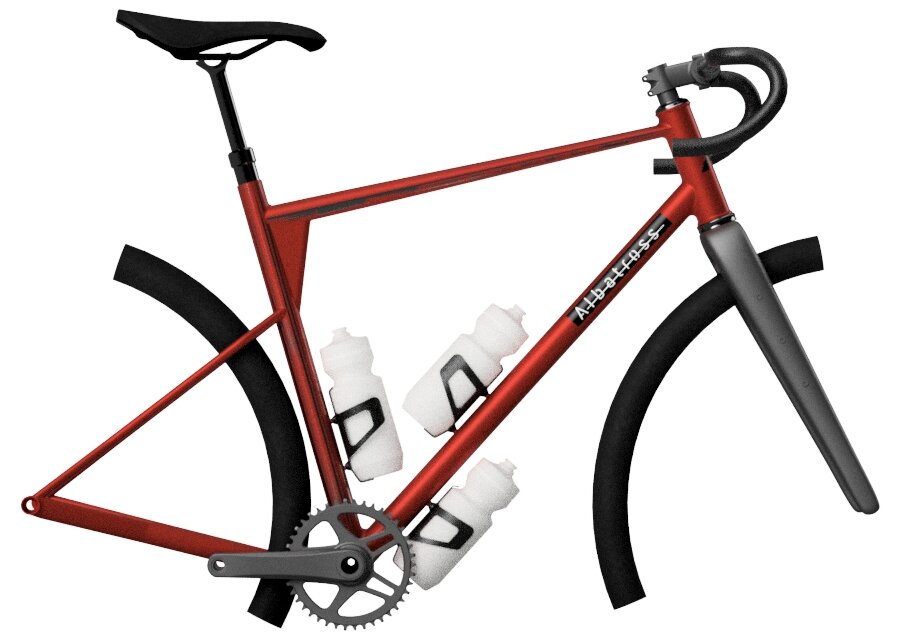

The resulting design focused on building a very stable platform on flat ground as well as a long front-center to provide a bit more assurance when descending steep trails. We achieved this overall experience by working with a 75mm bottom bracket drop, short 420mm chainstays, and a long 430mm reach to work with a 50mm stem to make sure that the front wheel will be quite a ways in front of the rider. Helping to provide that last measure of stability, we also opted for a 69deg head tube angle to provide additional trail and stability at speed. While this has the potential to result in a very floppy front end, the combination of short stem, wider bars, and less weight on the front wheel dramatically reduce this effect.
Fabrication
Our focus in the fabrication process was to deliver a very strong frame as we knew it would be ridden on MTB trails, jumped, and loaded down with bags. Because of this, we strayed away from the normal ultra-light tubing and utilized a tubeset with a bit more wall thickness in the DT and chainstays. Comfort in this bike will come from the large tire volume and flex from the bars as the component spec wouldn’t allow more compliance.
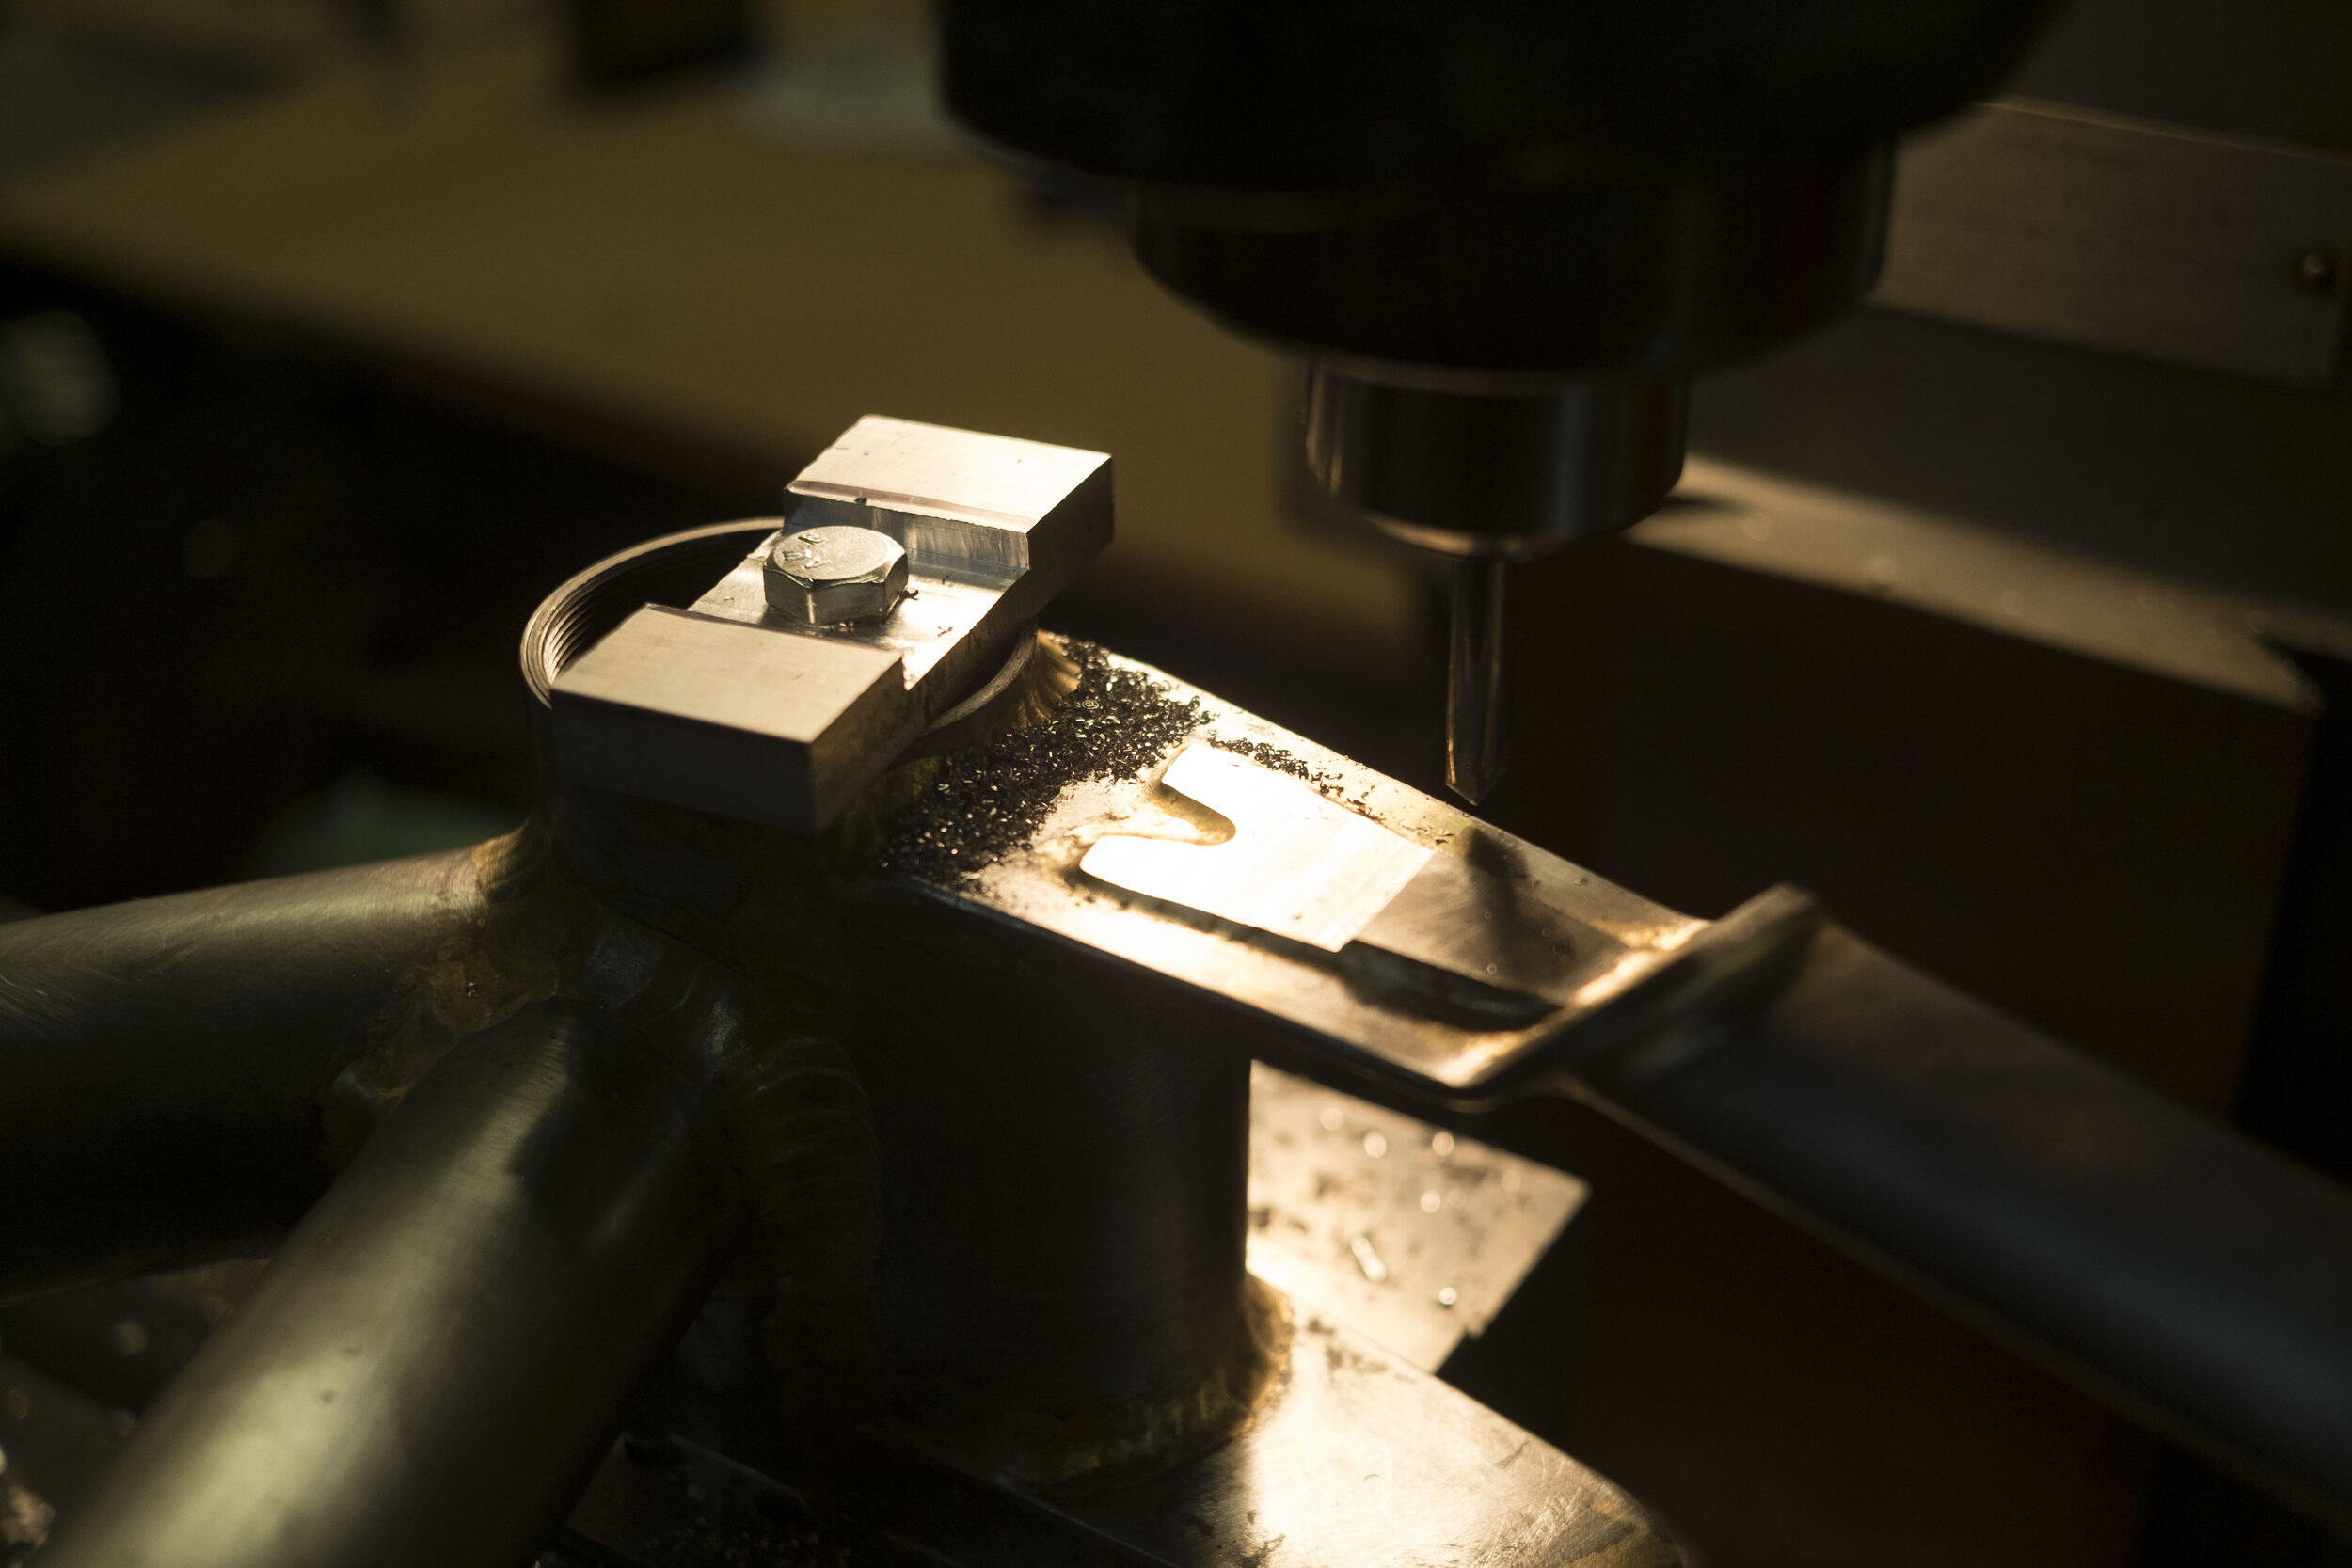
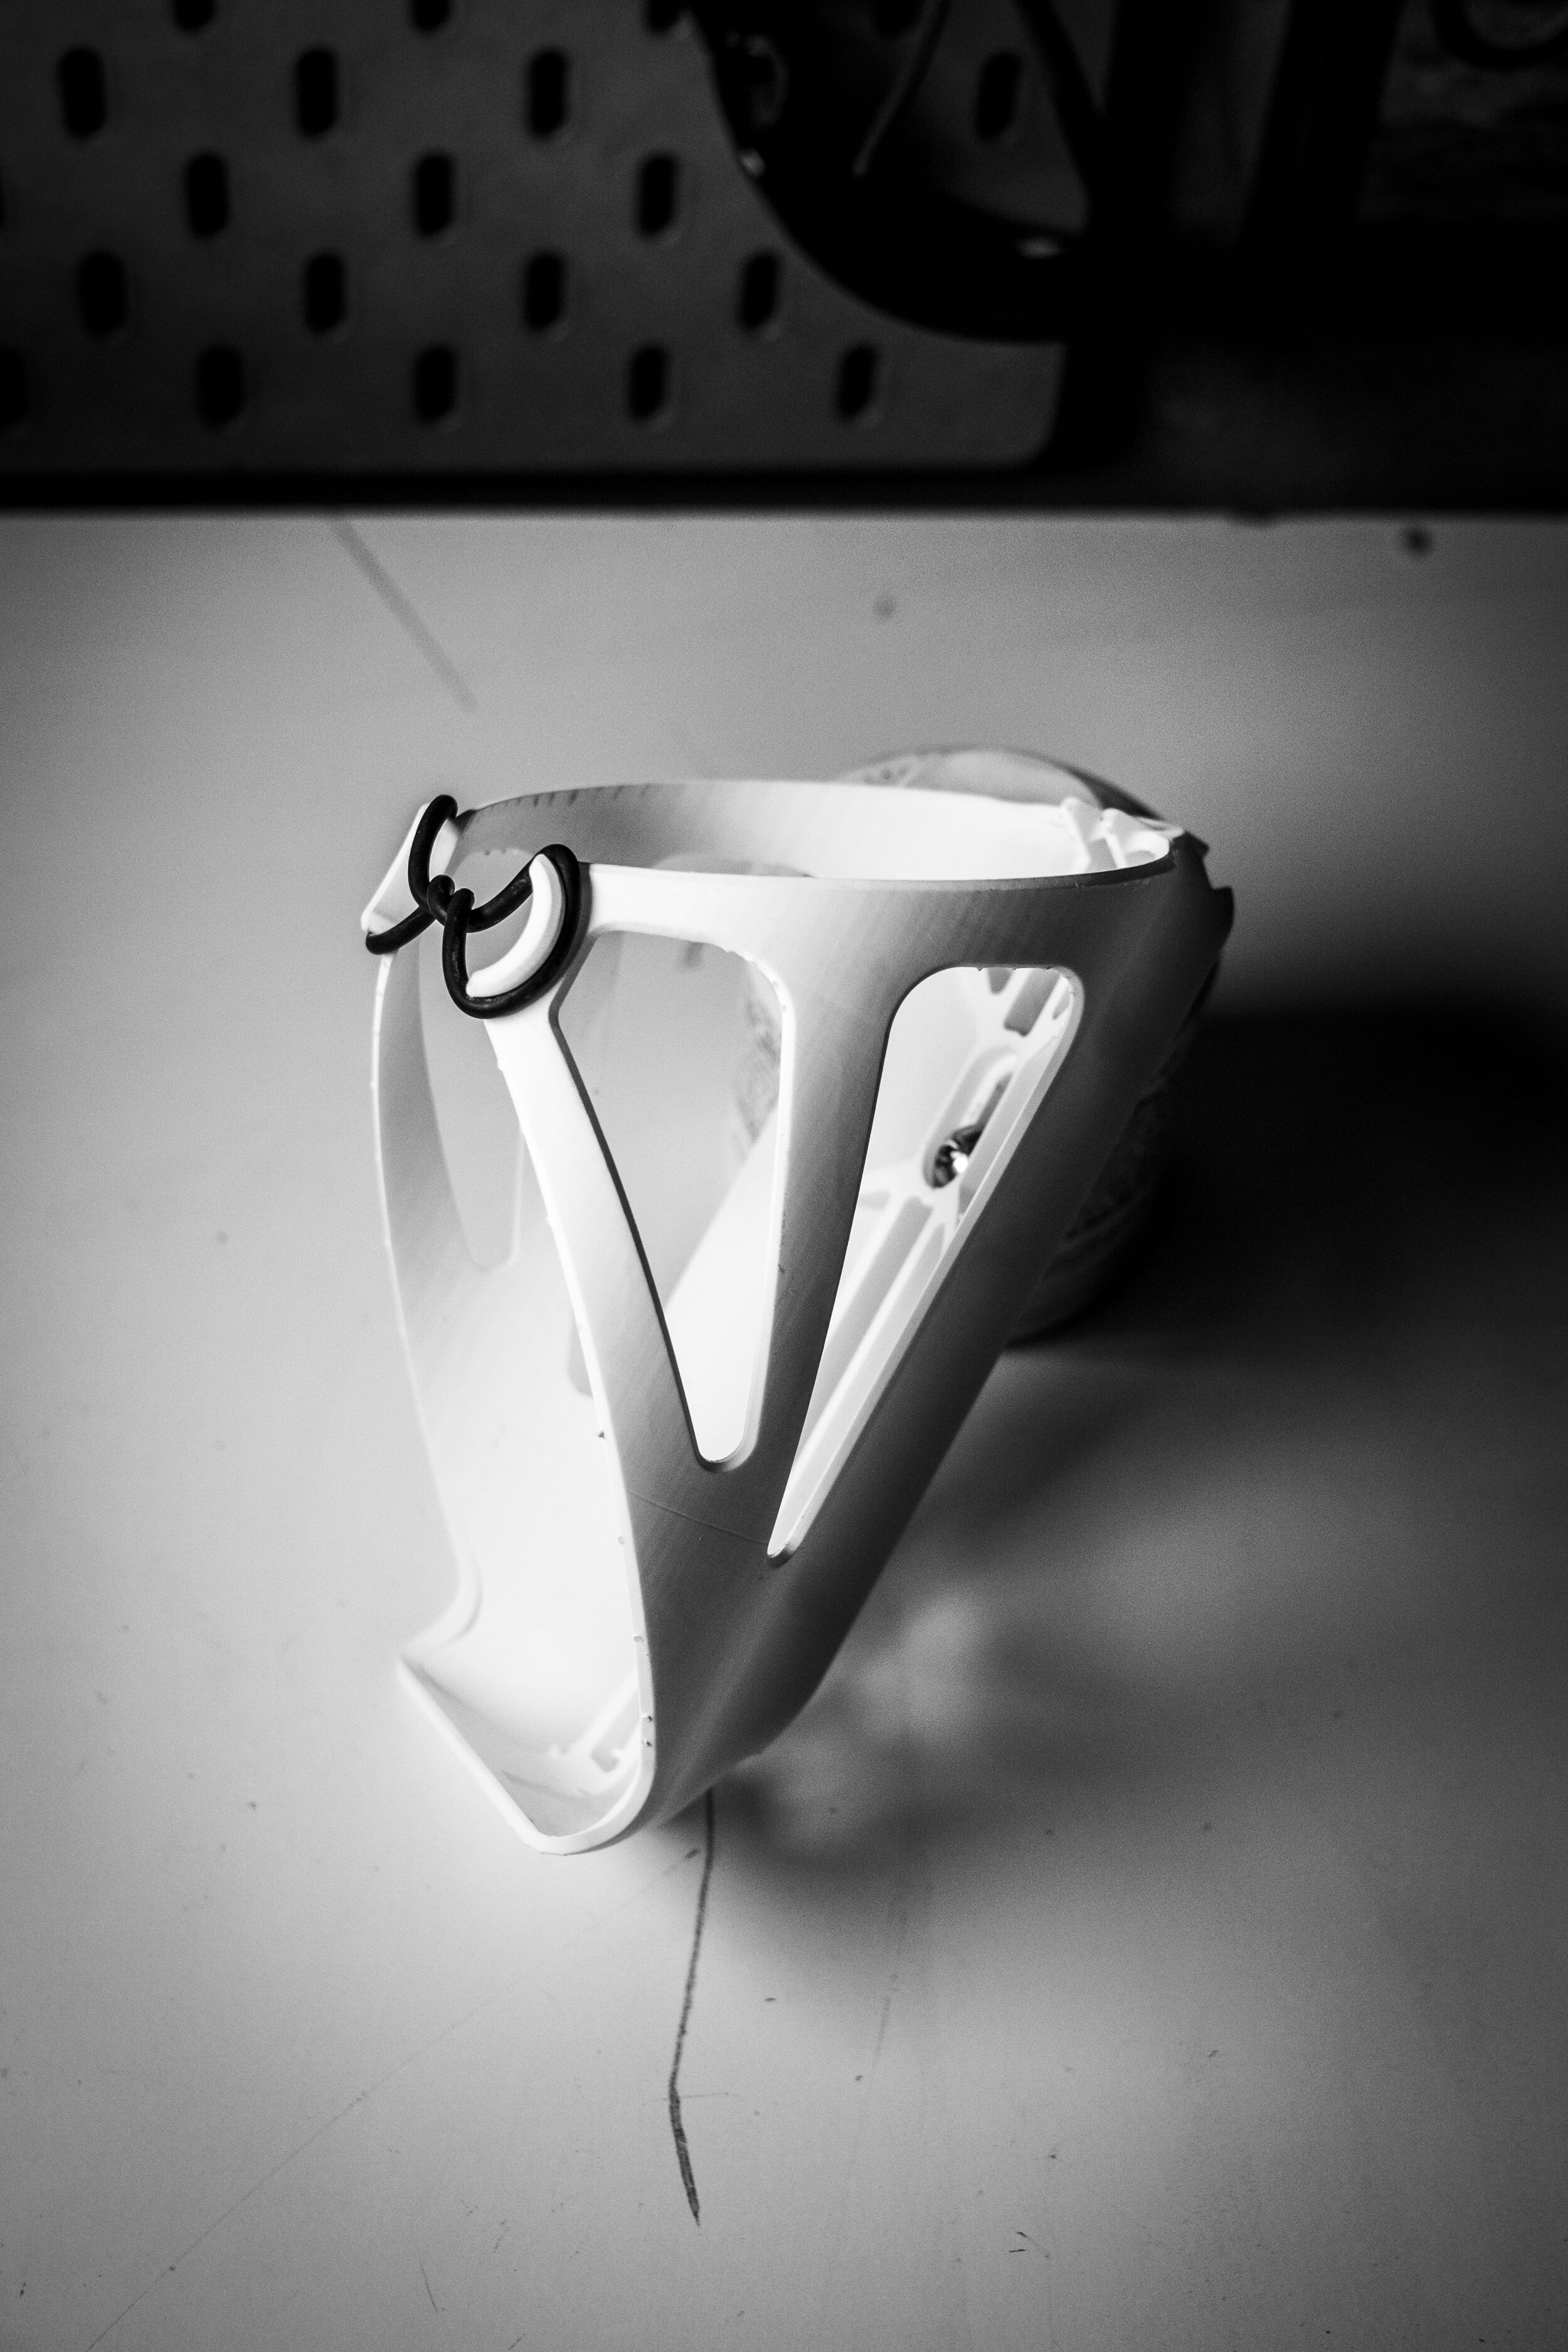
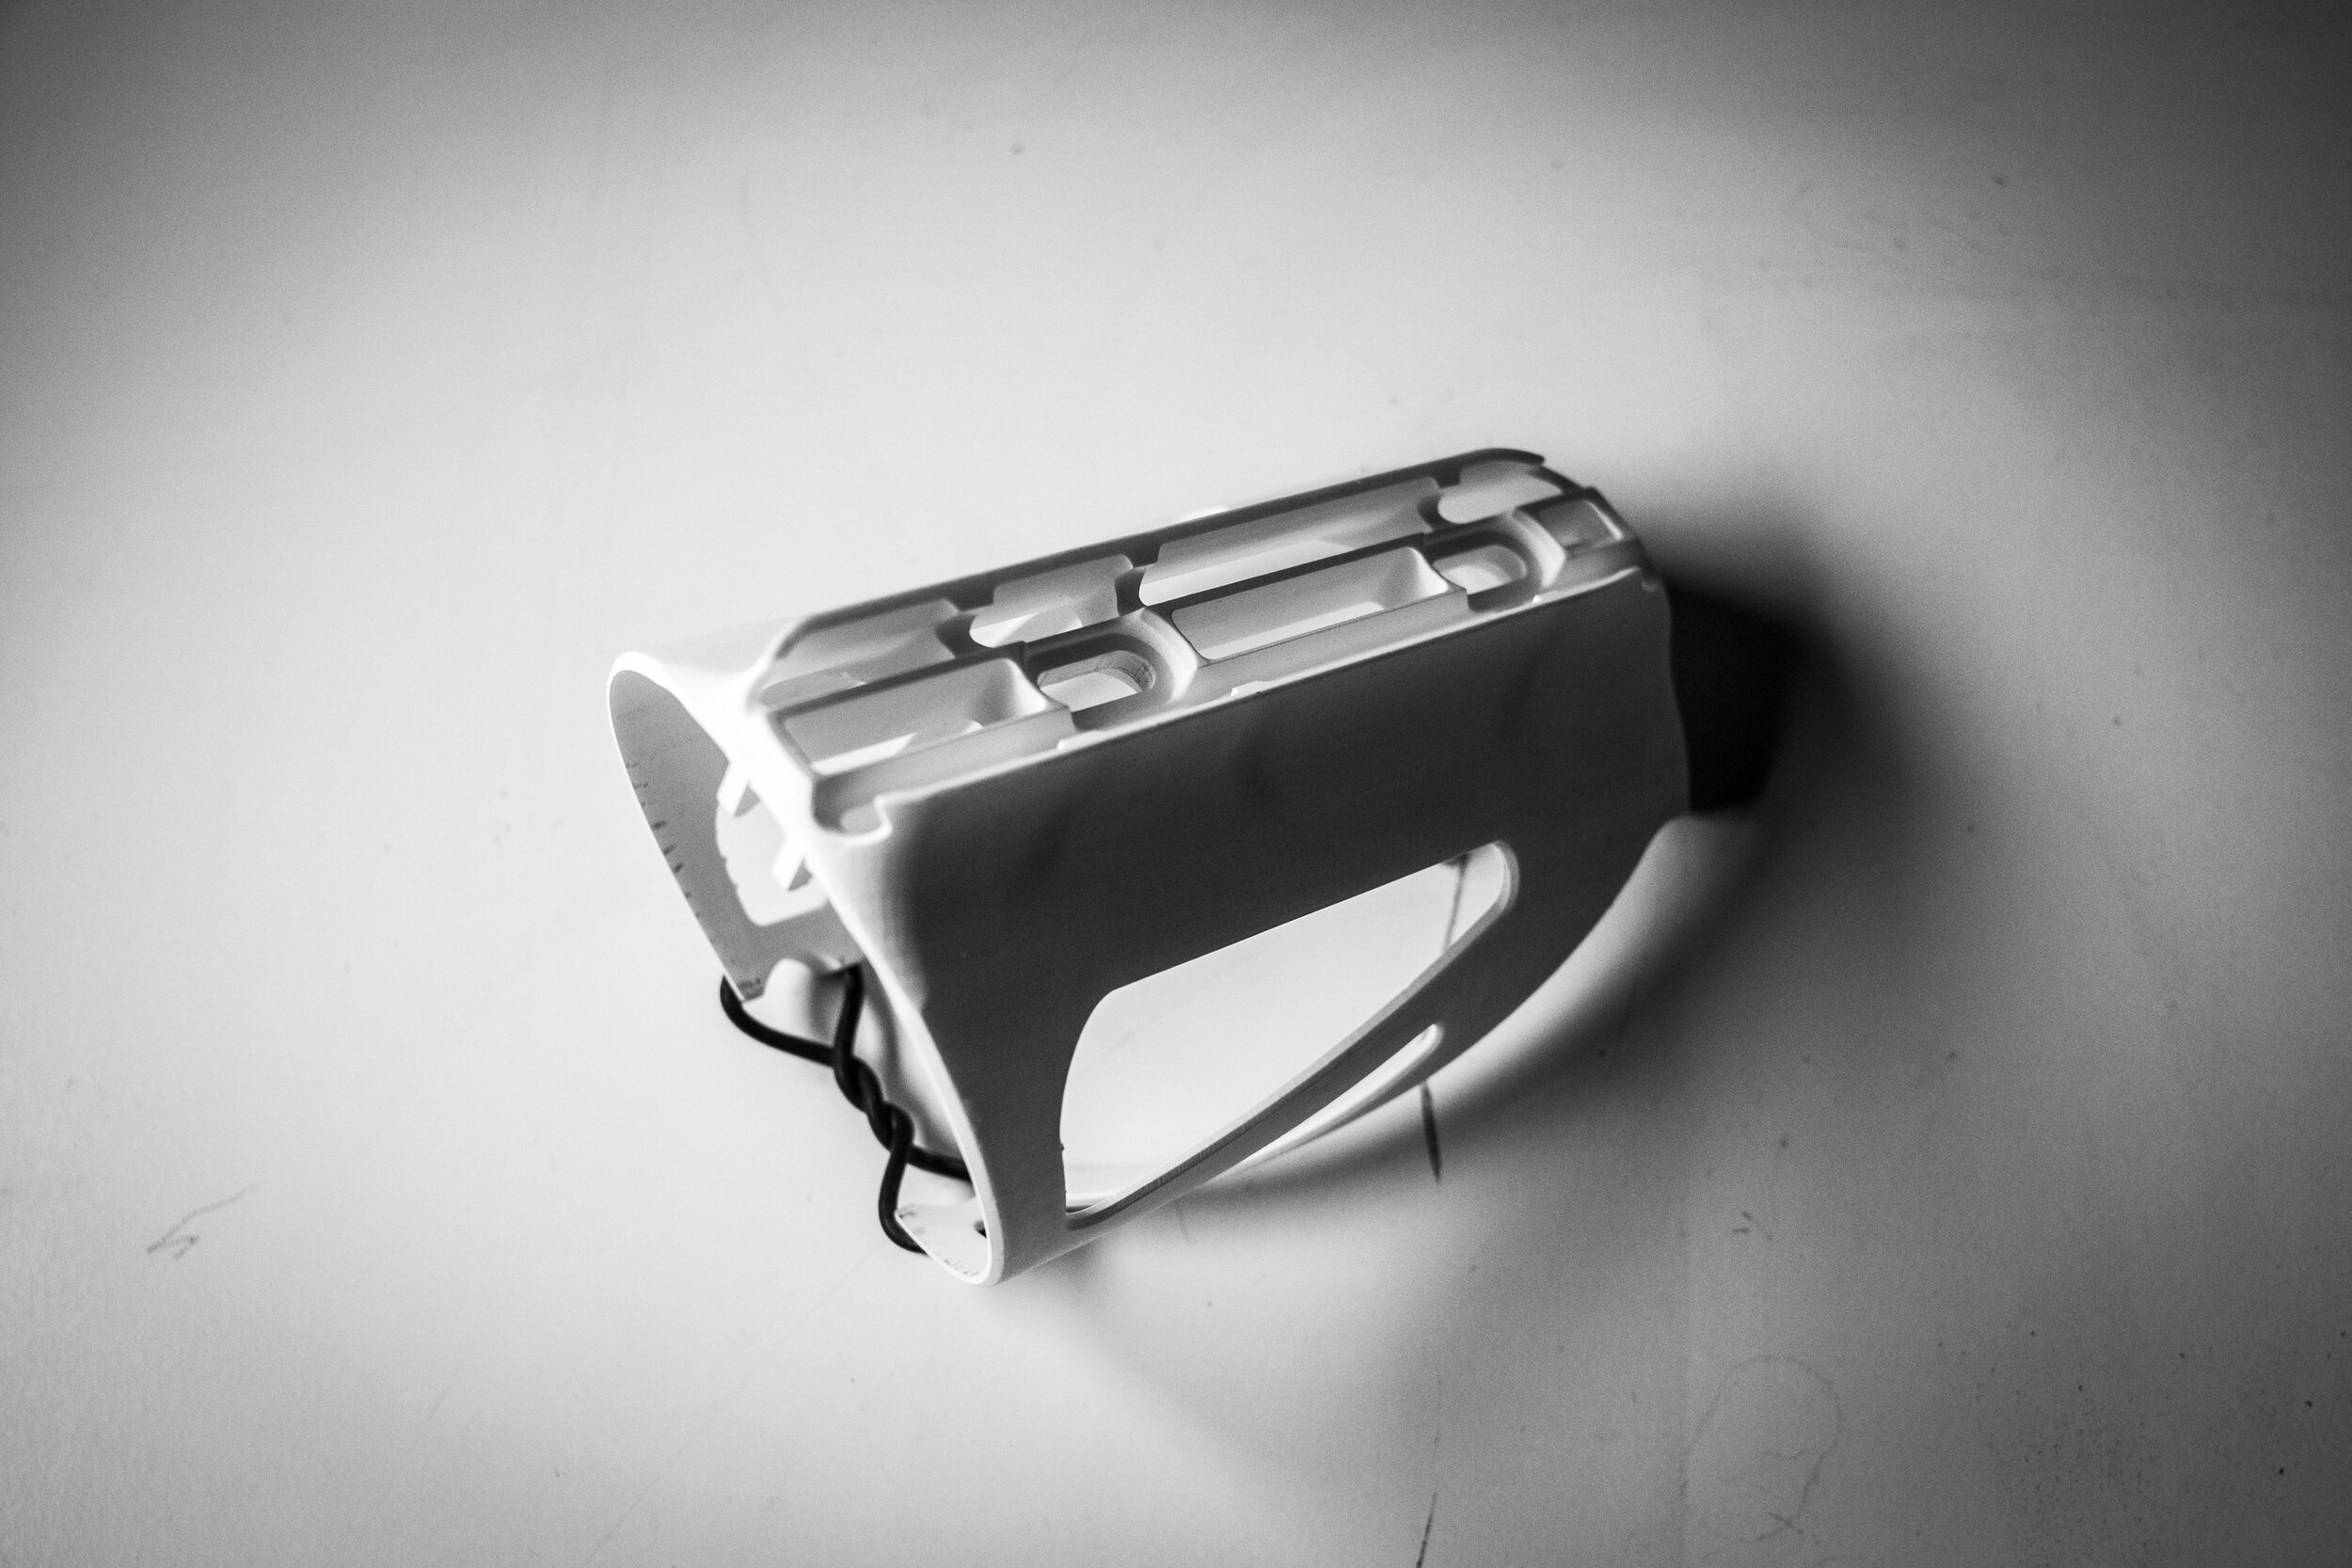
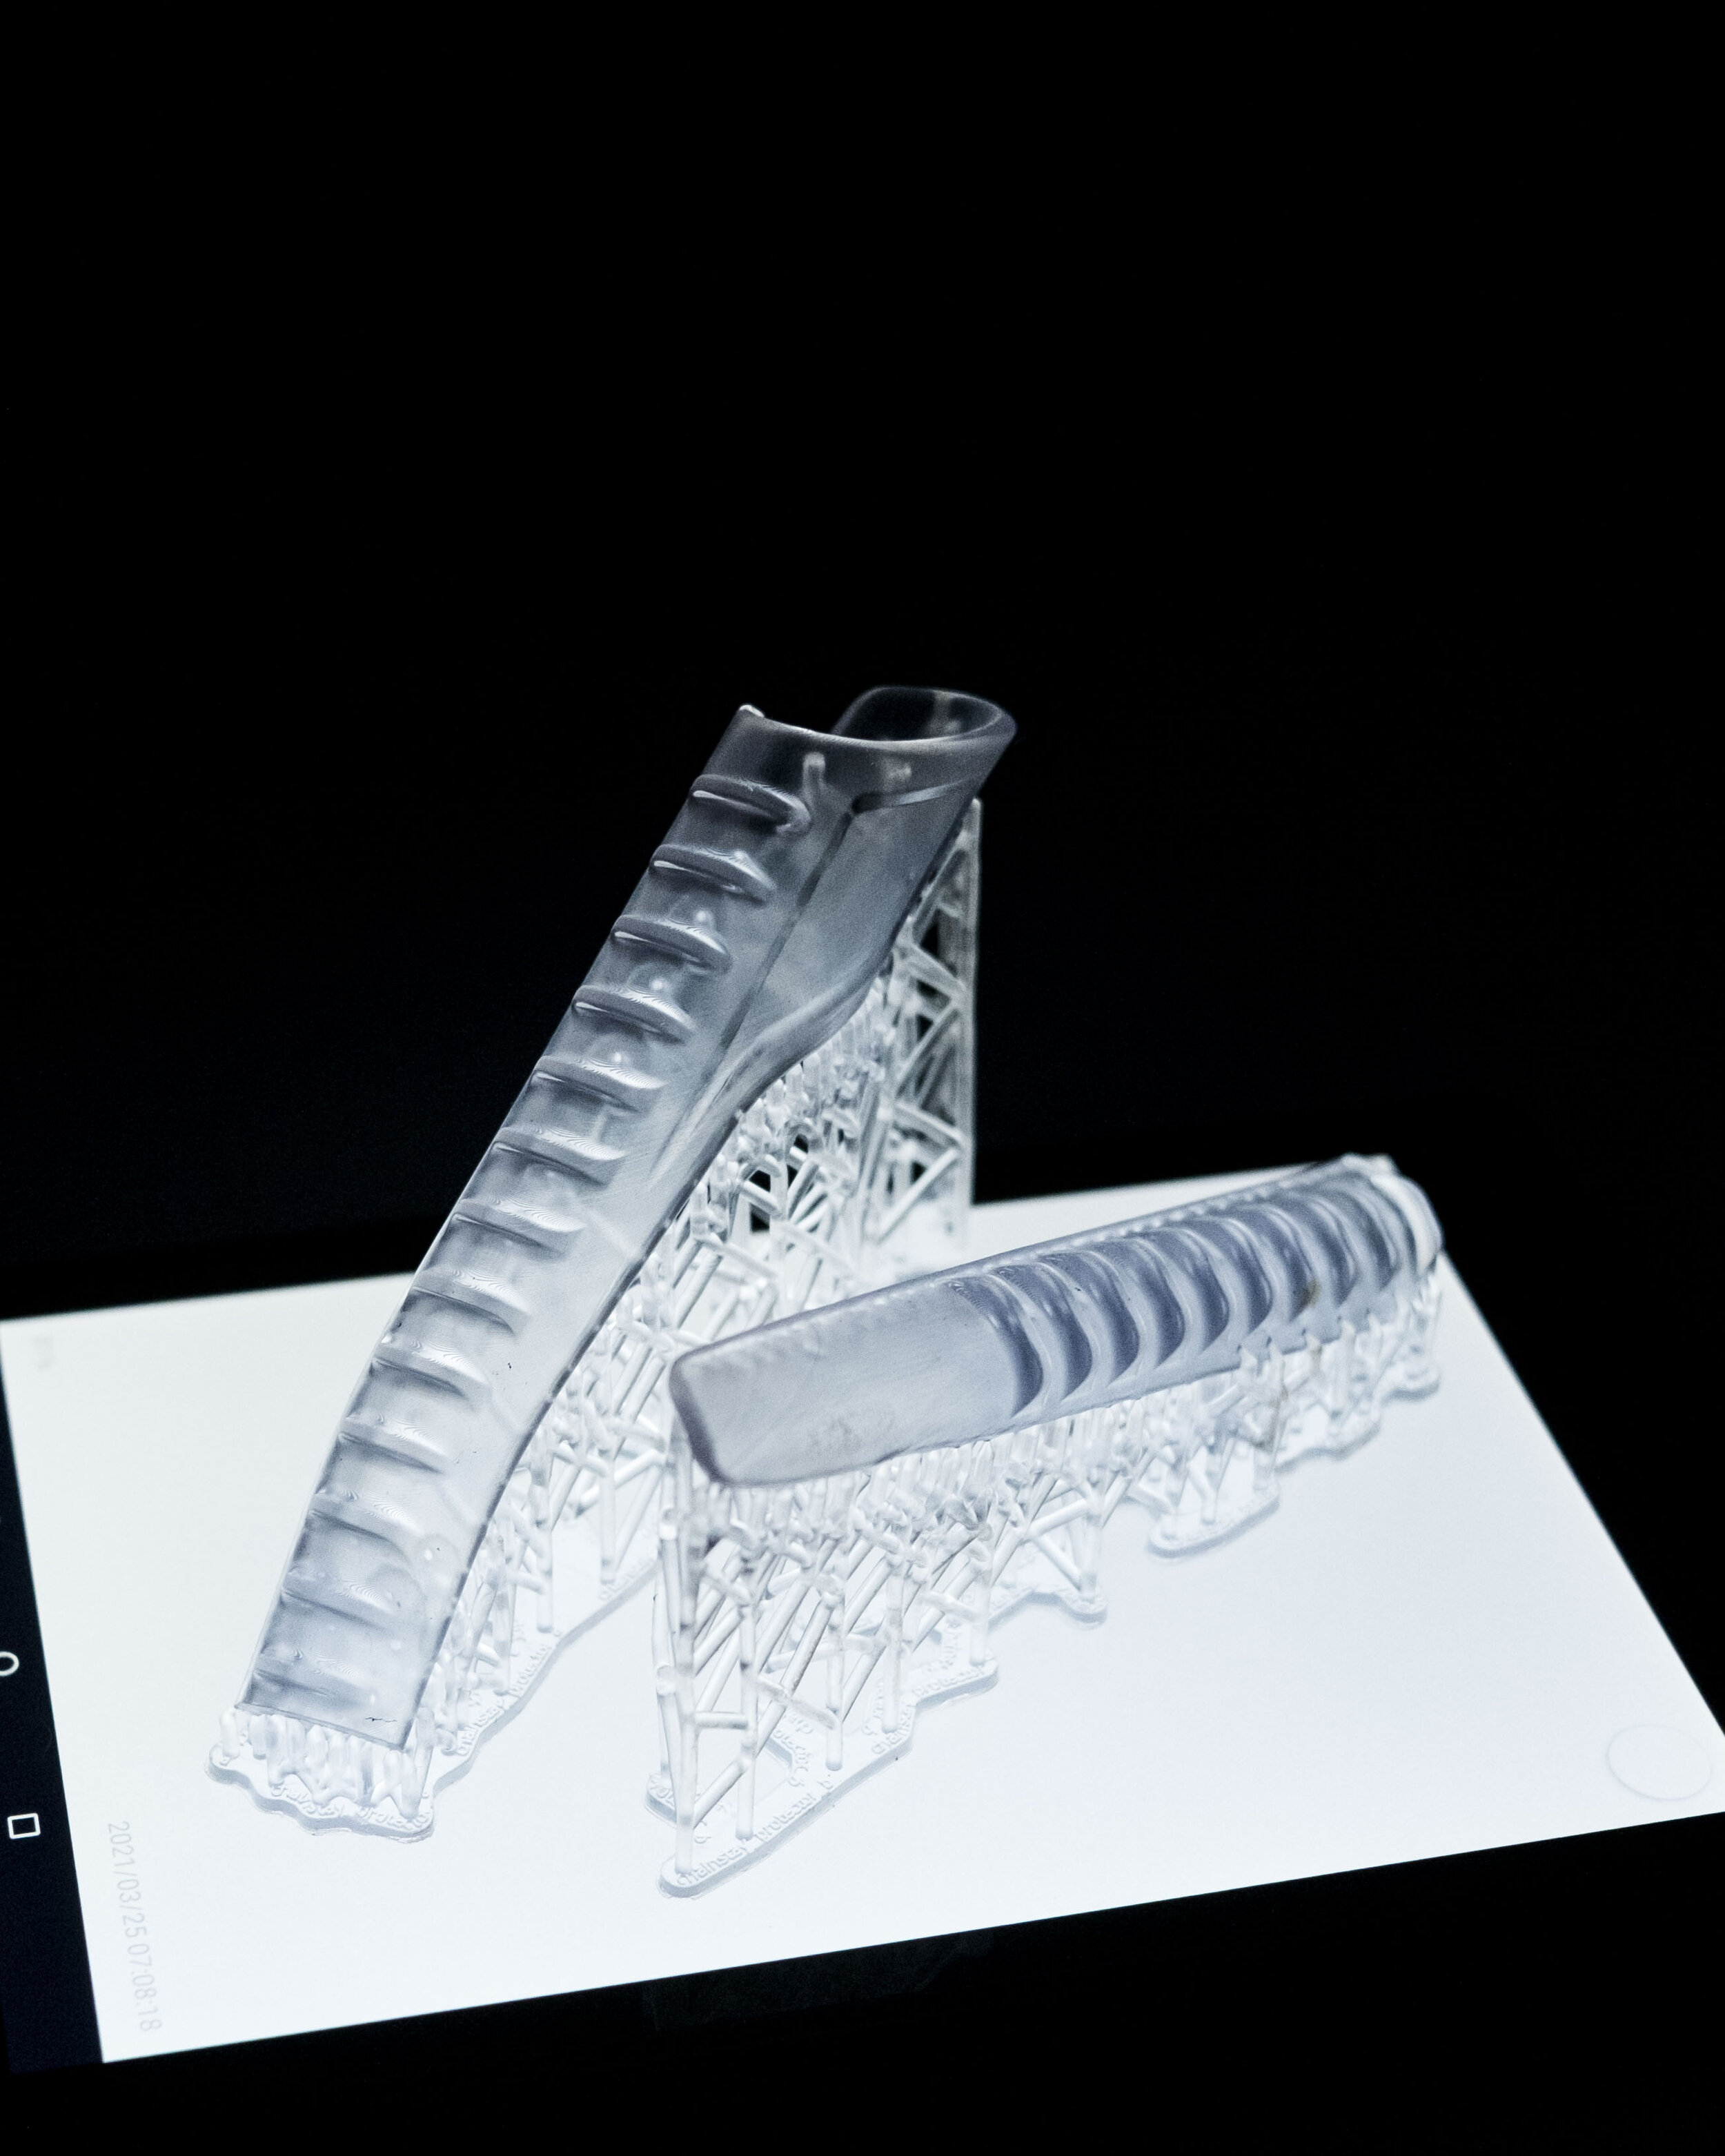
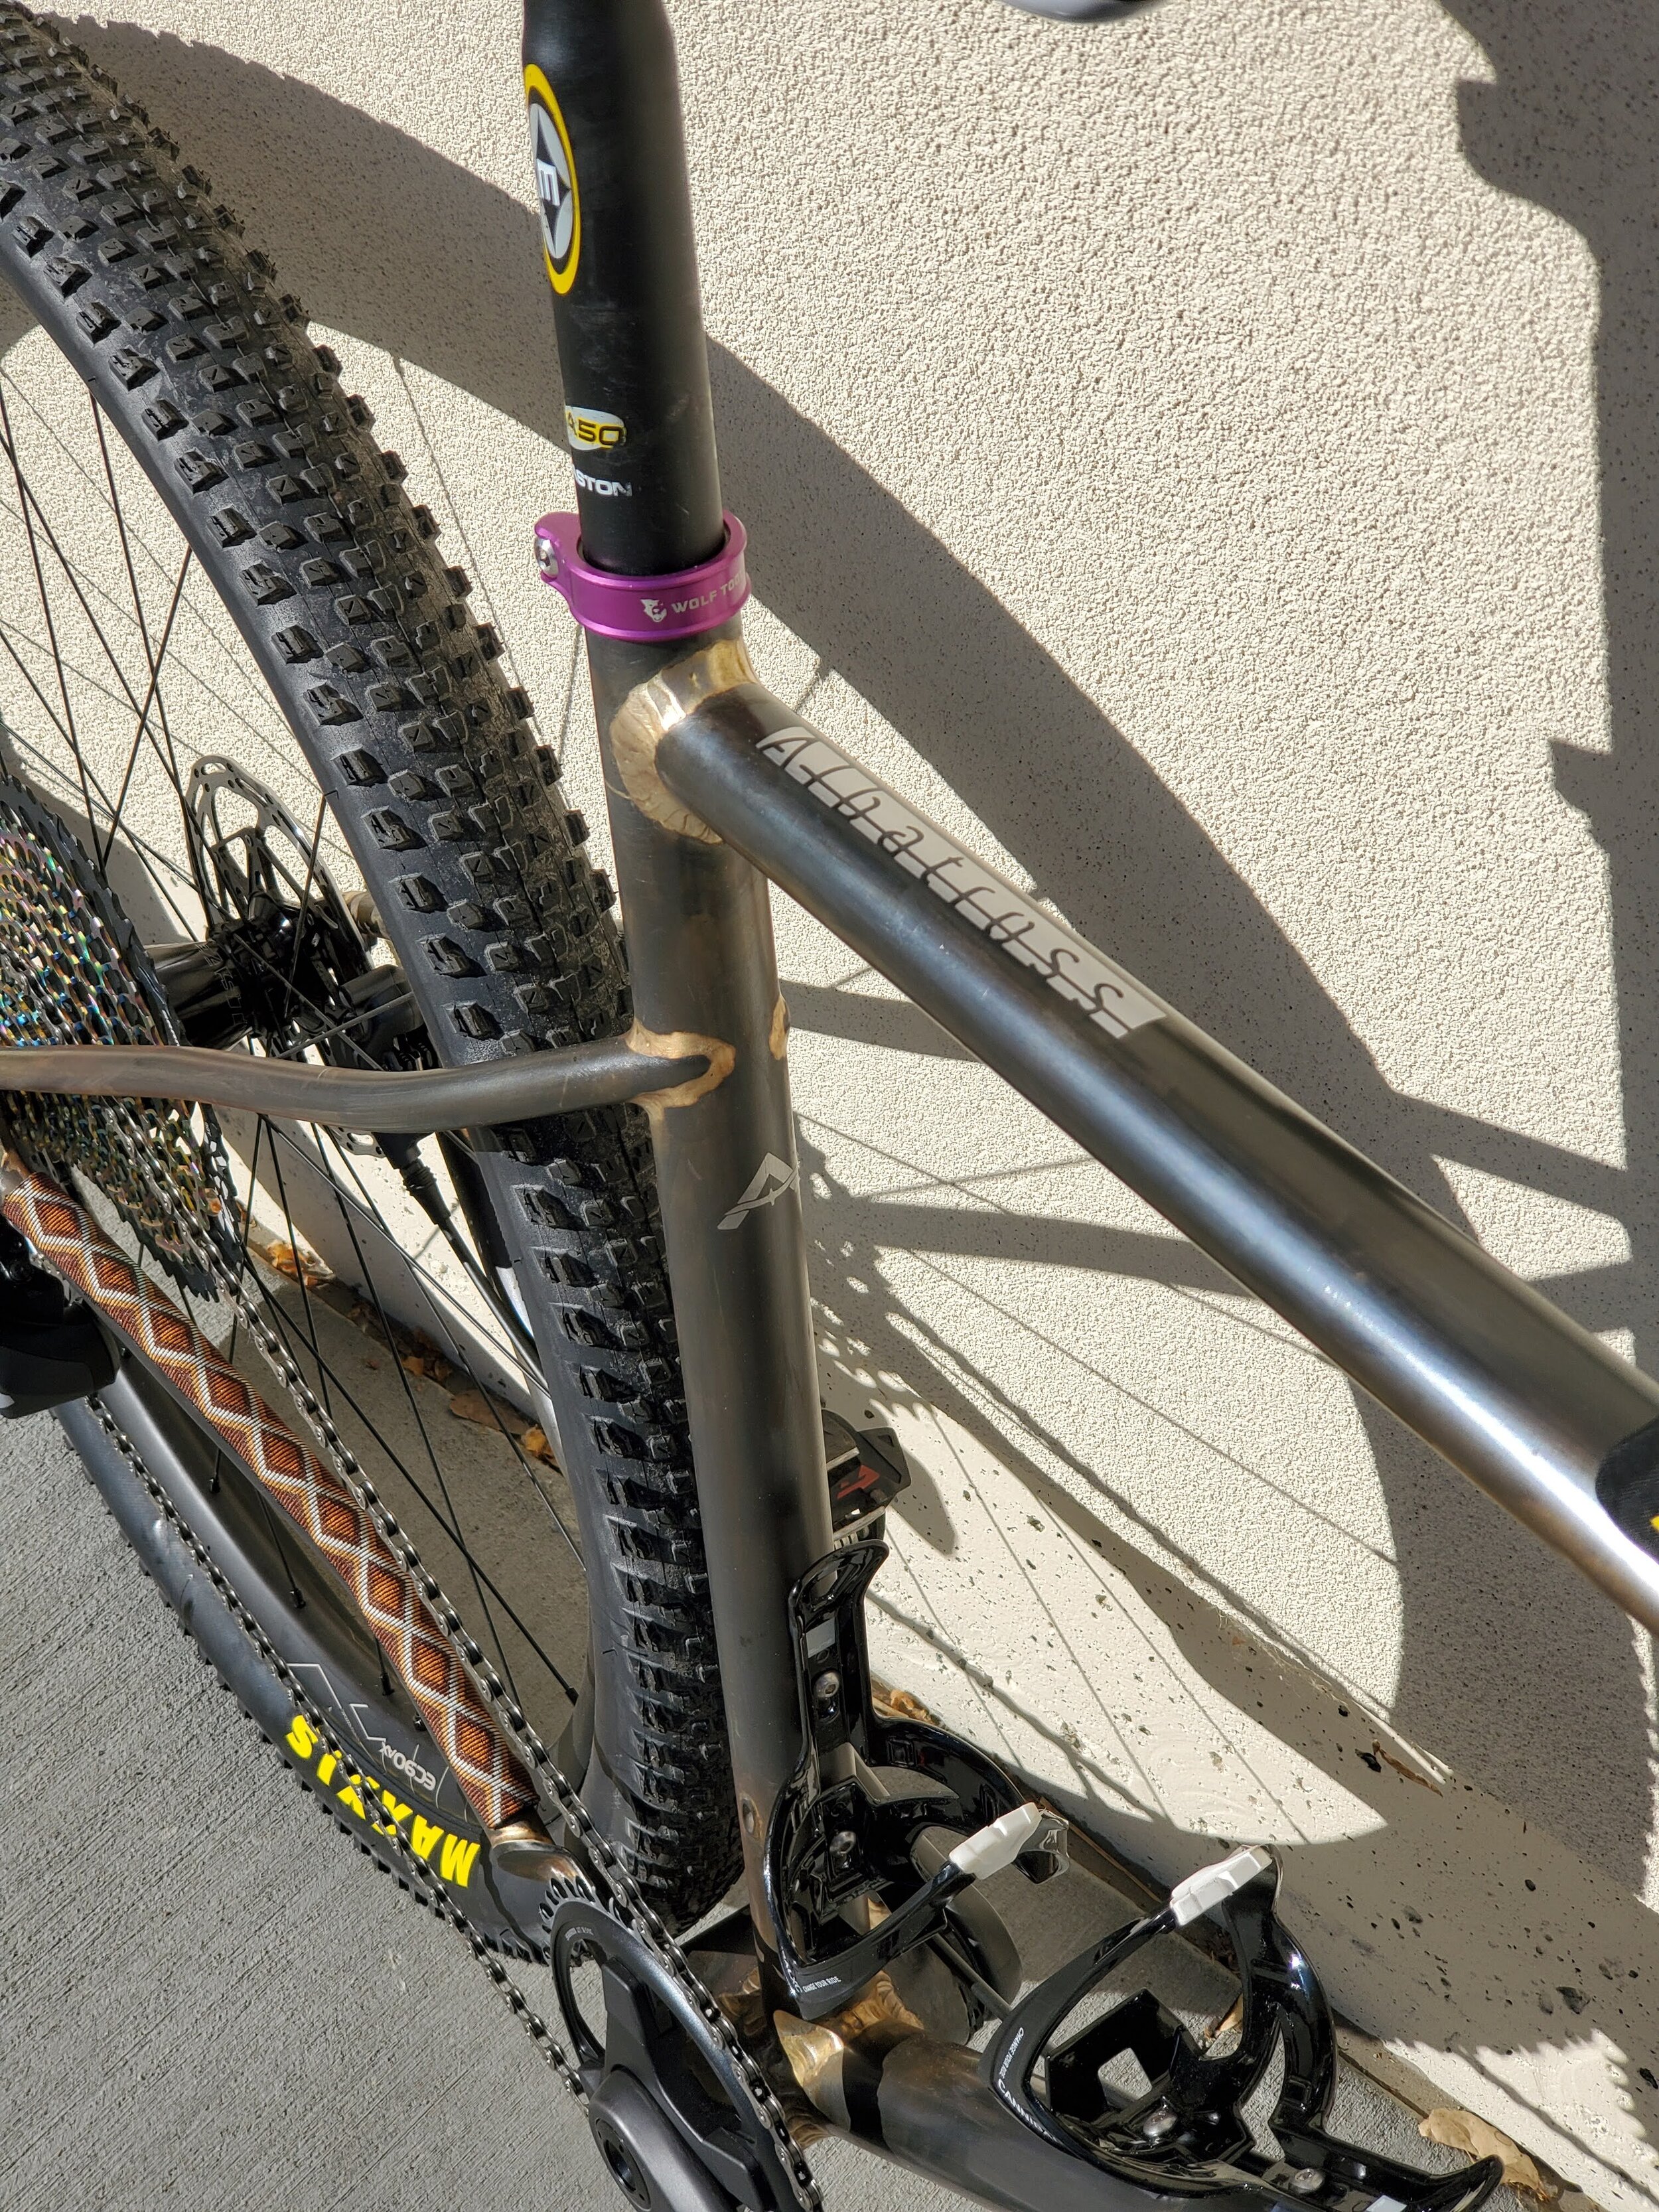
We also utilized our 3D printing capacity by printing off some of the simpler components such as cable guides and chainstay protectors to reduce cost and production time for the frame. The incorporation of more 3D-printed components and accessories with the frameset is something that we are seeing more customers opt for in their framesets as it allows them a greater degree of customization in the final product.

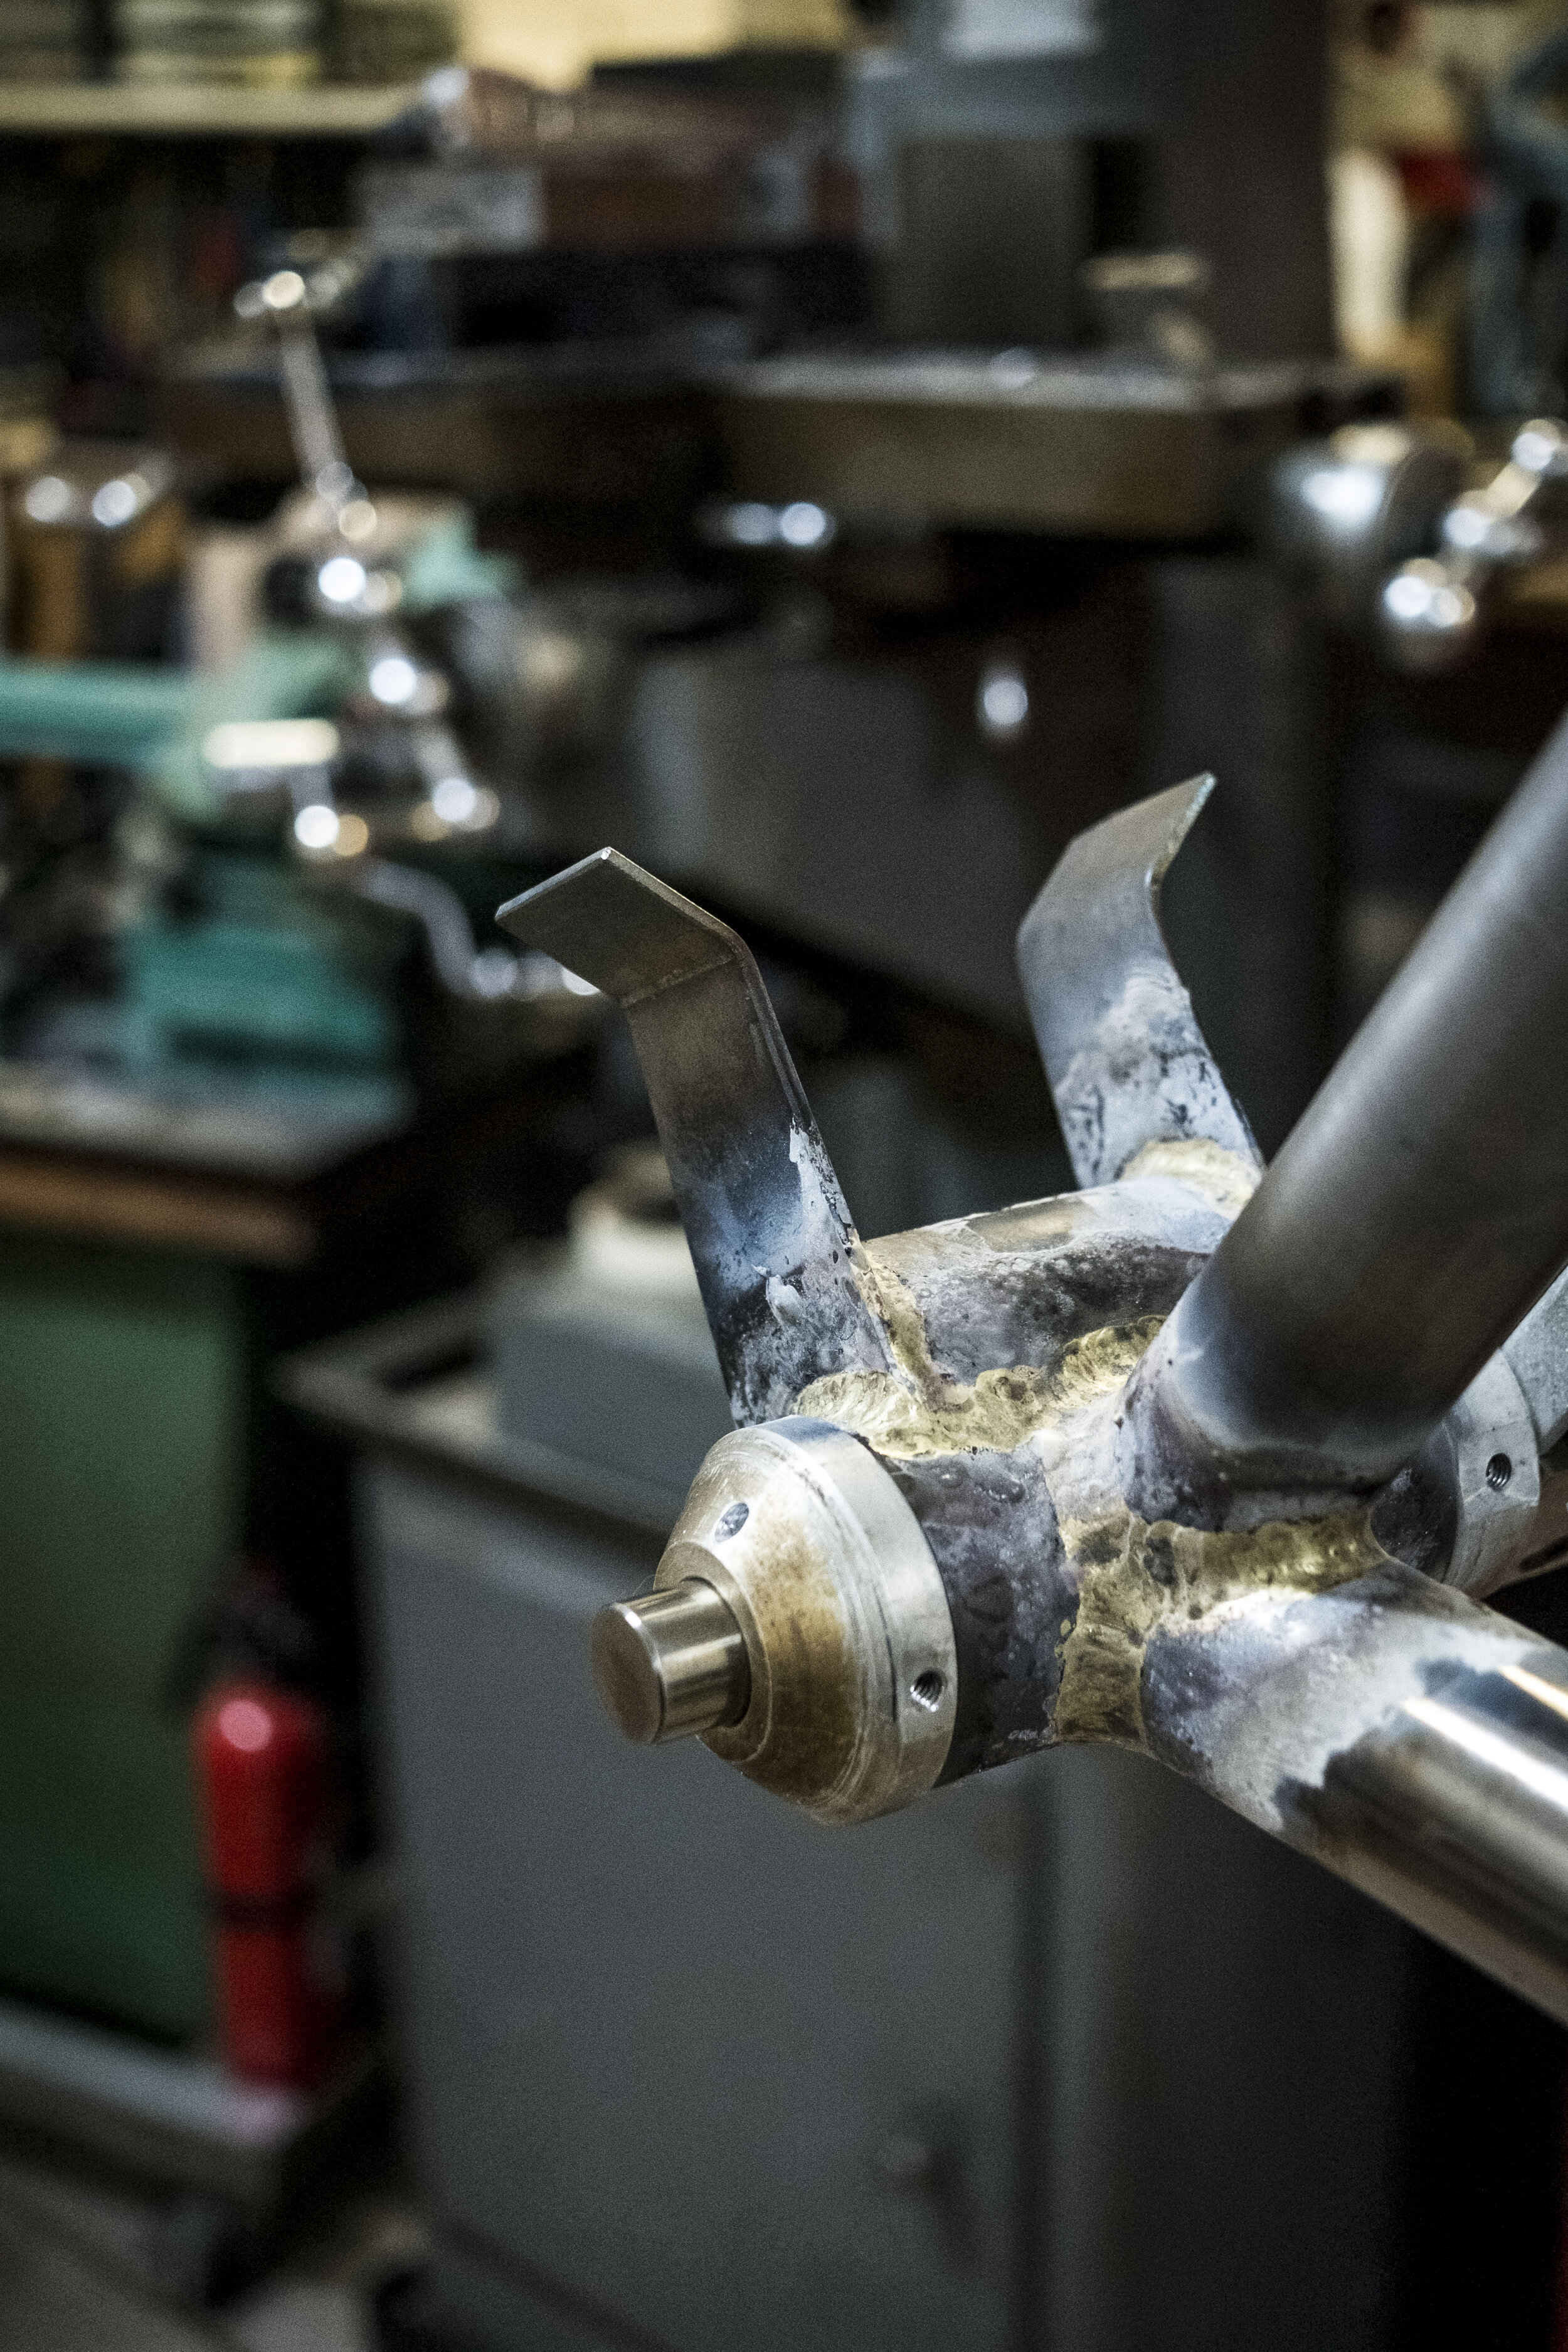
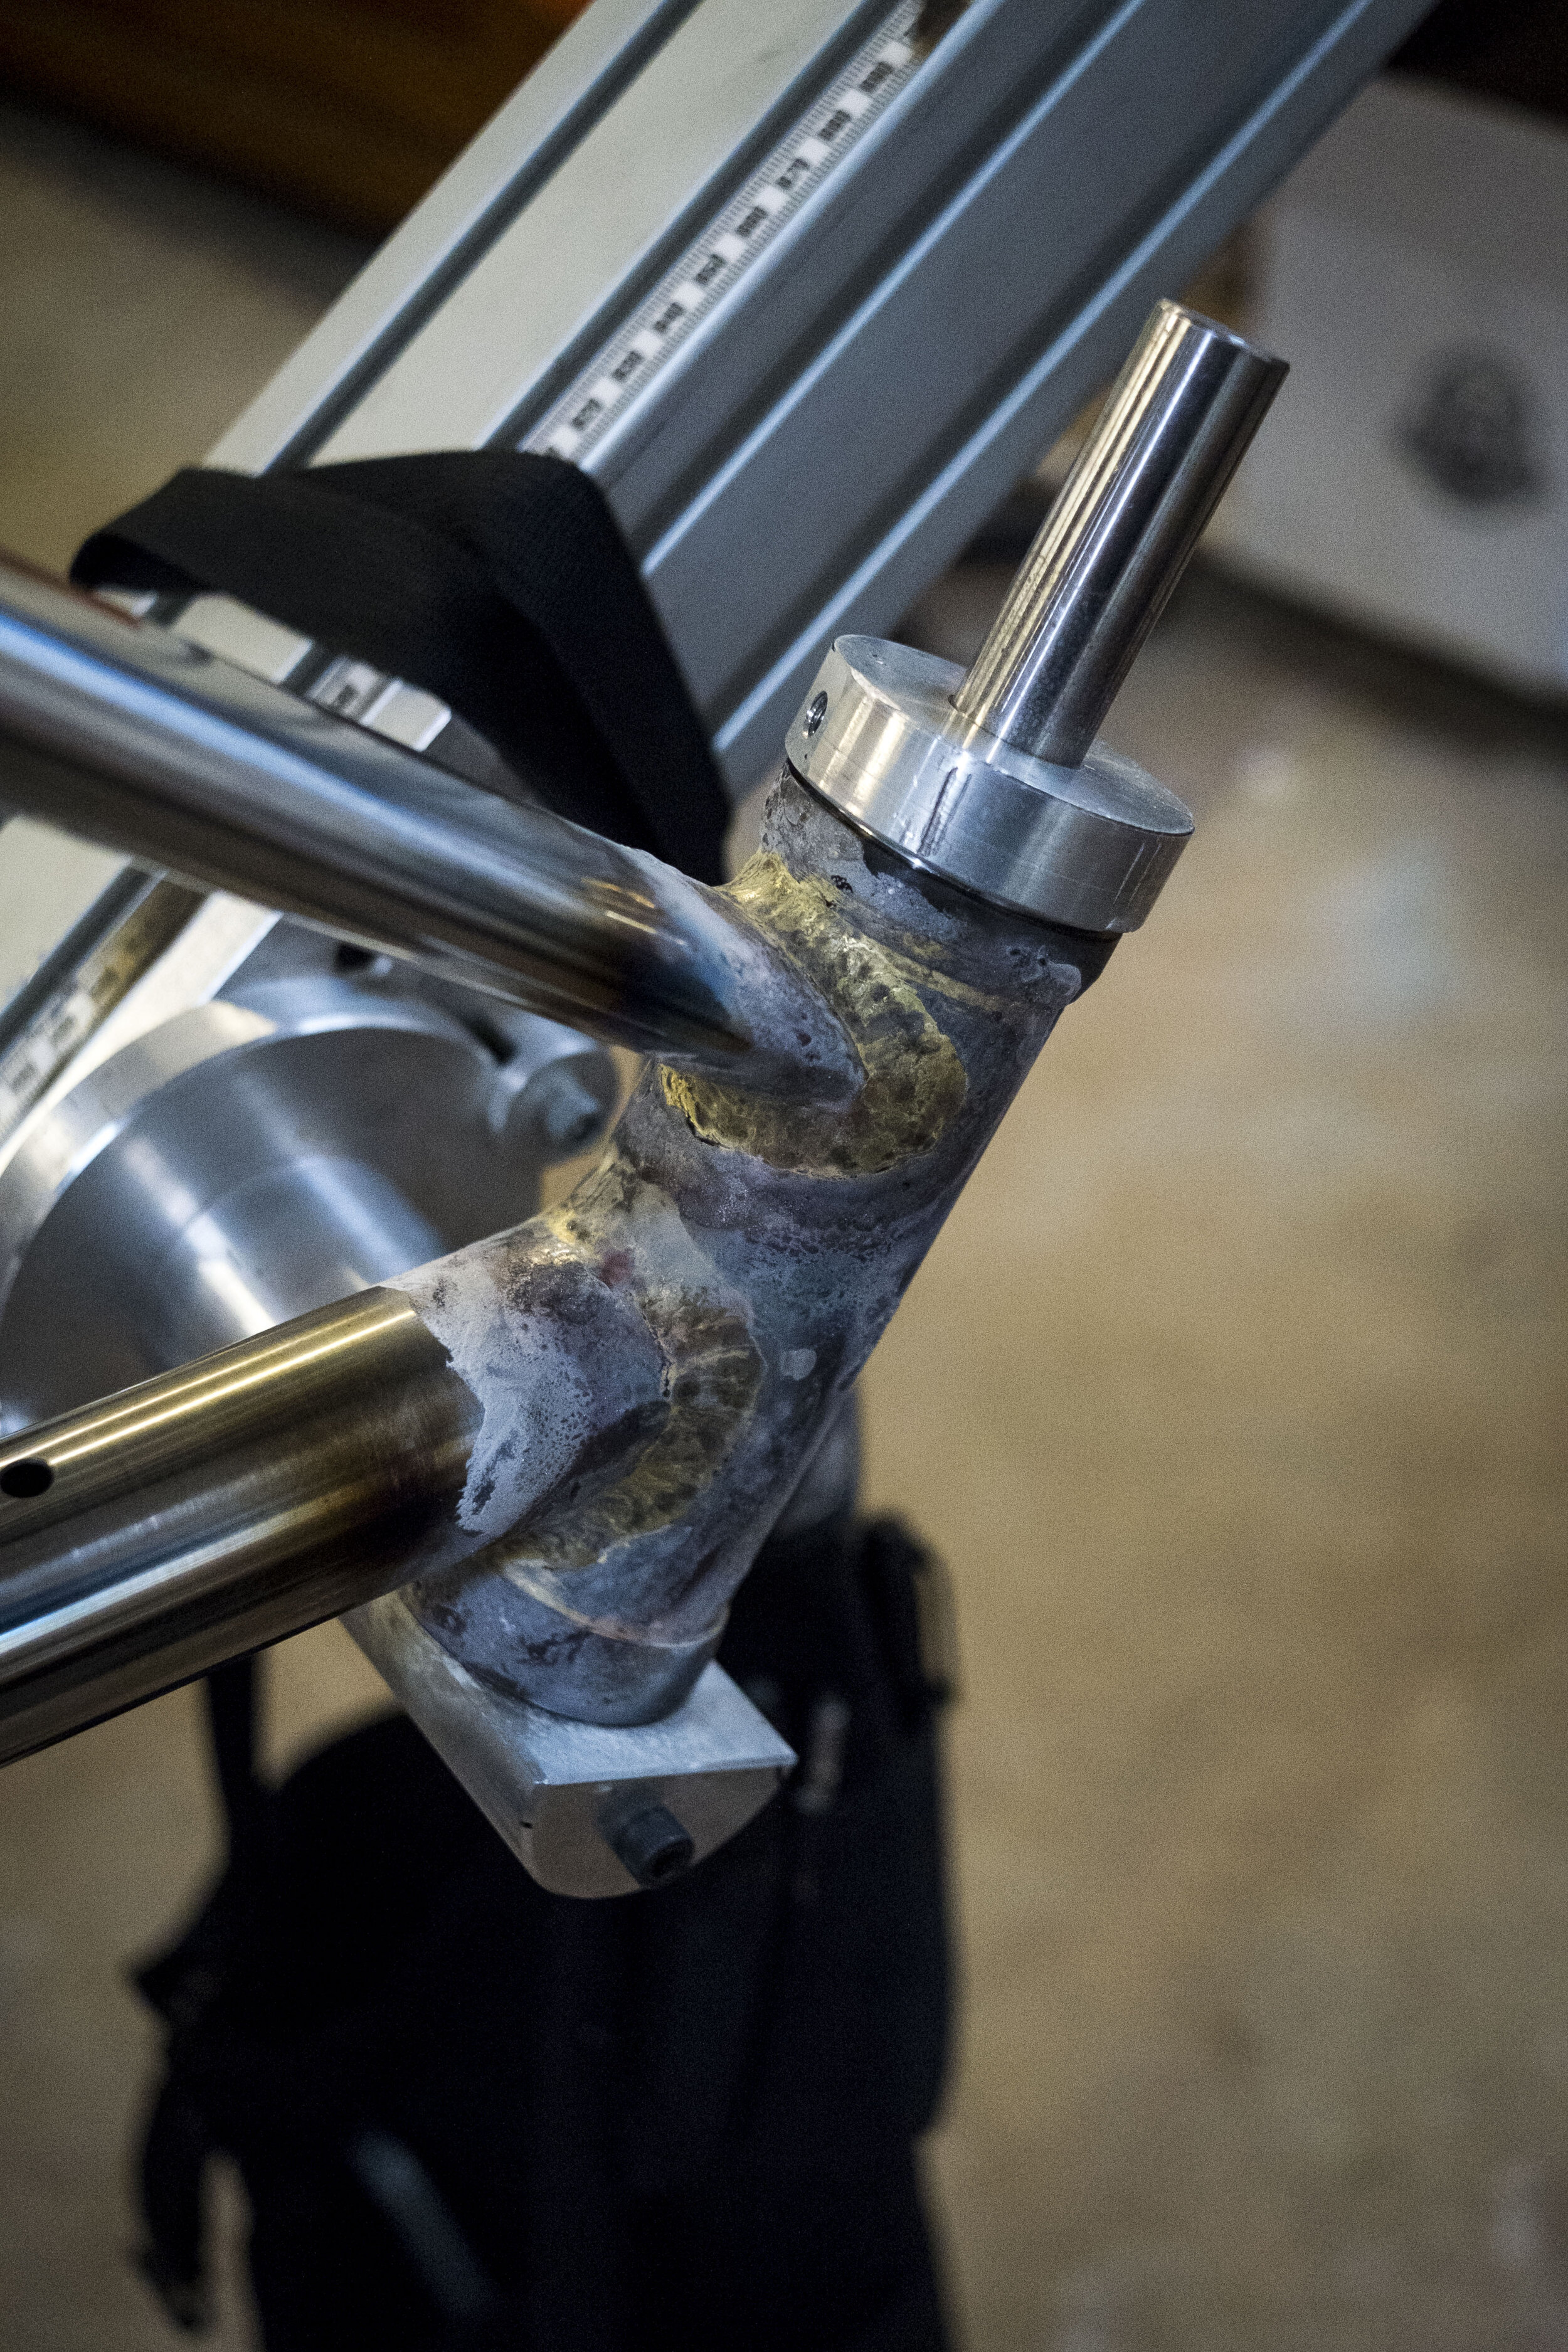
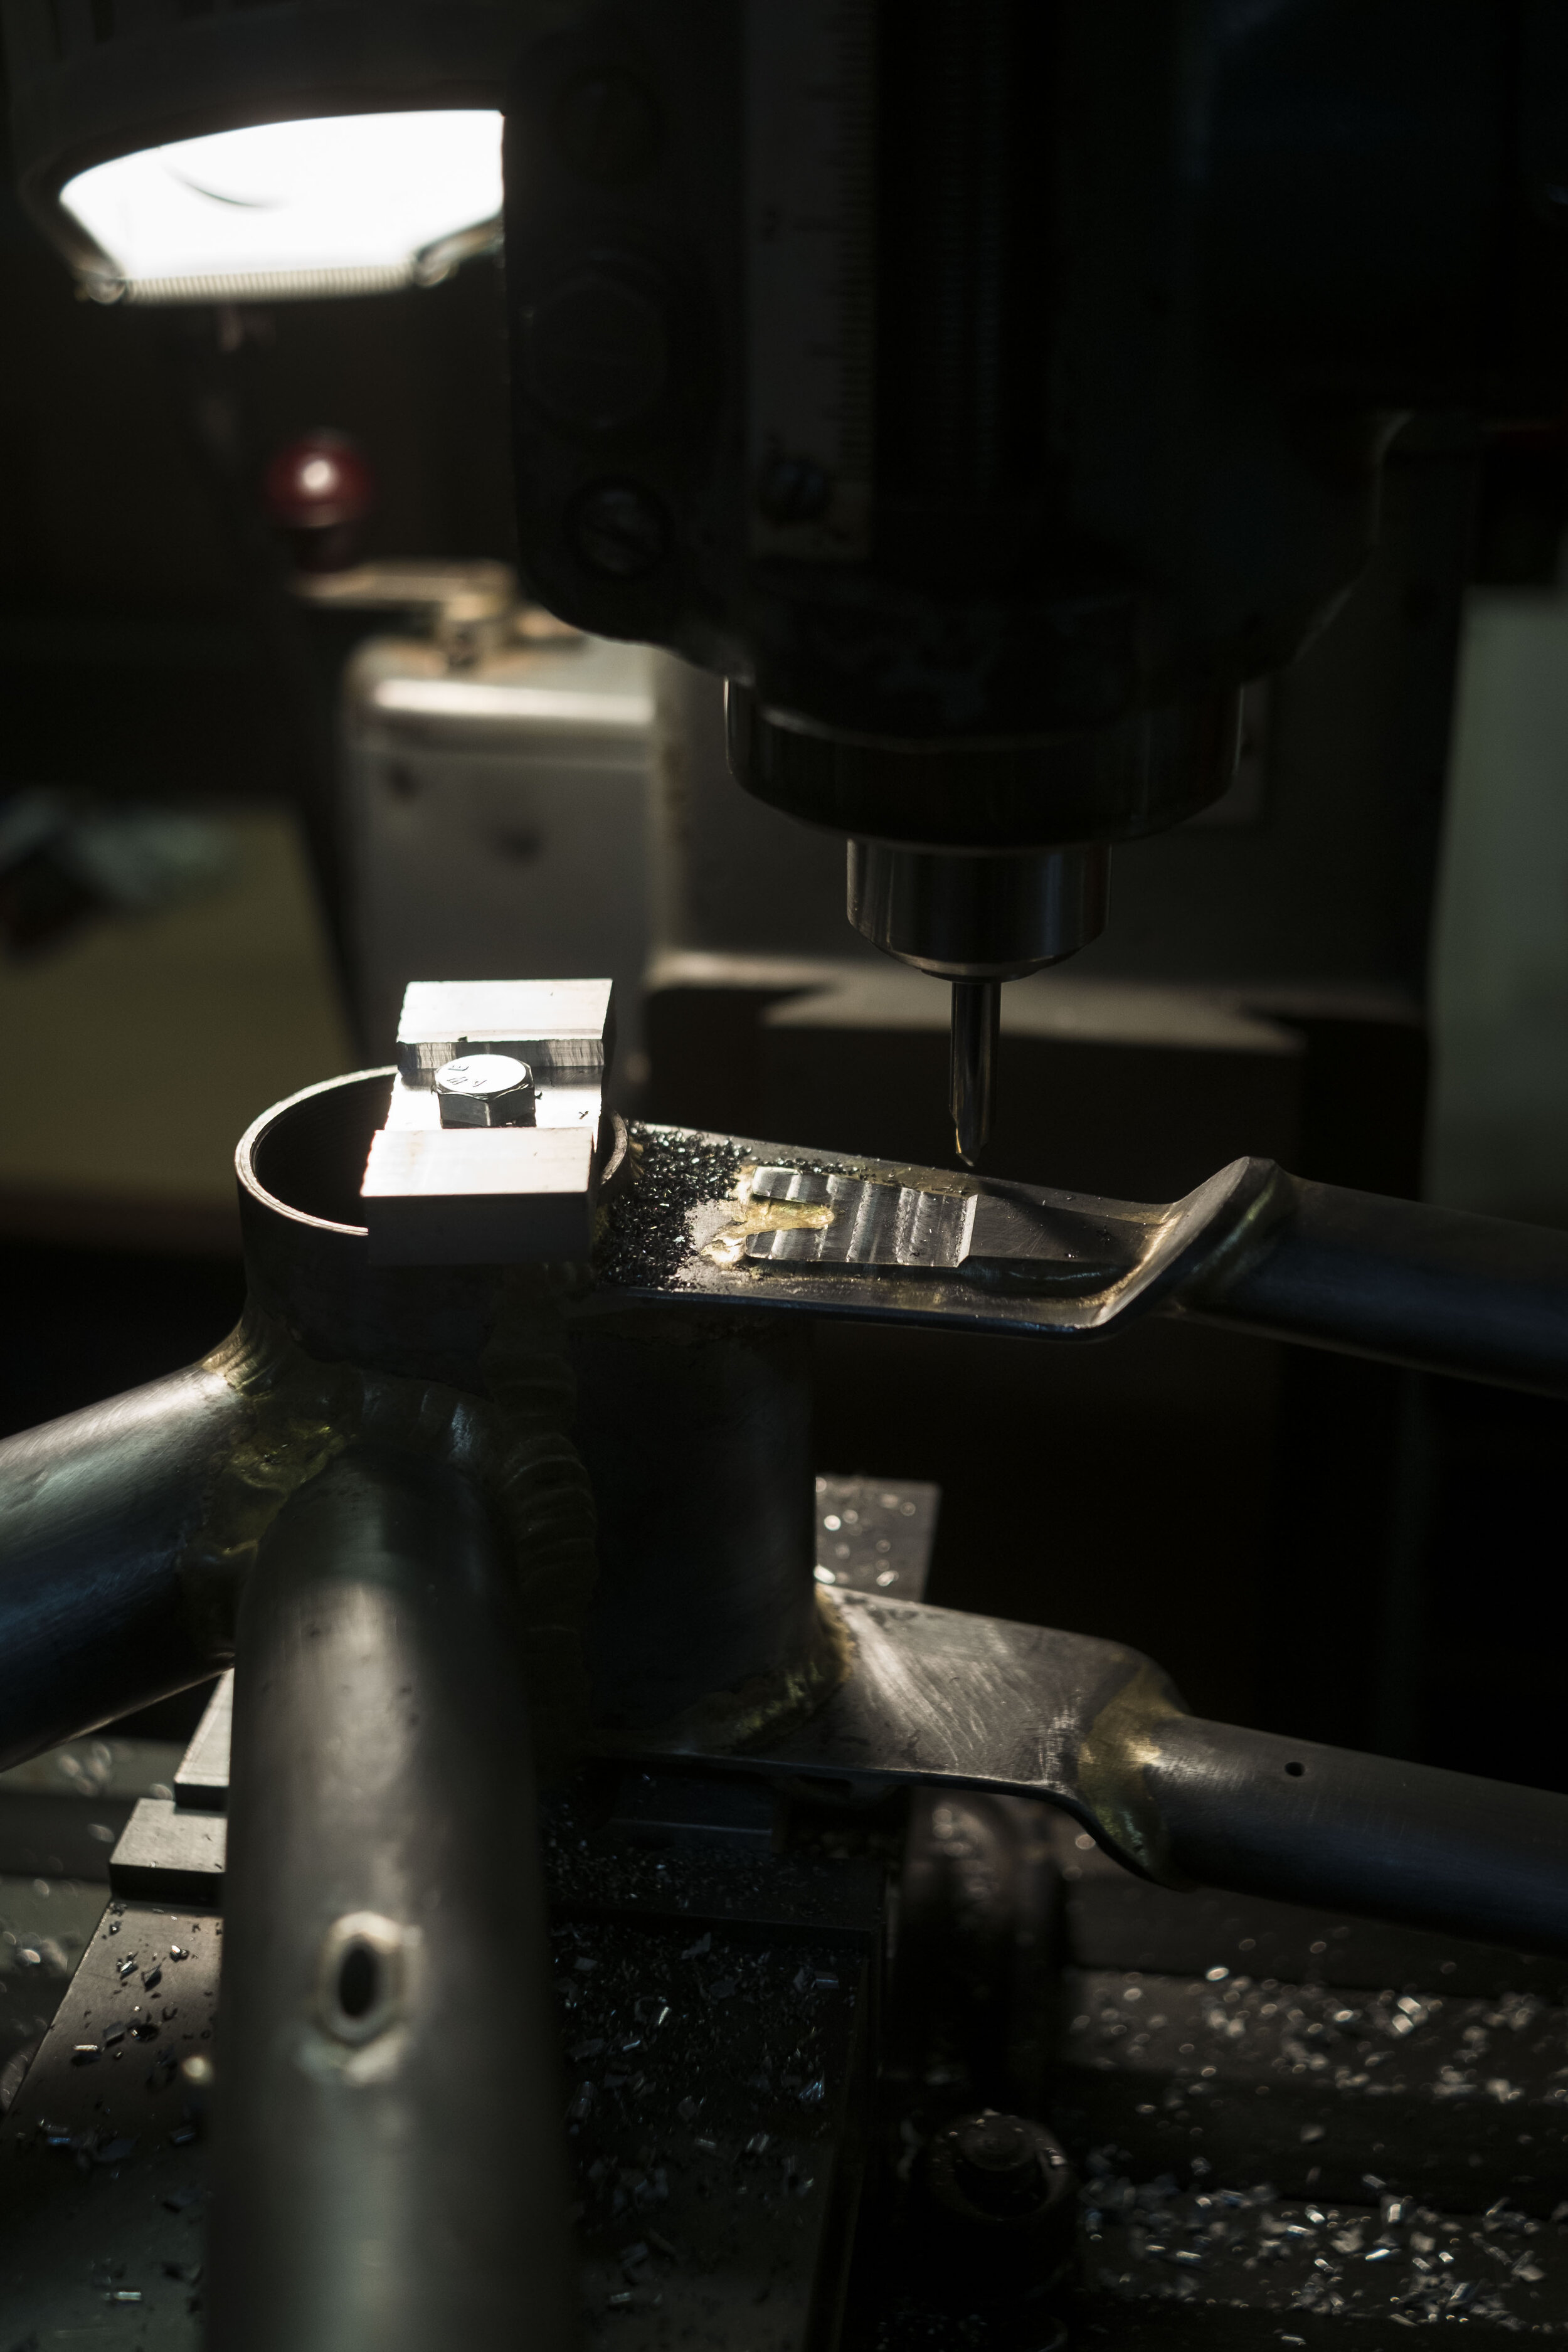
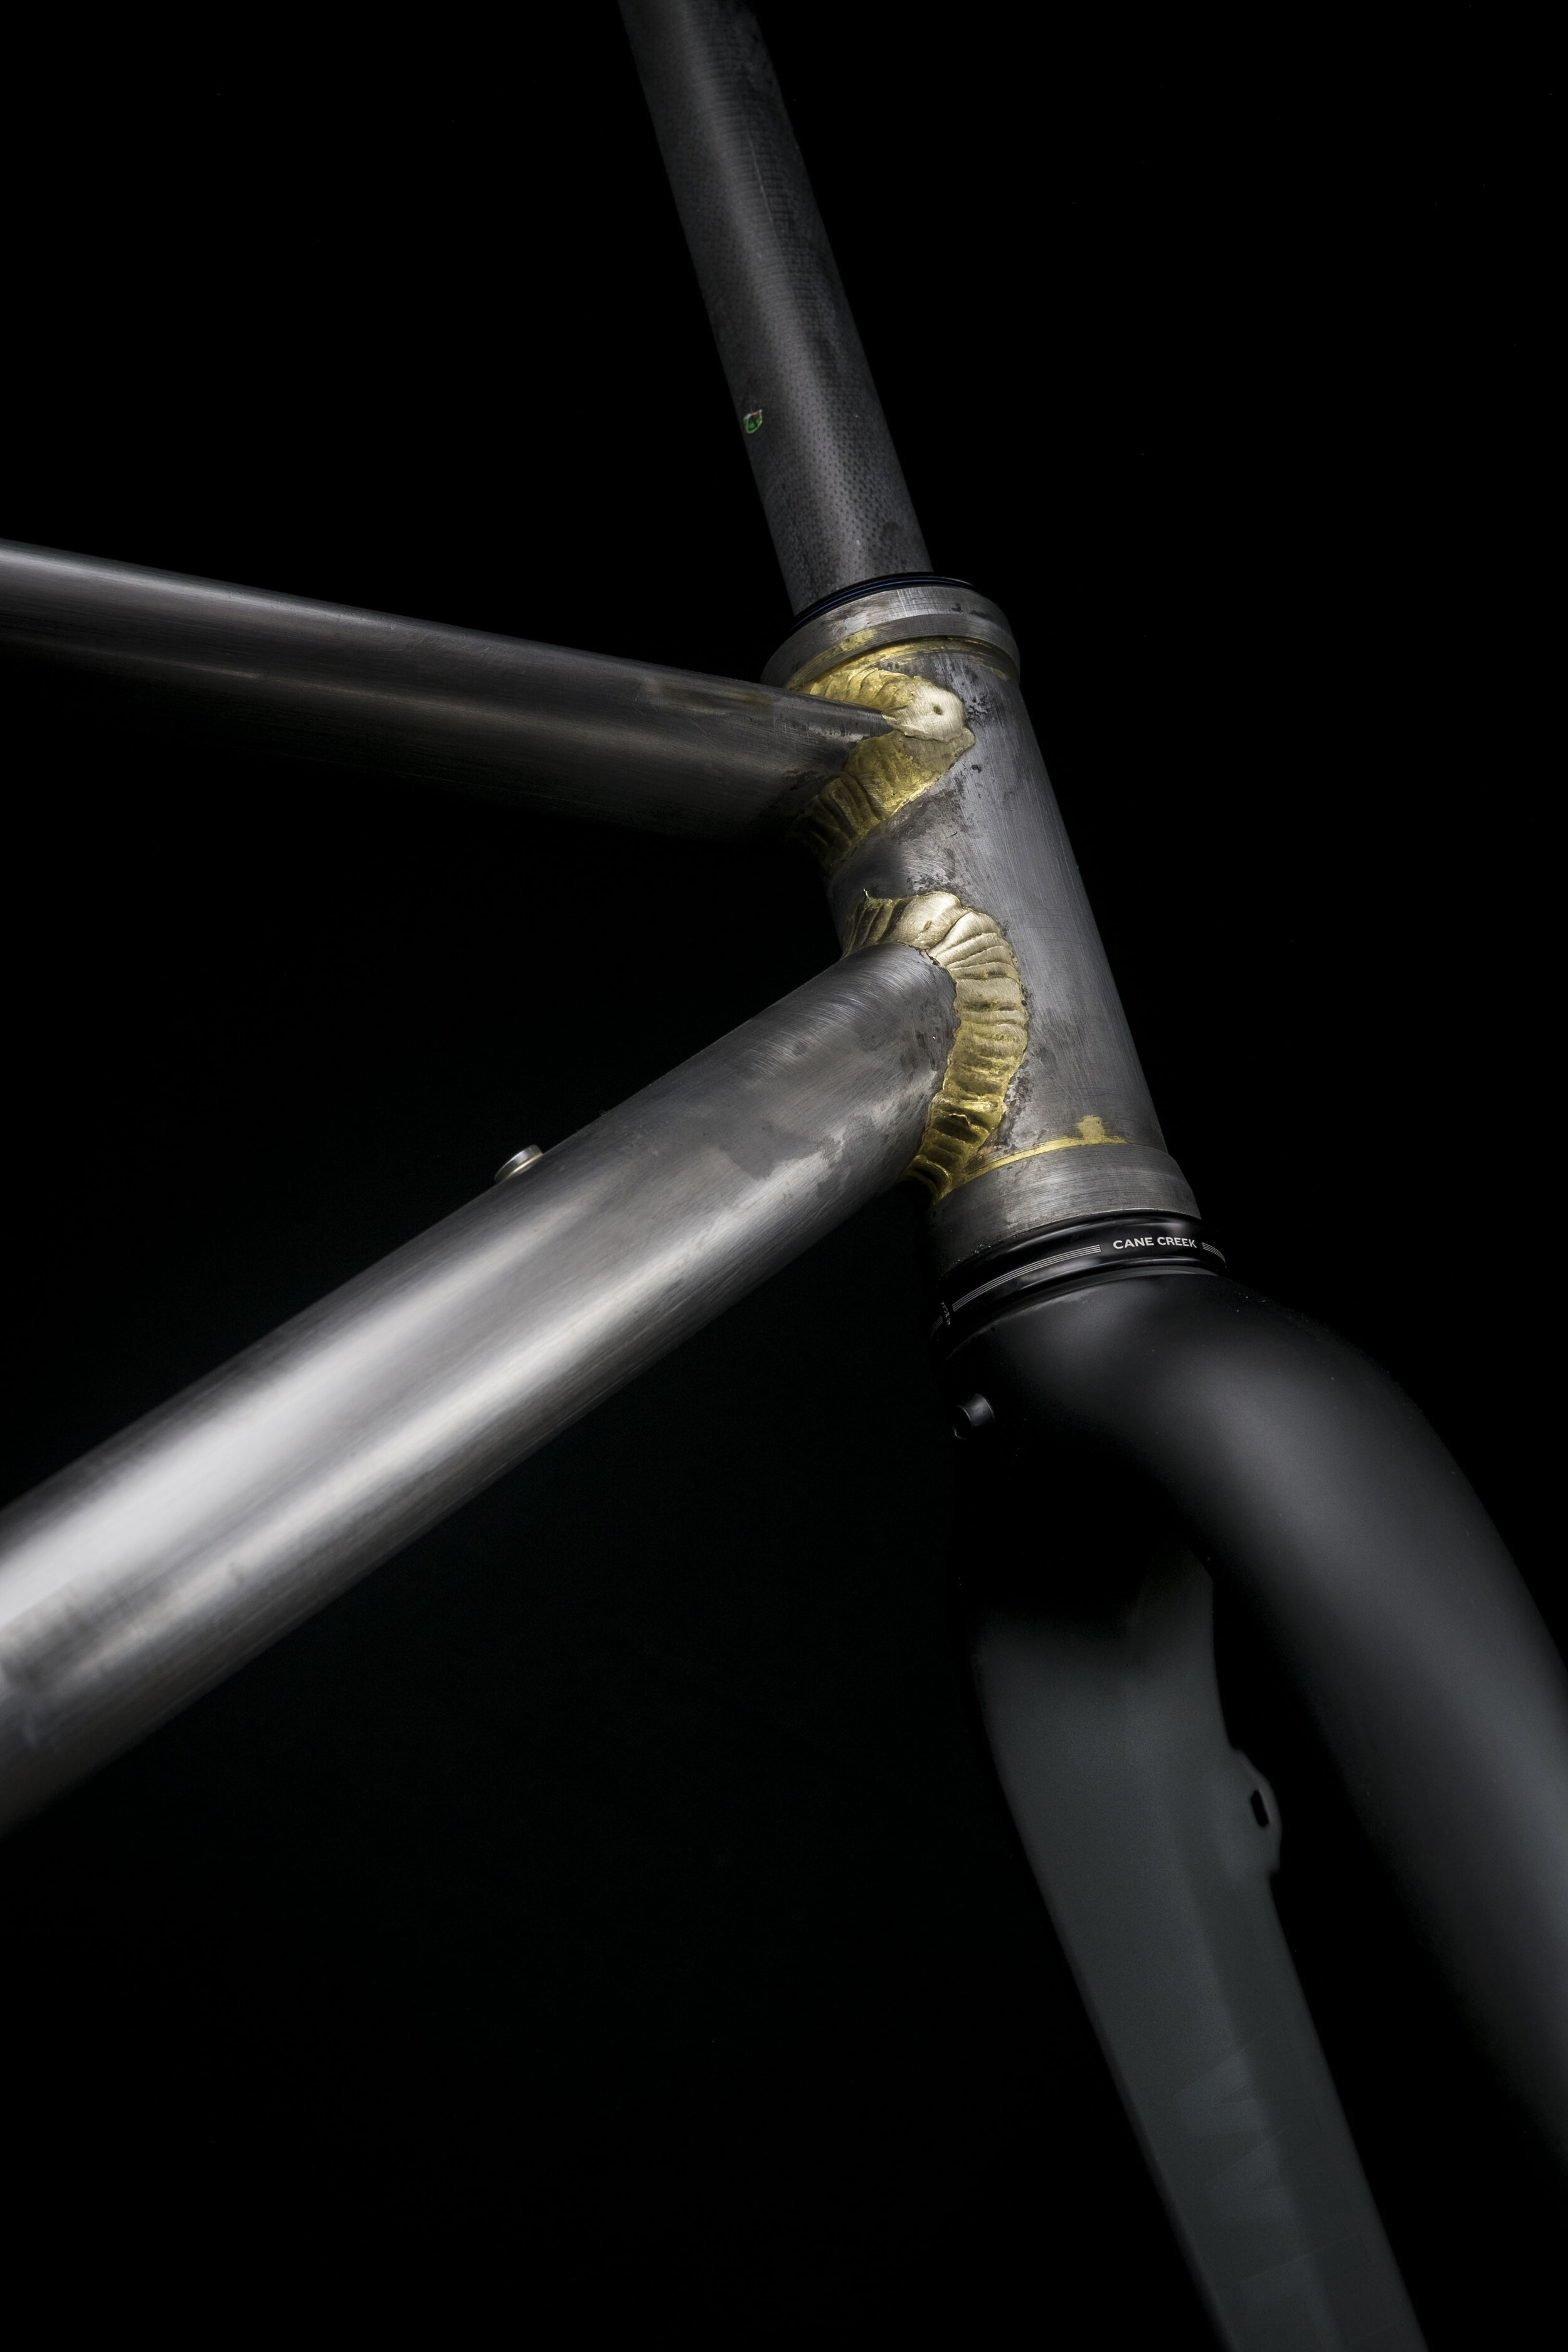
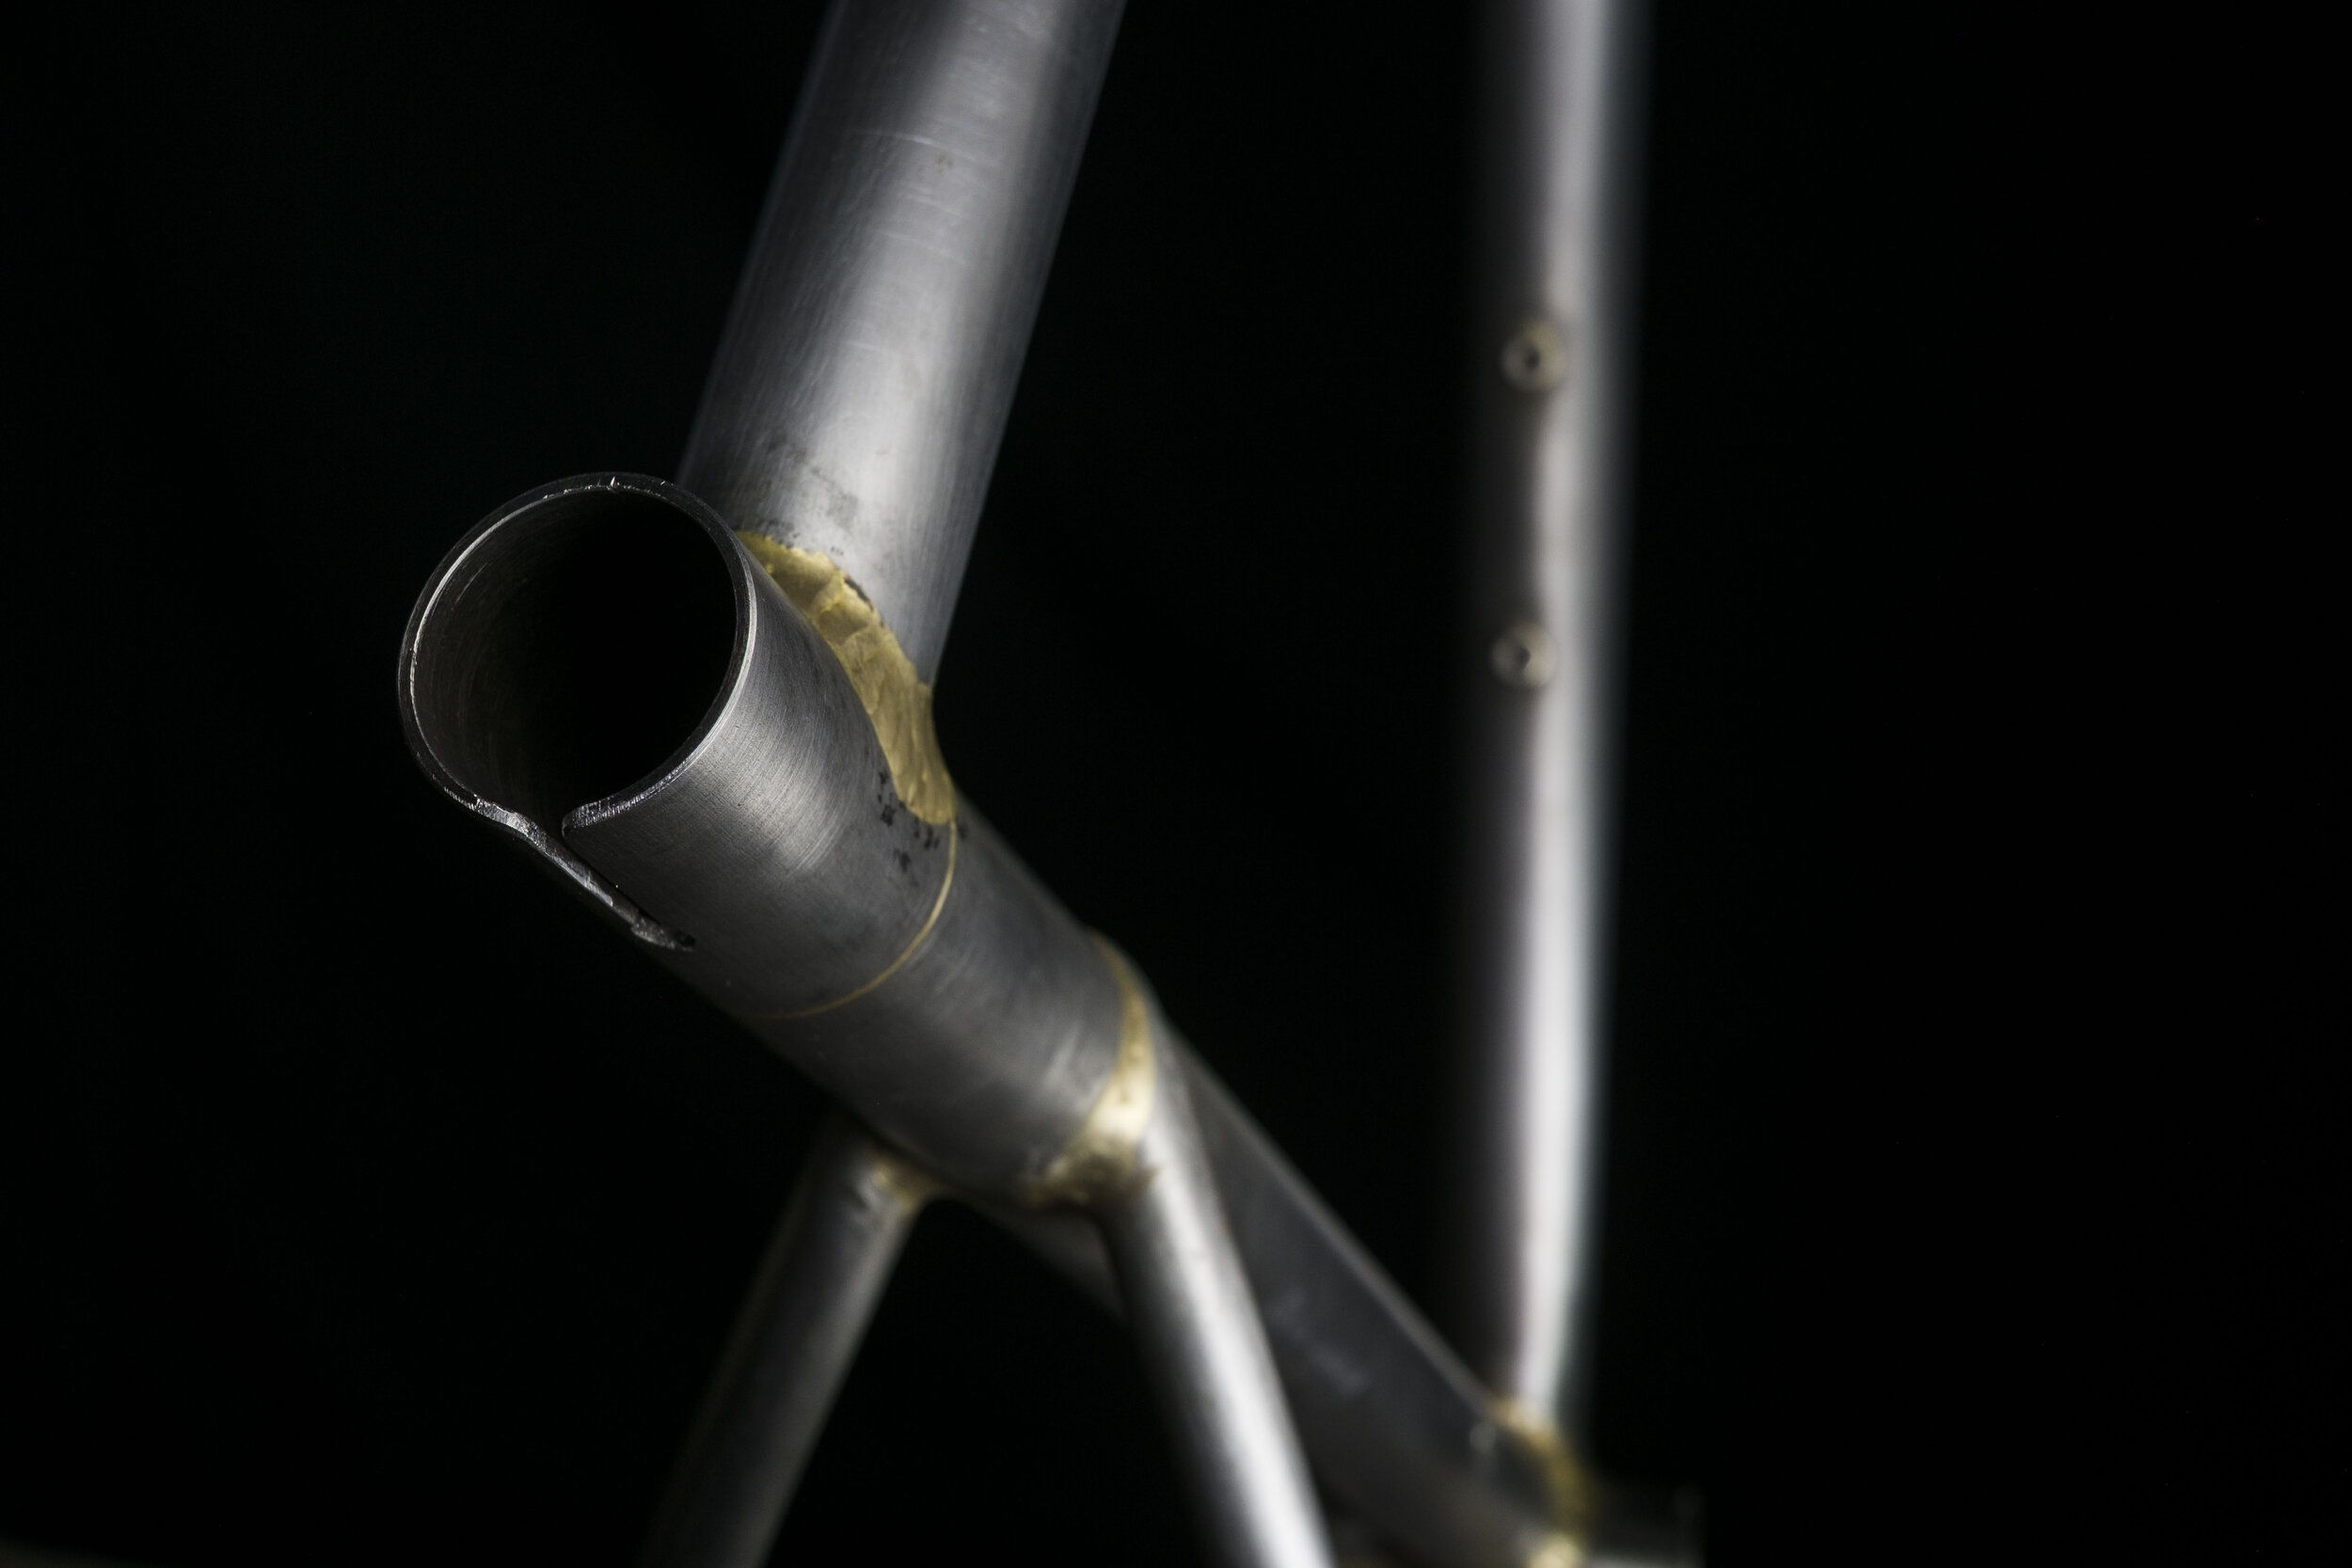
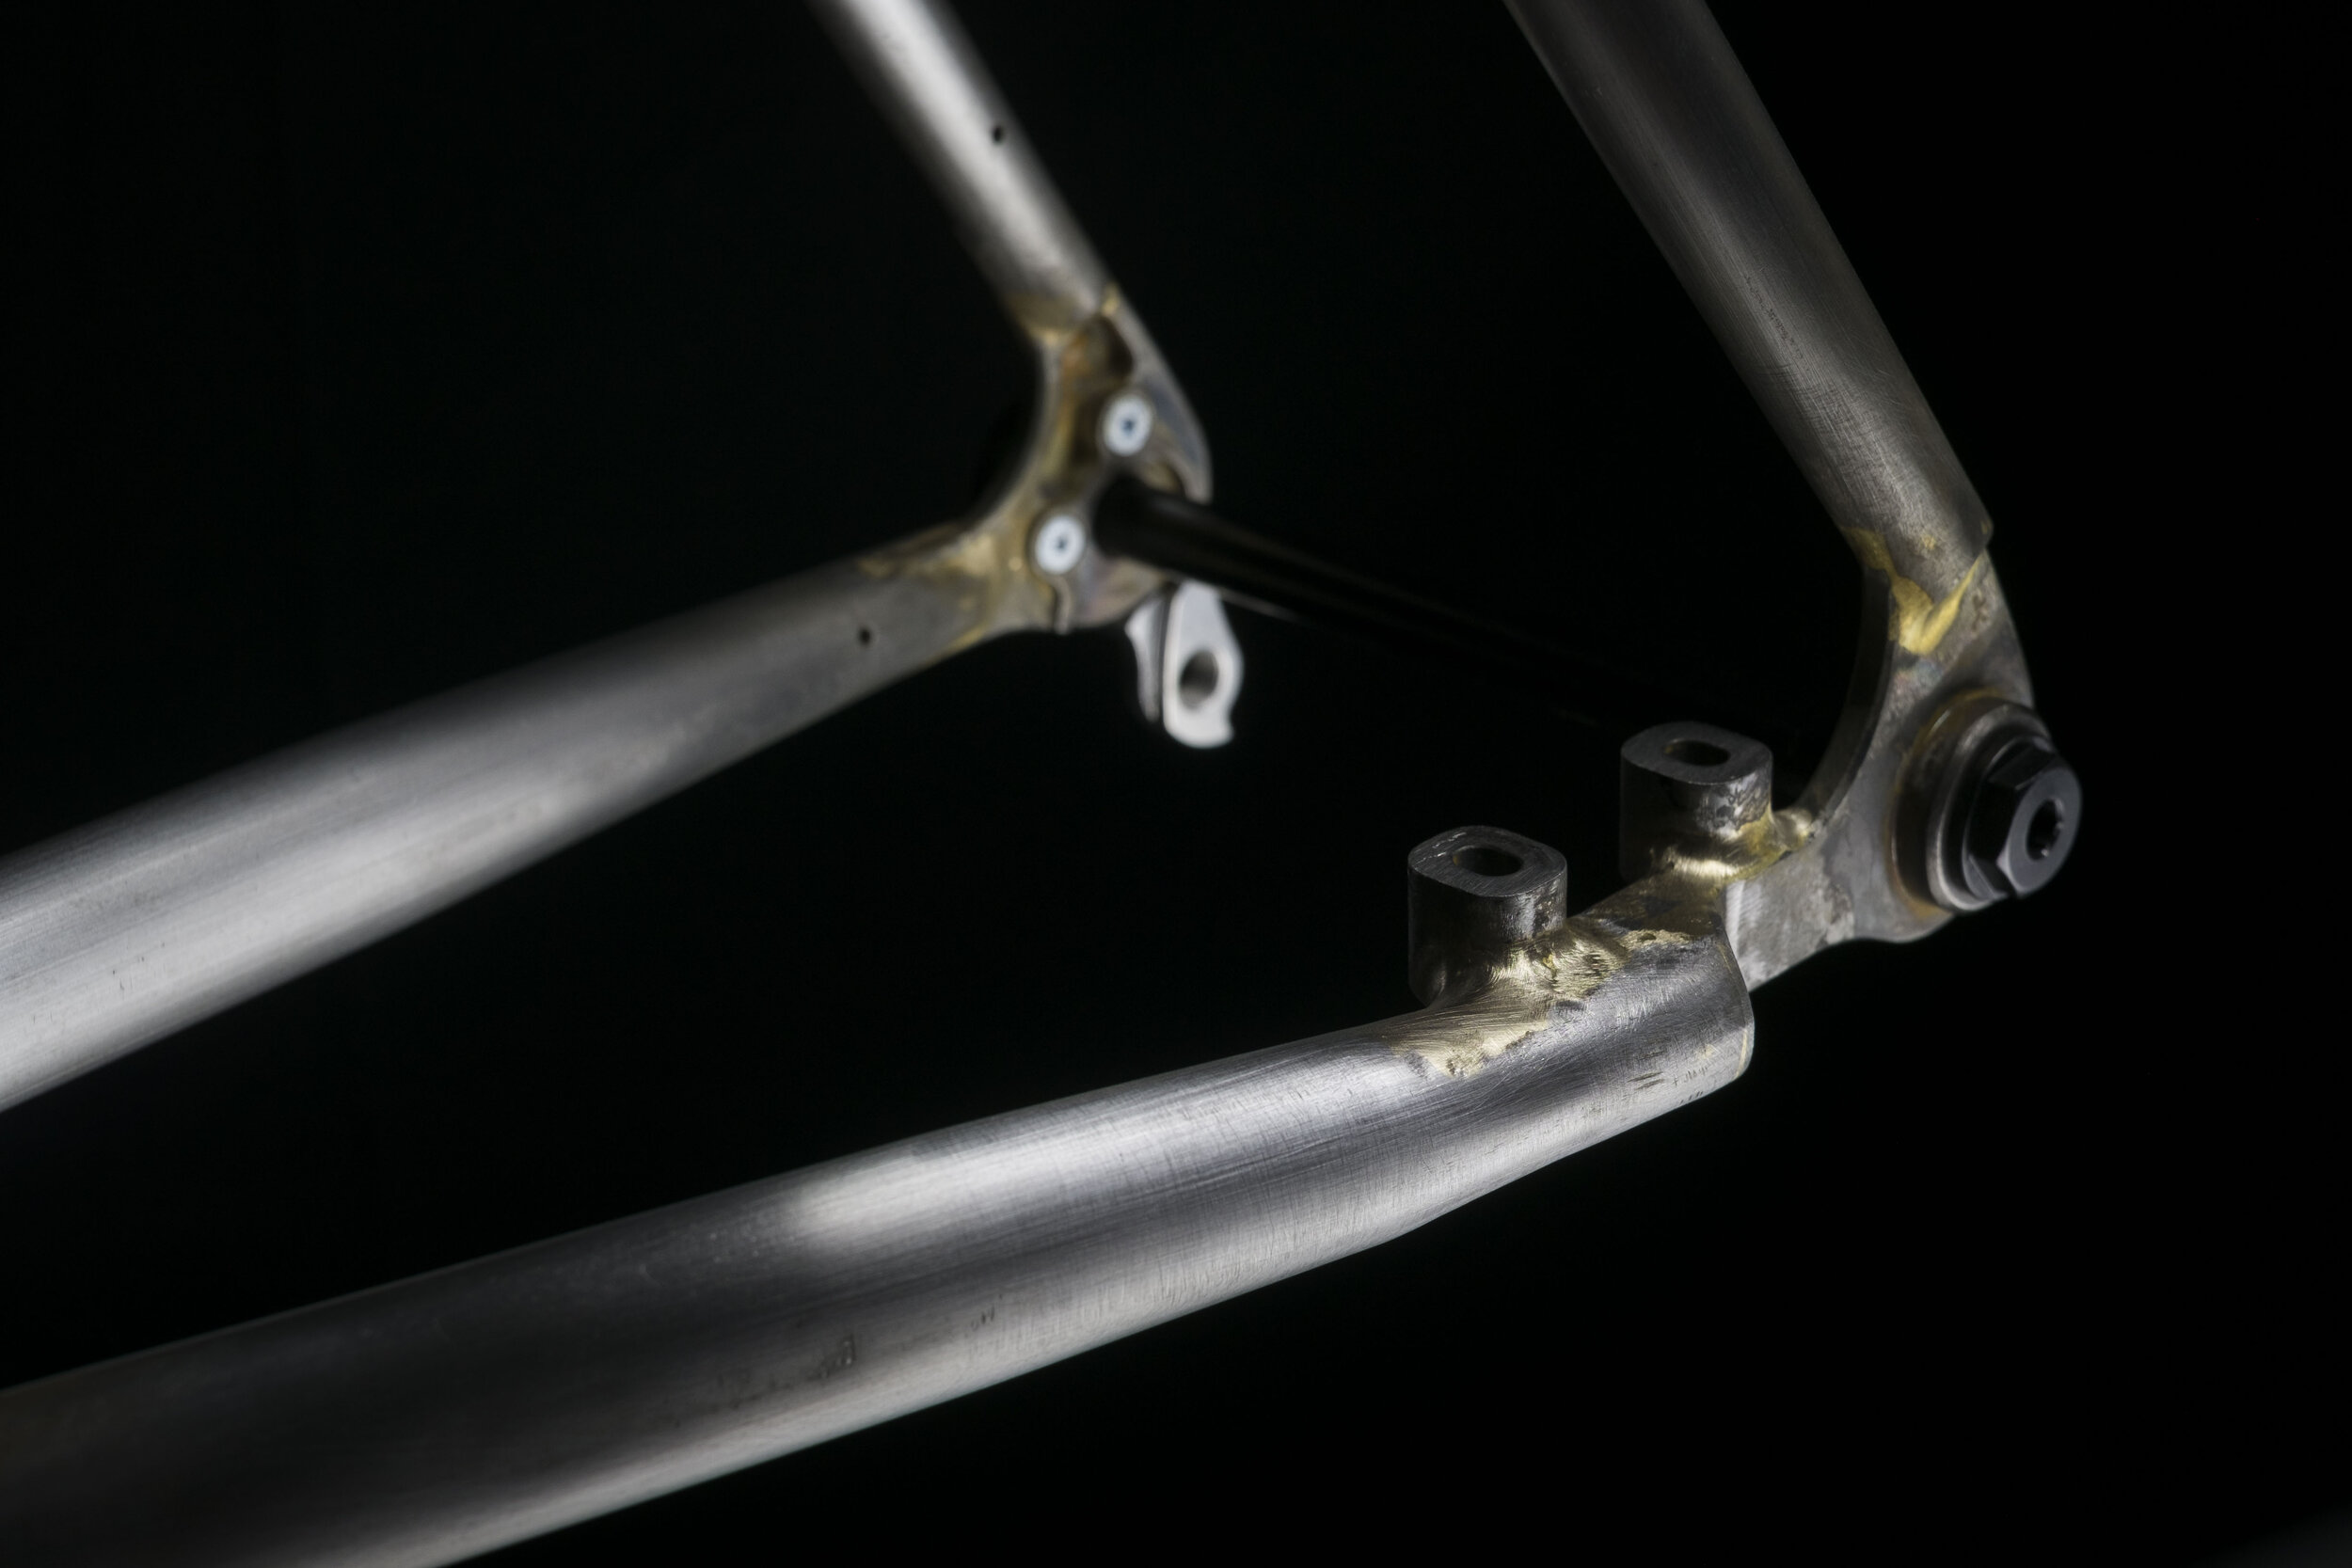
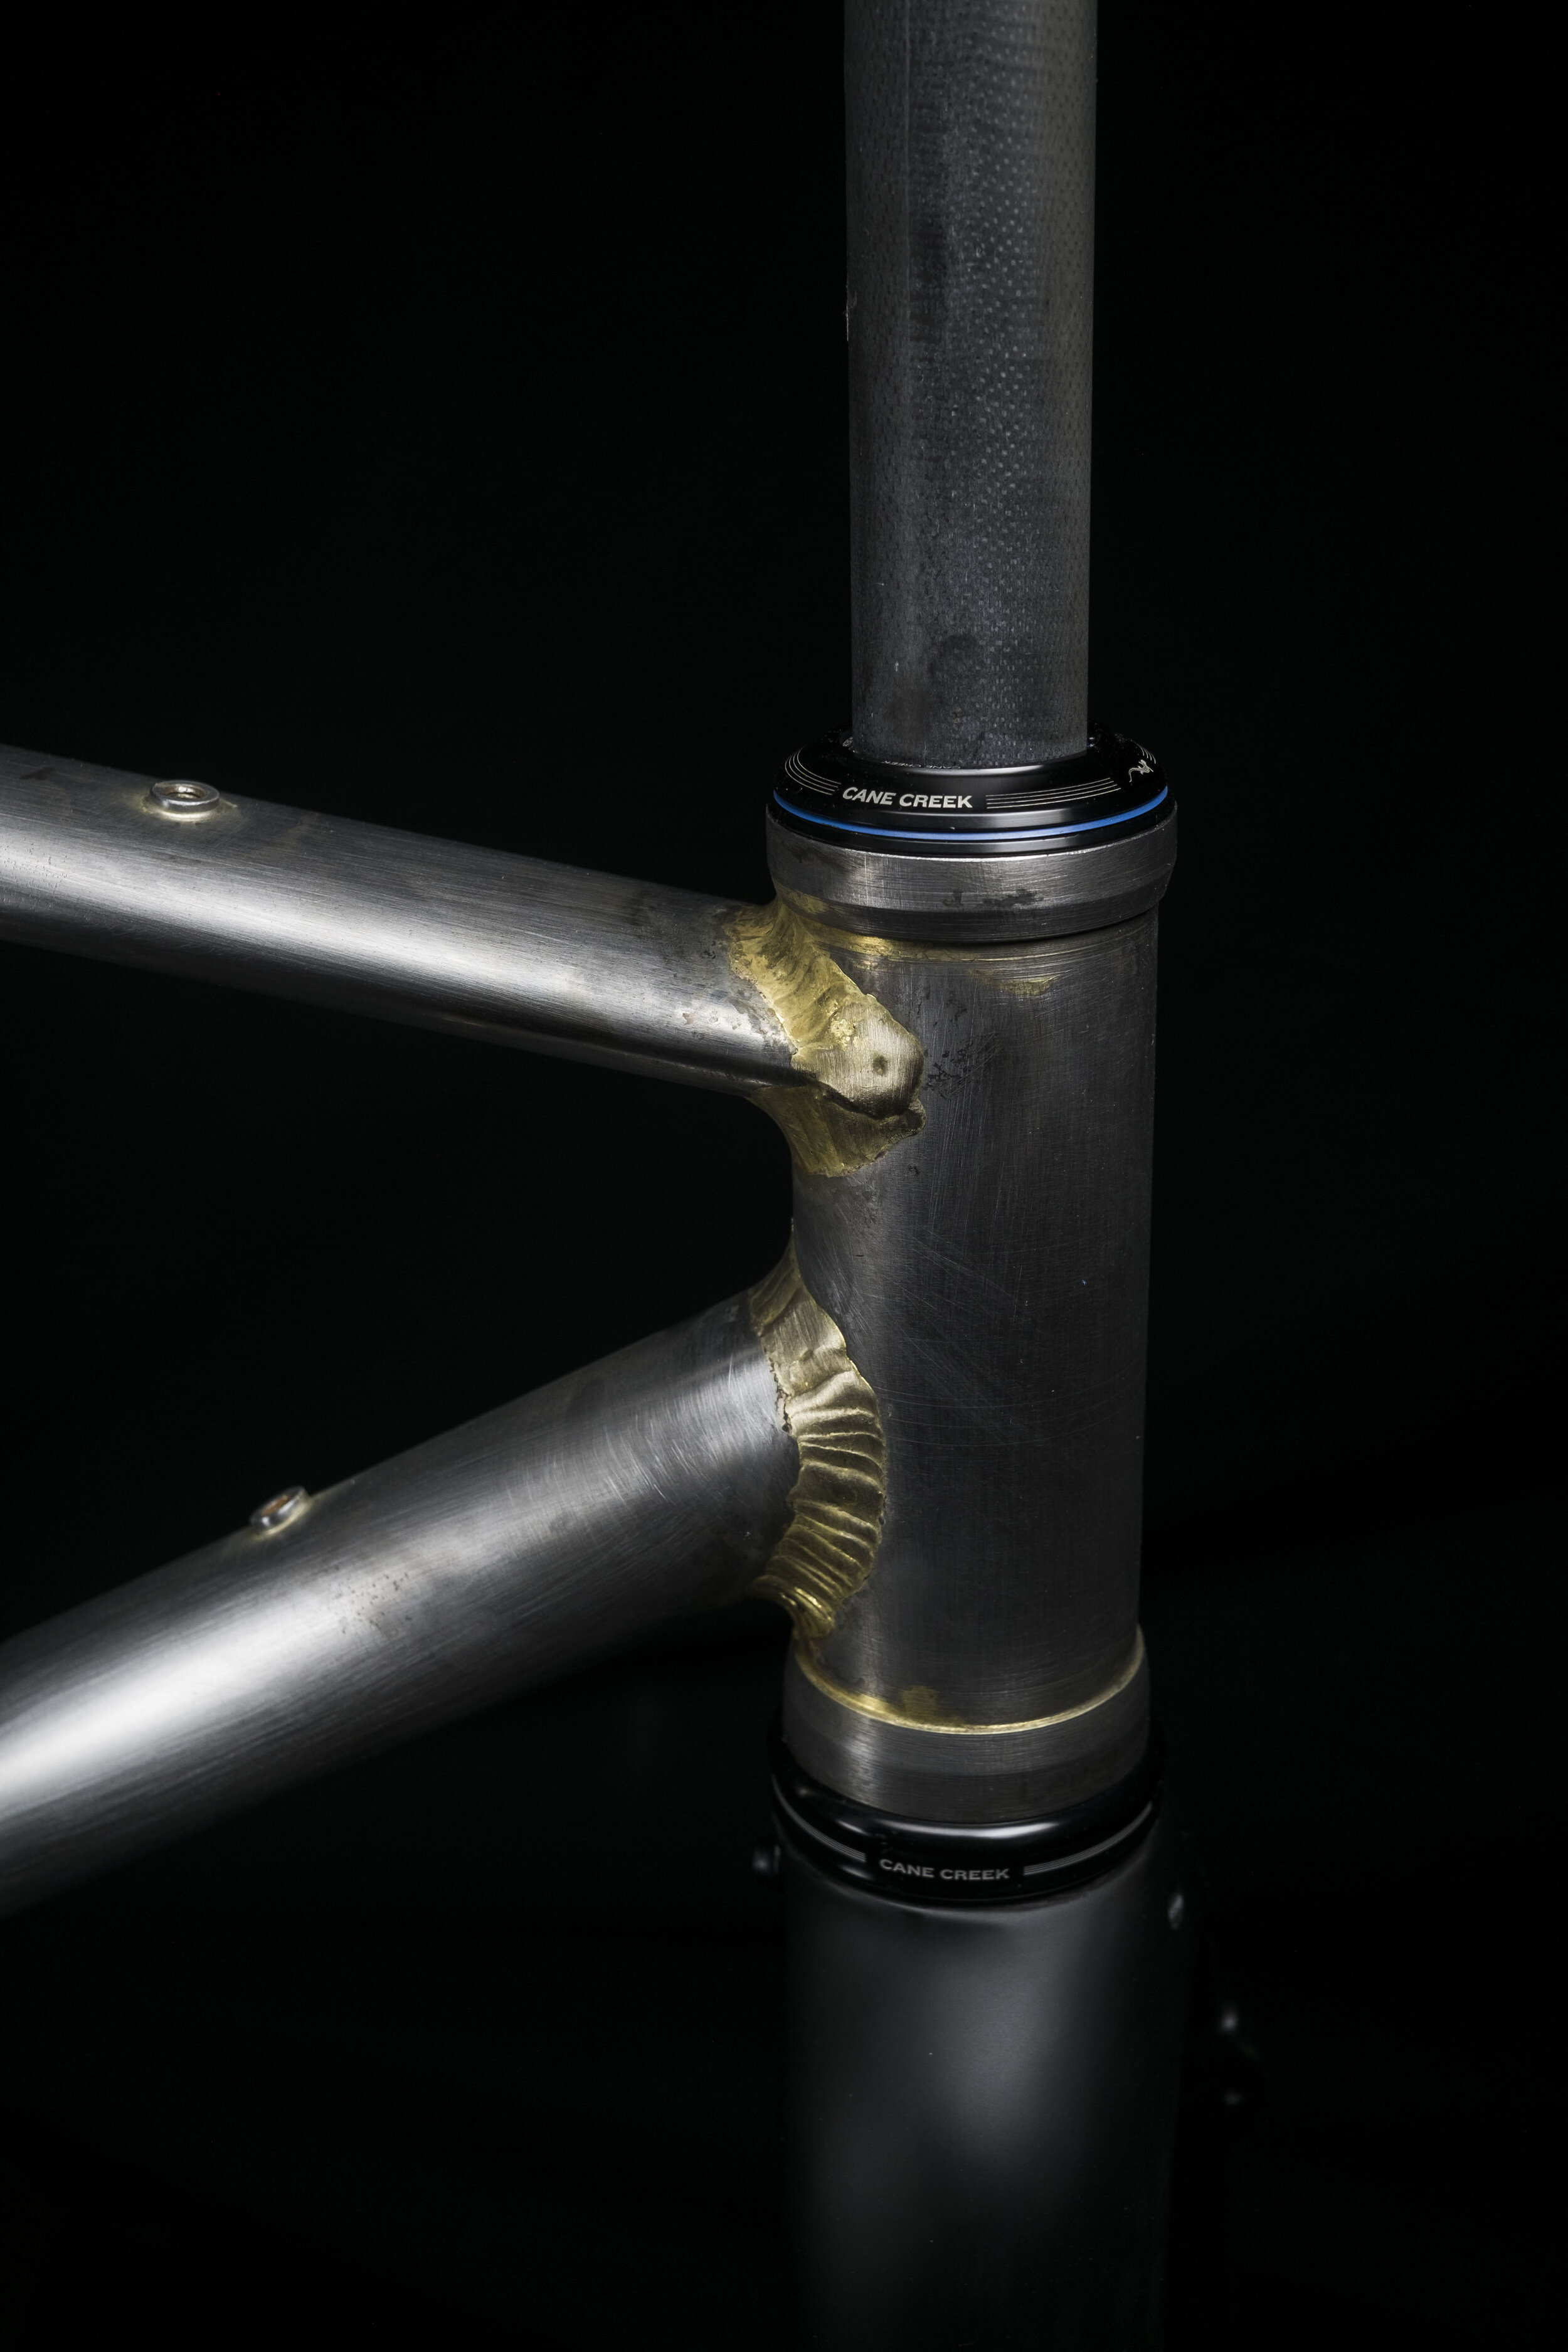
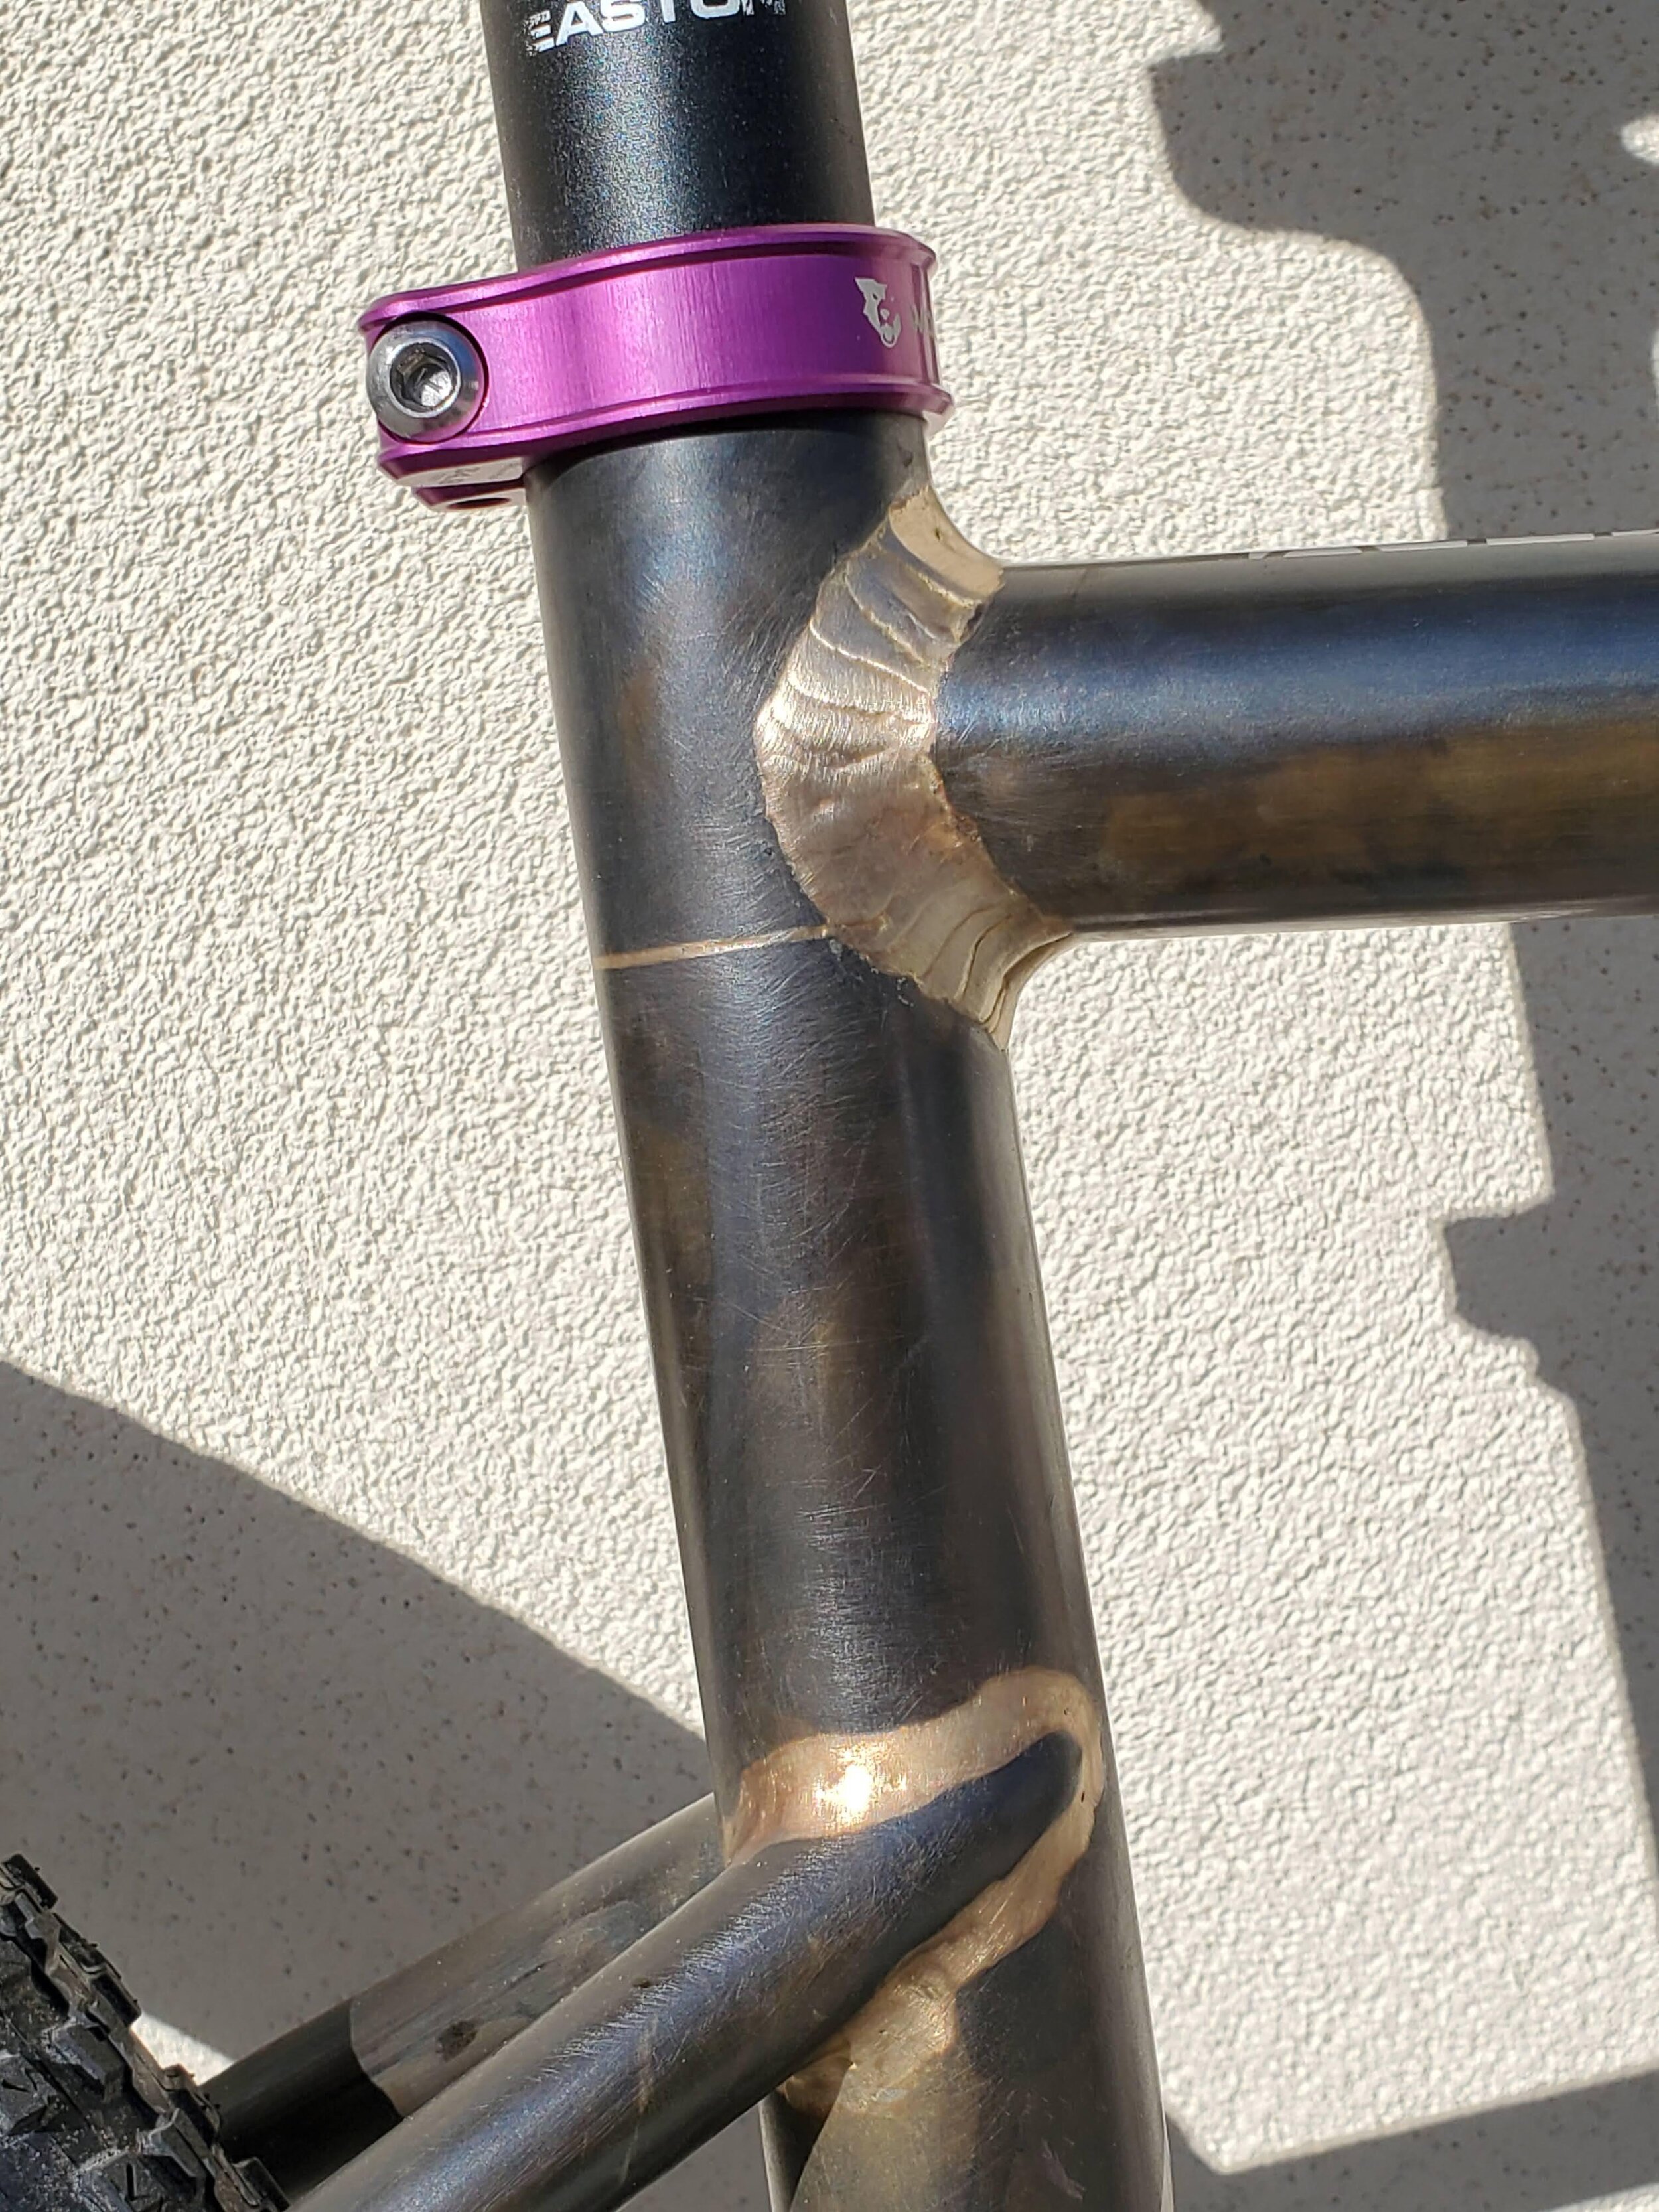
Headtube rings were also included in the final design to maintain concentricity during brazing and to also increase the overall strength of the headtube through the life of the frame. The chainstay yoke was also an area that saw additional work to create a strong but slender connection between the rear dropout and the BB. Requirements dictated that we only had 12mm of clearance between the chainring and the largest tire size so to clear both with room for flex, we opted to build the yoke out of 4130 plate and to thicken it up to 6mm to gain a measure of stiffness back on the drive side. For the non-drive side we were able to add an additional gusset to regain a measure of geometric stiffness in the final frame.

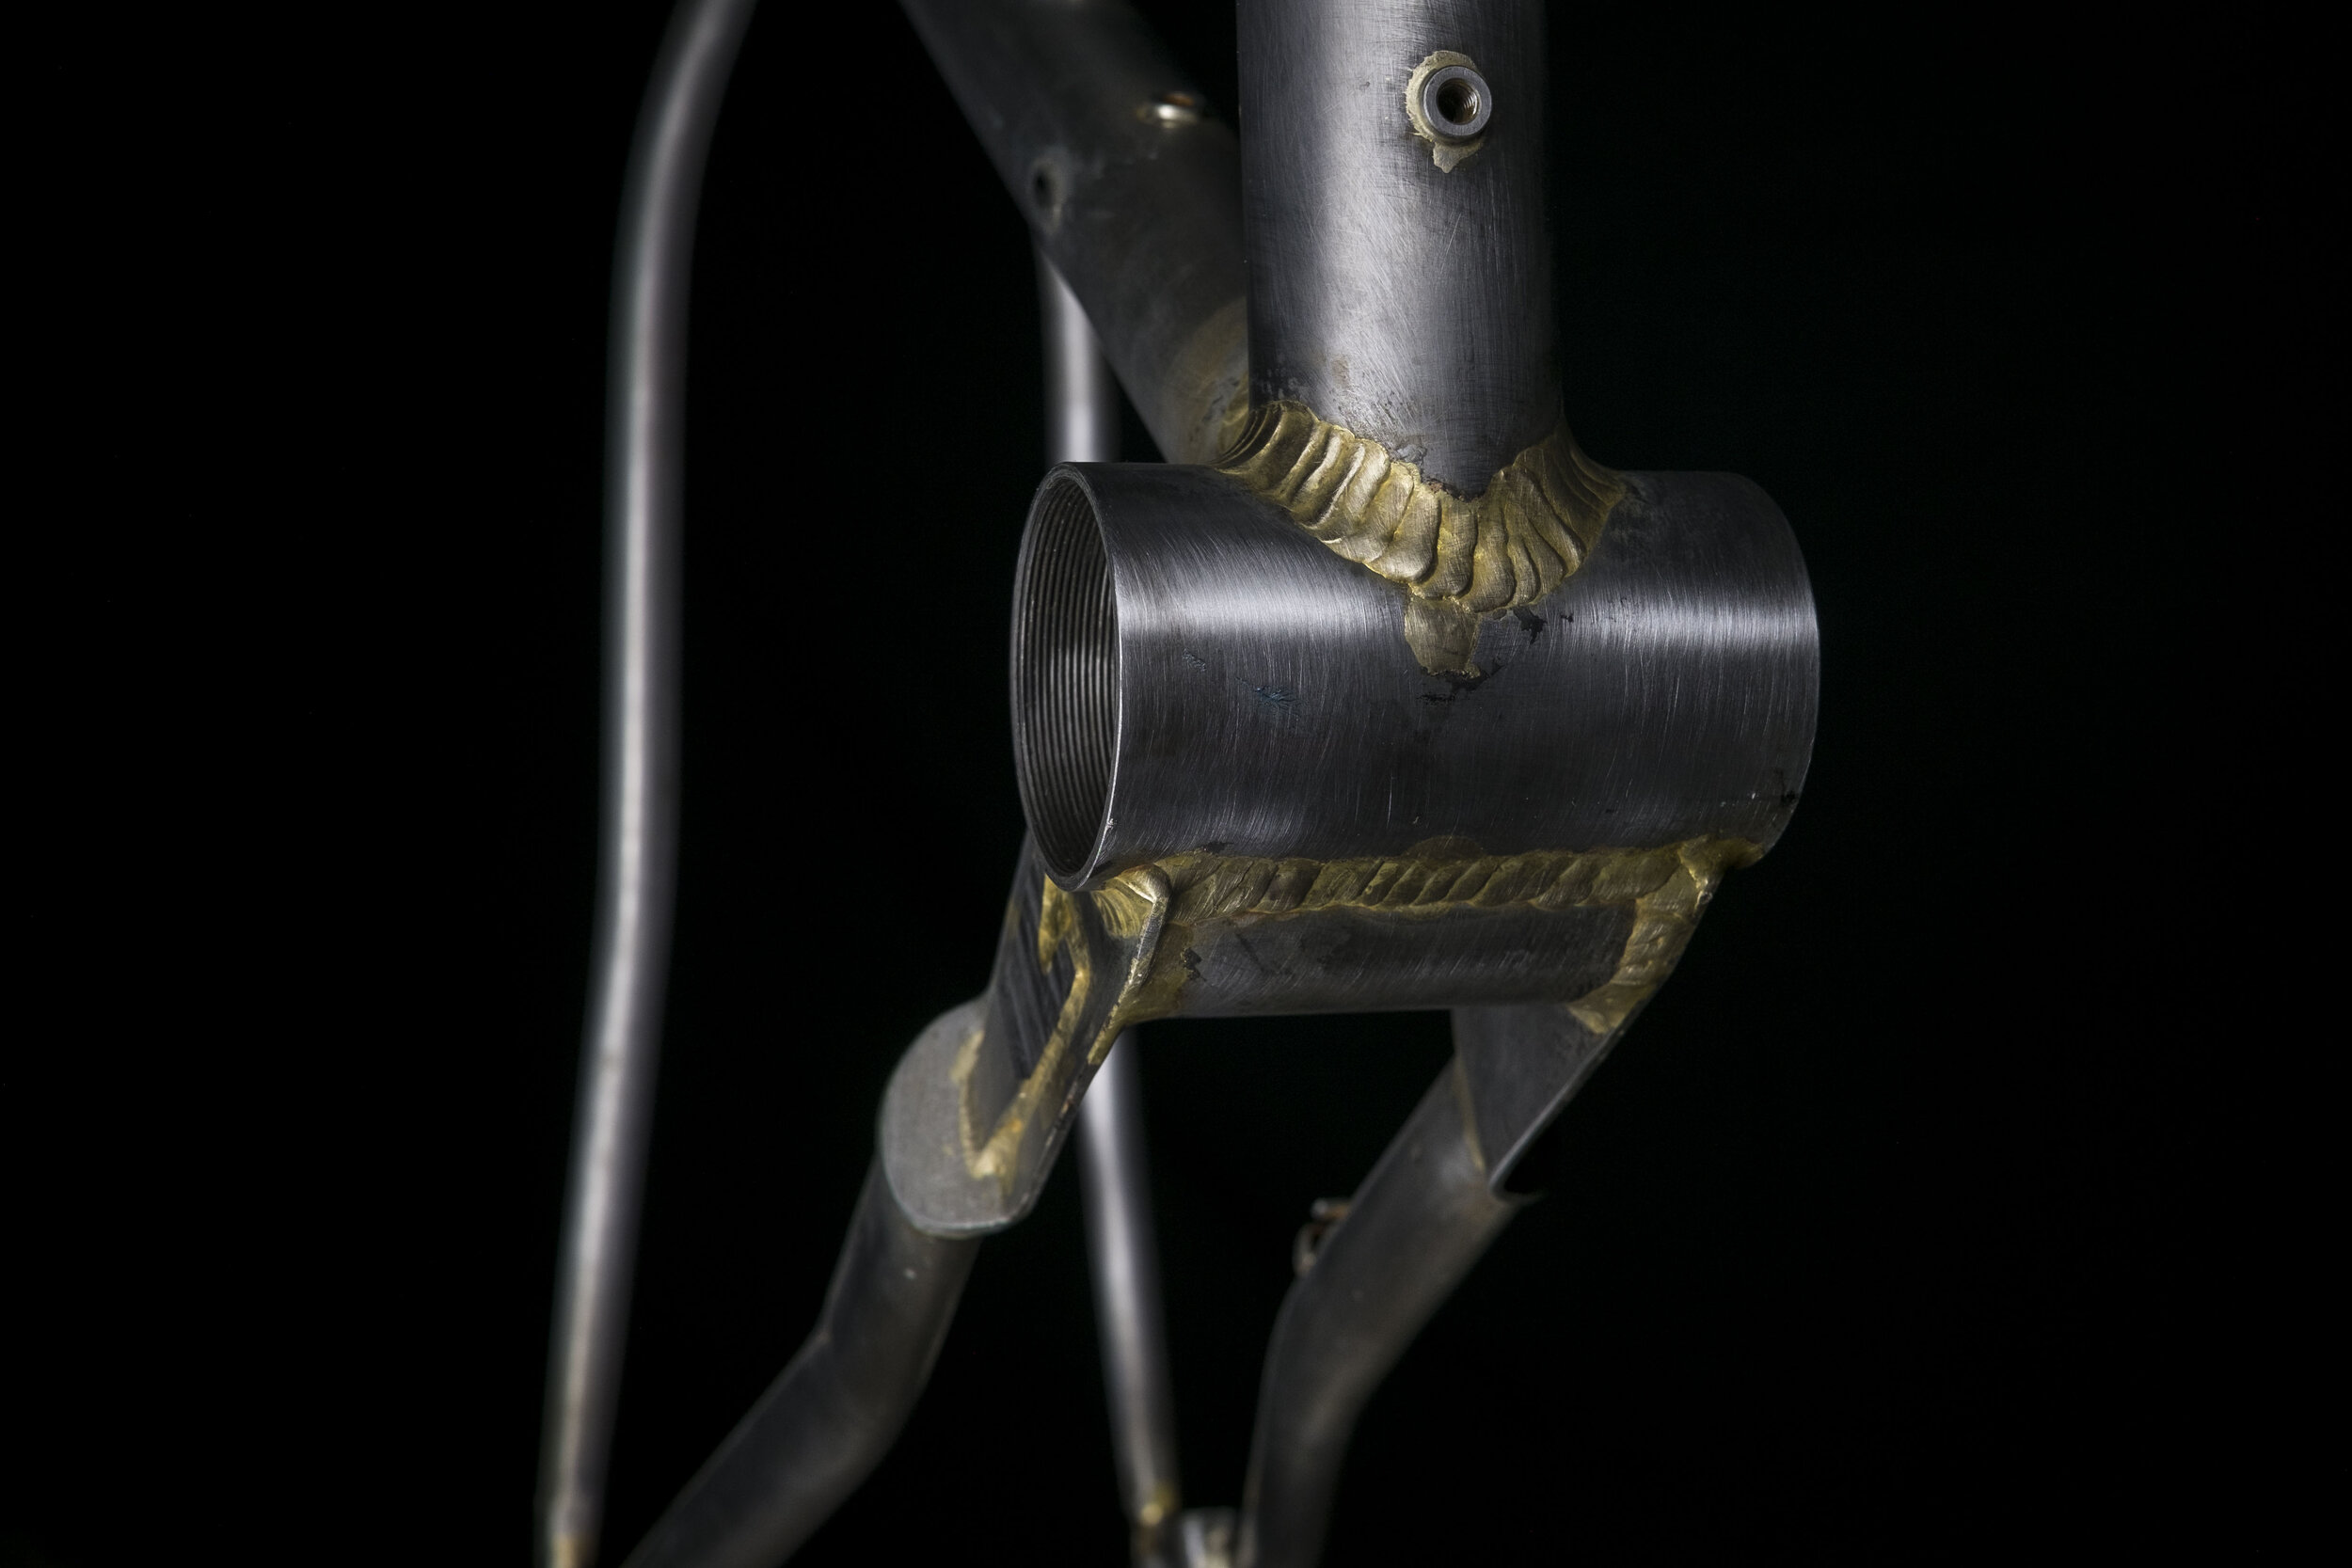

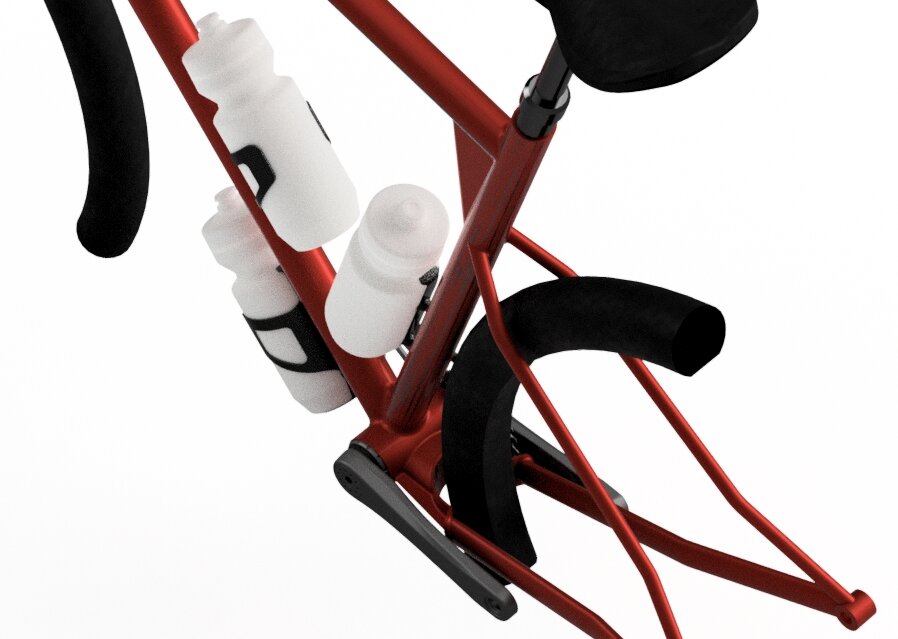
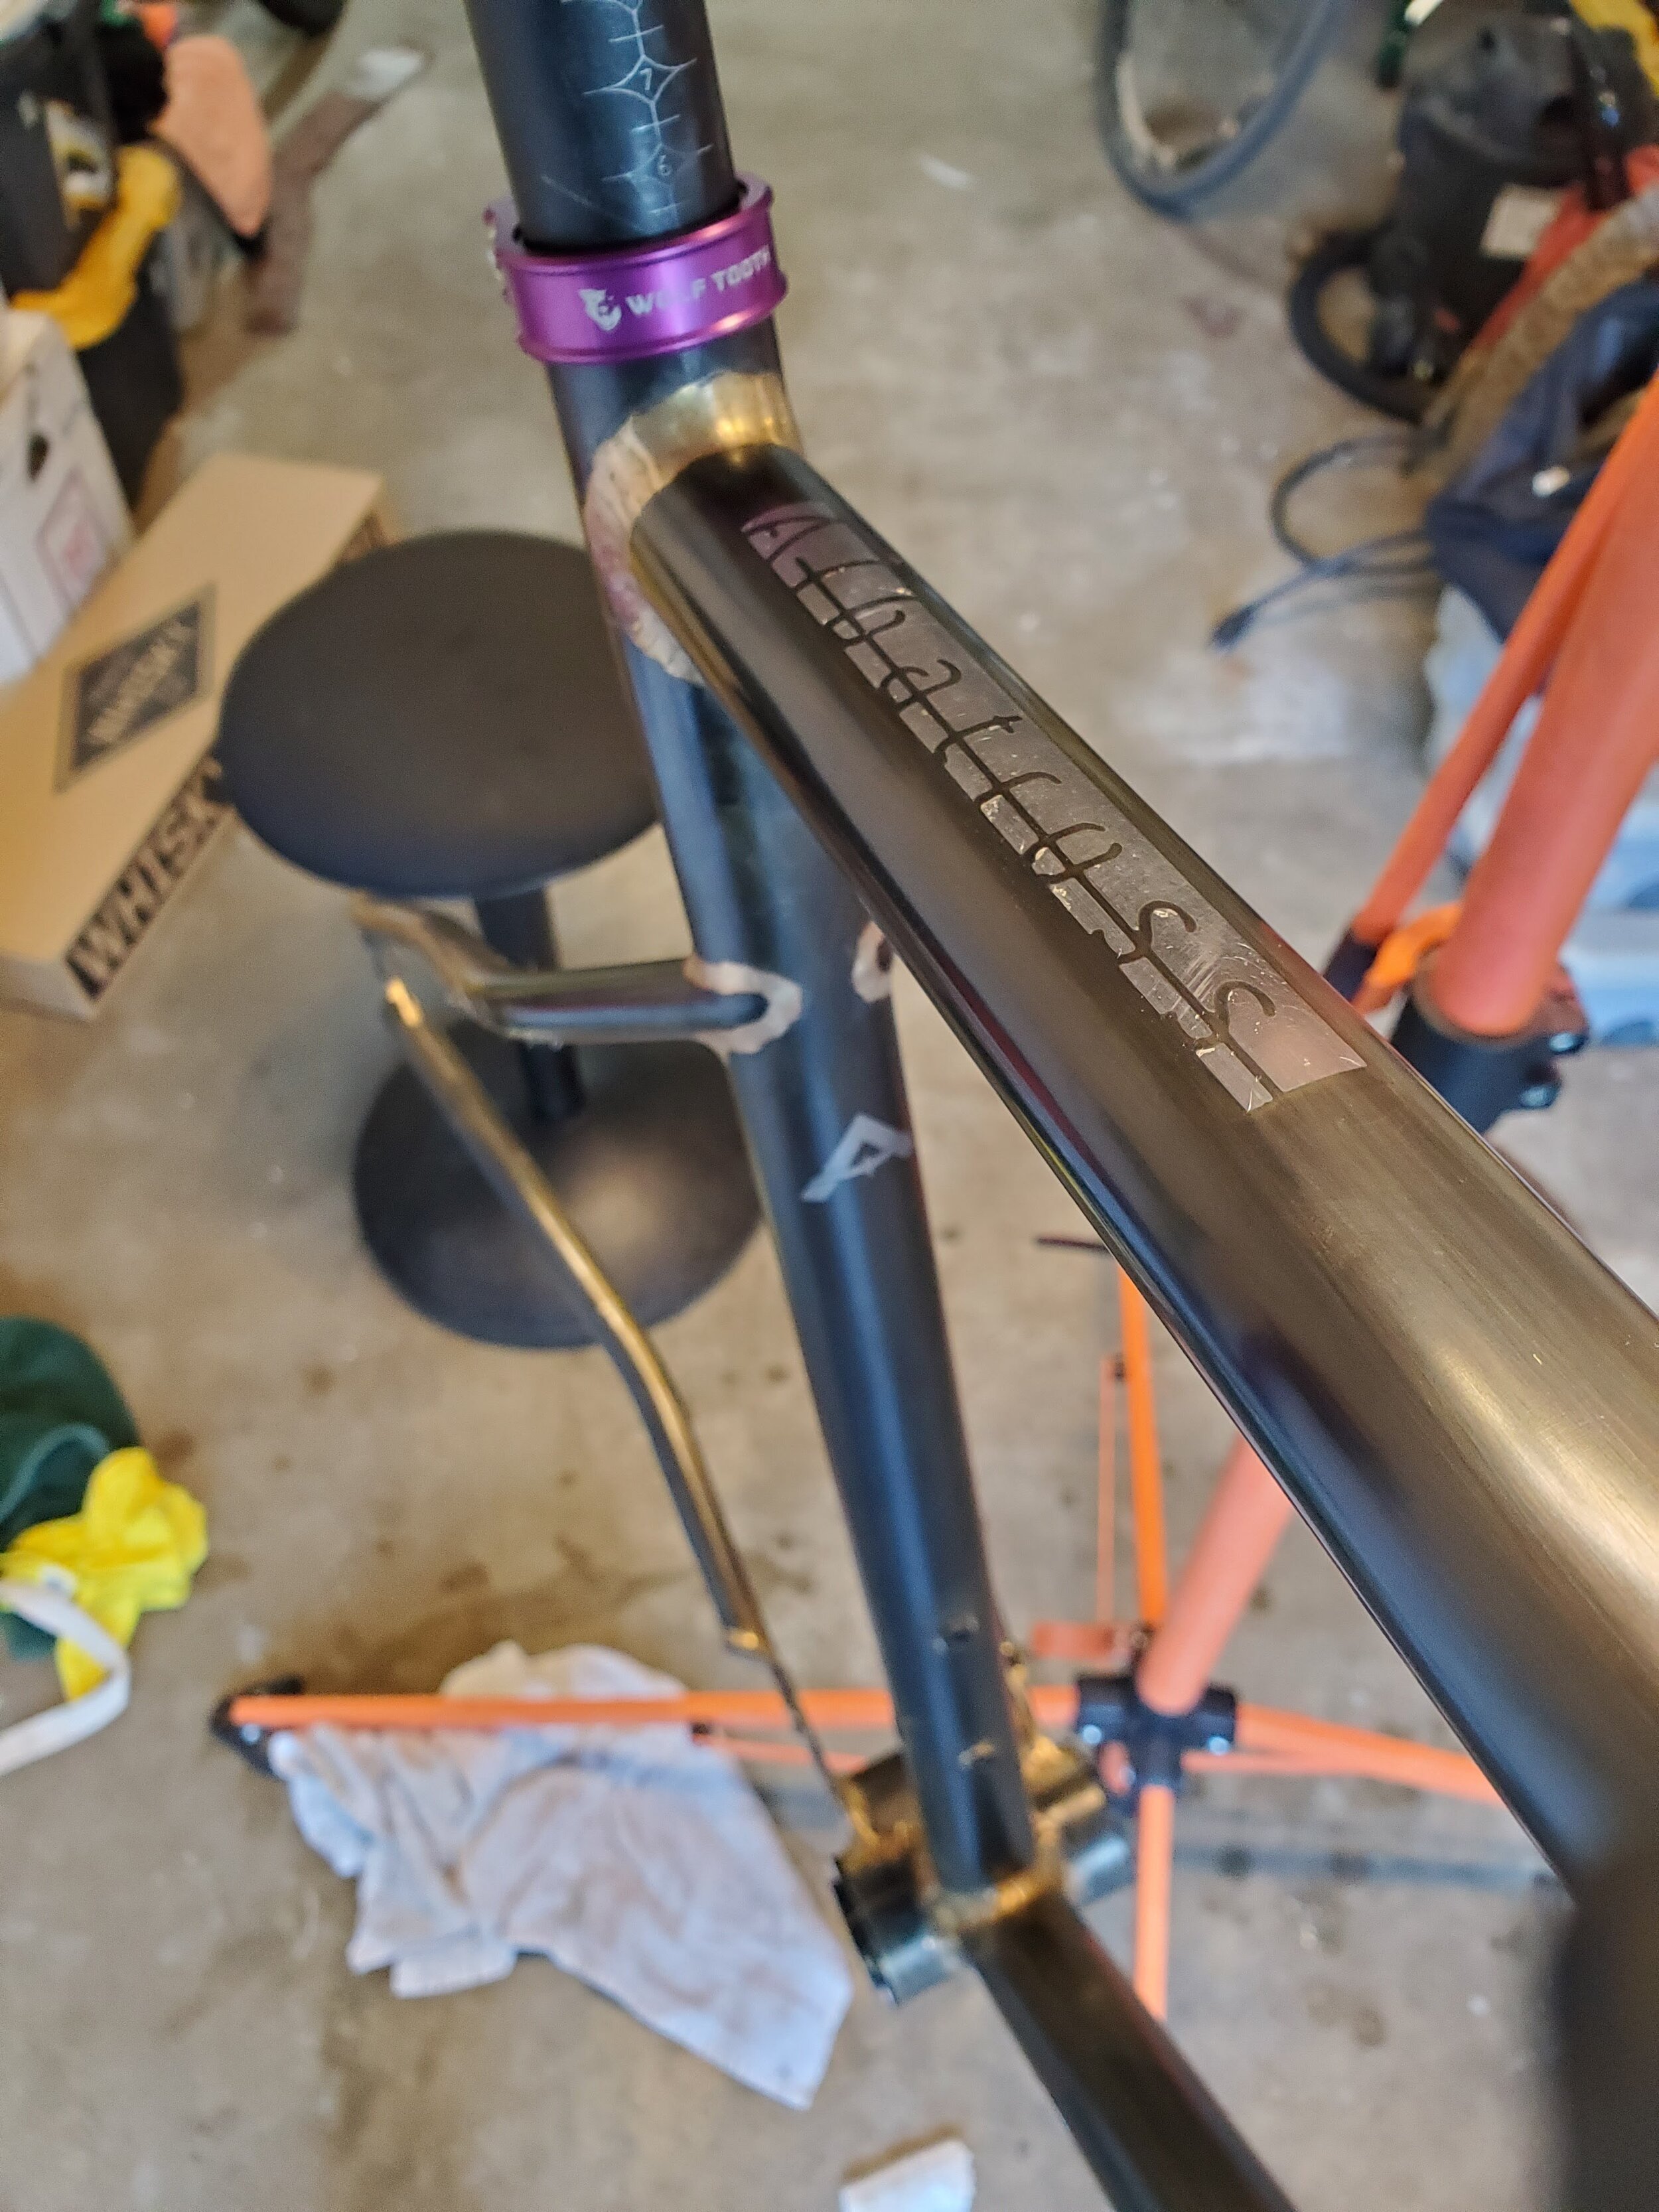
Outside of these areas of specific concern, the rest of the frame construction matches many of our other frames very closely with the stacked-dime fillet brazing style for the front triangle and clean finish work for the rear triangle. Alignment held true throughout the entire brazing process requiring only minimal adjustment before being handed off to be finished.

Since Erik Nelson is one of our test riders and we are able to keep close tabs on the frame, we opted to try a new gun-blue finish of the frameset and watch how it patinas in order to better fit the Arizona-themed finishing kit of the bike. It’s currently being ridden over a wide-range of trails and roads in the SF Bay Area but early reports are that this thing “can get really rowdy.”
As Erik puts more time in on the bike and we get a sense for what works on this bike and what doesn’t, we’ll provide you with a long-term update on this build. For now, enjoy these photos and as always, ride fast, ride far.